
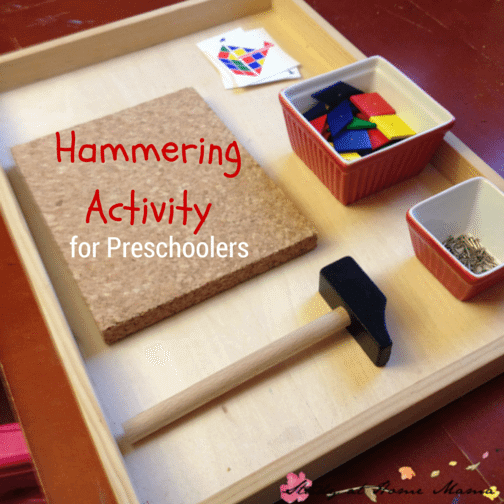
Practical Life: Hammering Activity
Welcome to Sugar, Spice & Glitter! Please note, this post may contain affiliate links. For more details, see our Full Disclosure.
Follow the child.
It is such a simple idea at the core of the Montessori Method, but has such profound implications. Placing importance and priority on what a child wants to learn, or is in a sensitive period to learn, allows for unheard of progress and satisfaction in their work.
However, sometimes it can be hard to figure out how to adequately meet your child’s interests when those interests seem a bit too mature, or even dangerous, for their age.
Today’s Montessori Practical Life Lesson provided one such conundrum.
Ella has been interested in using real tools for quite a while. I’m all for real materials, and giving her quite a bit of freedom in the kitchen, but I wasn’t really sure how to give her tools in a real way that also gave her the amount of freedom that I strive for in our Montessori activities.
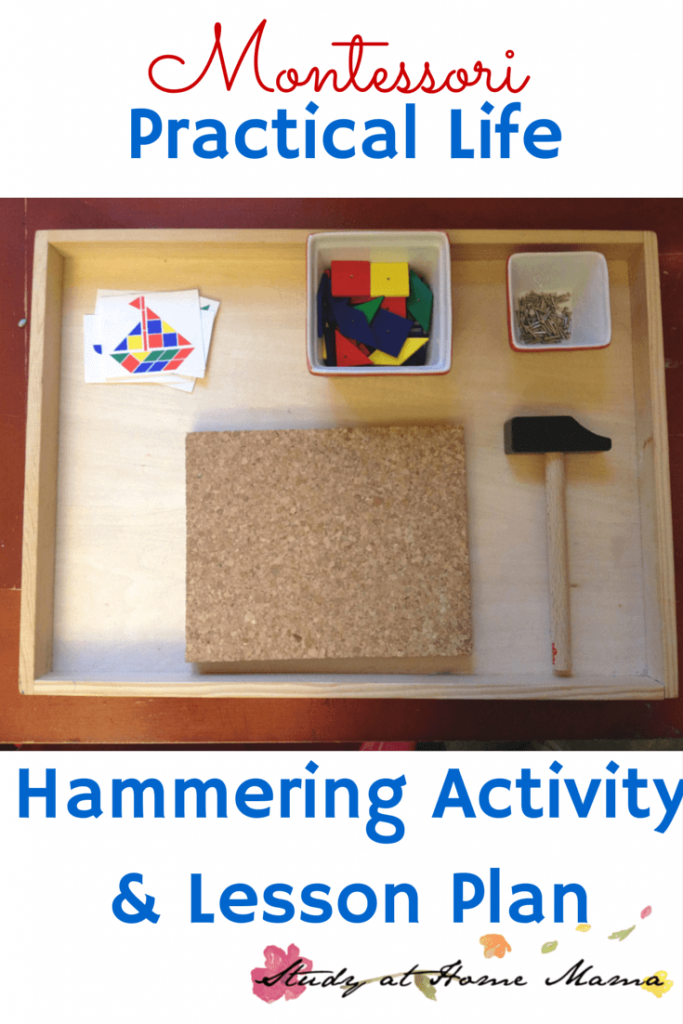
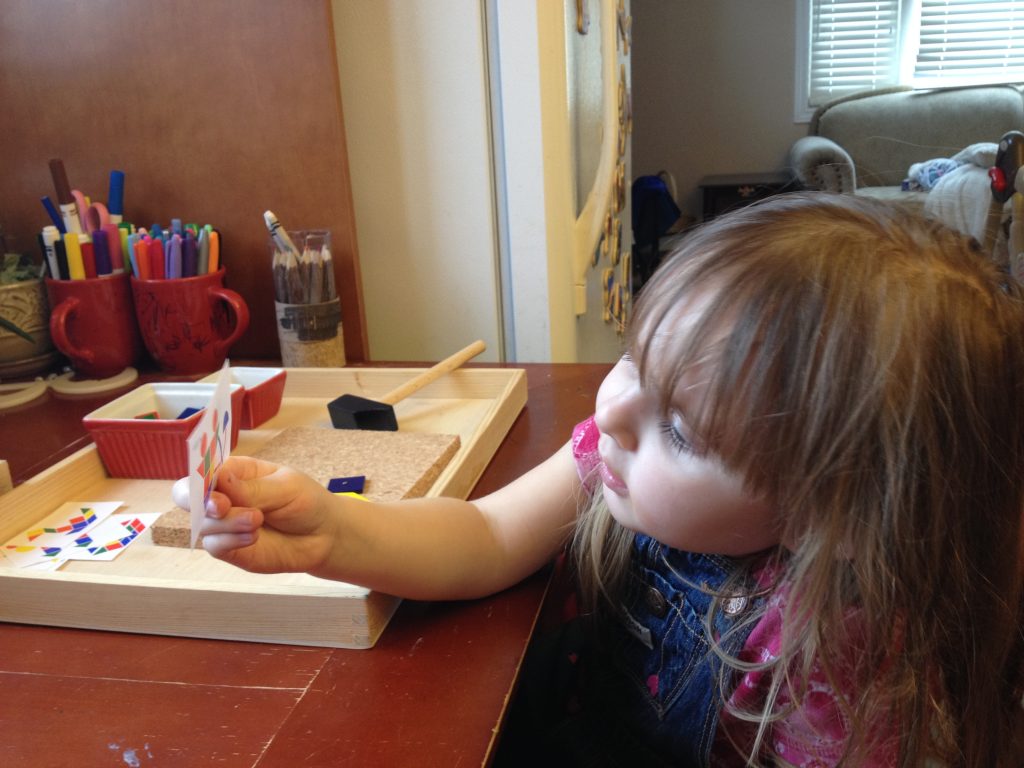
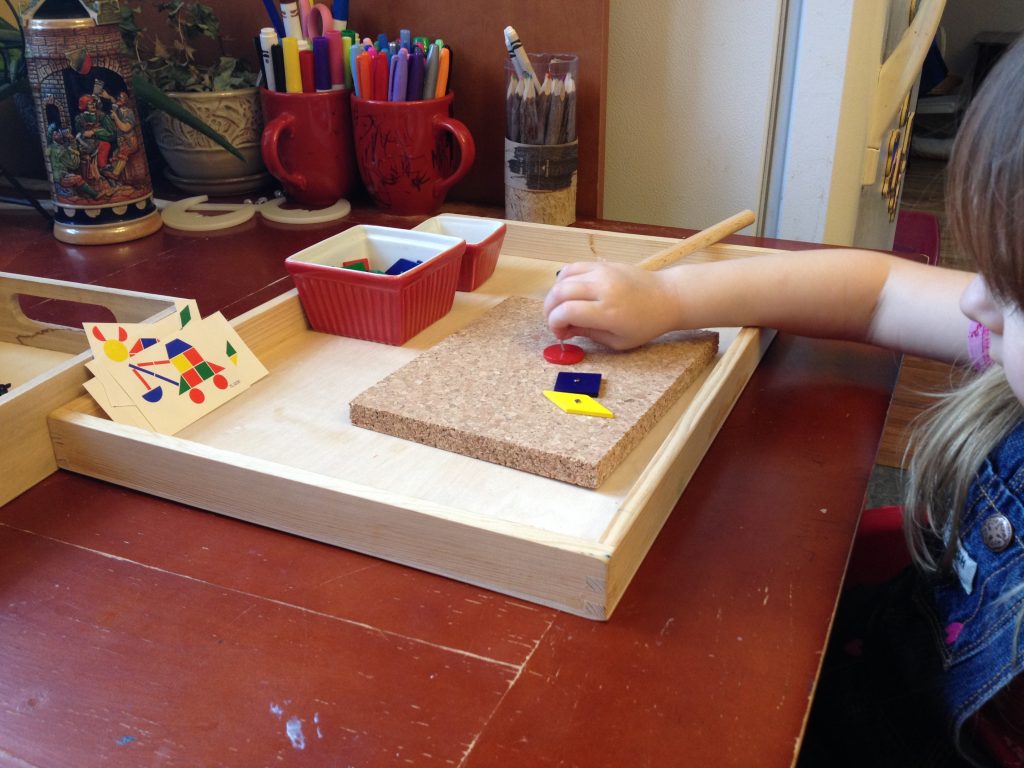
When I discovered this hammering set from Haba, I immediately ordered it and was so excited to set up this work tray.
 You could definitely DIY this hammering activity with a set of tessellation blocks and a very fine drill bit, but for me the cost of the nails, drill bit, and tessellation blocks would have been more than this set! (The bowls and tray are my own.)
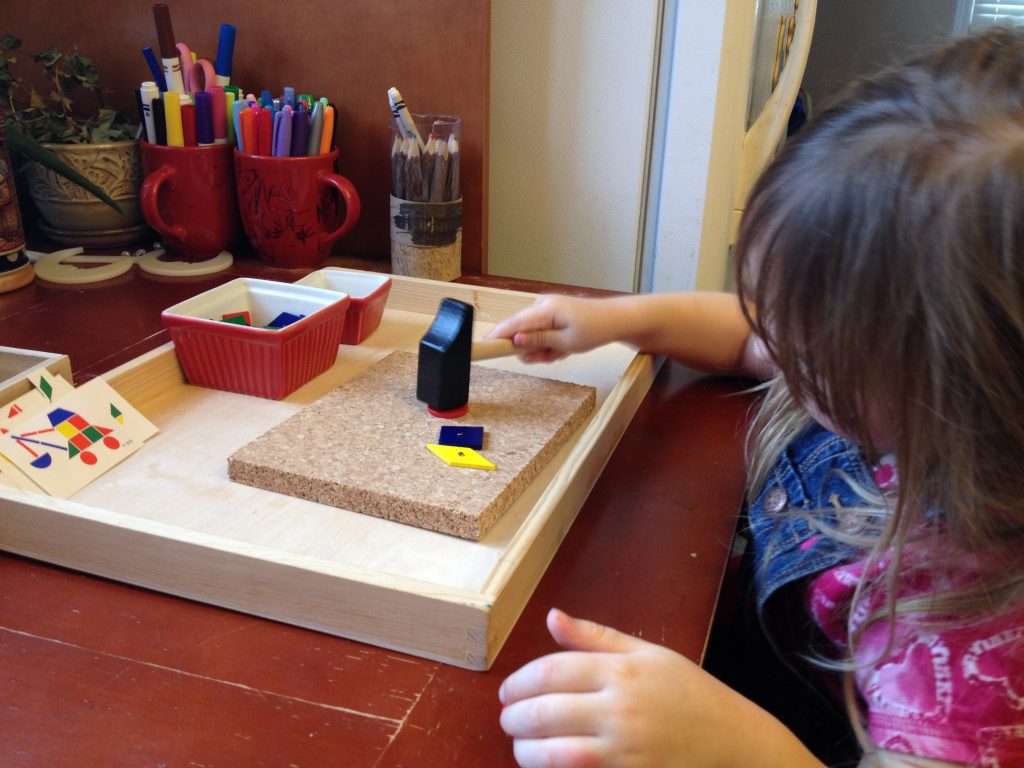
I love that this tray allows children to practice designing and engages their visuo-spatial intelligence, while allowing them to have the very grown-up freedom to practice their hammering skills whenever they want. (We just have rules about where the tray is allowed to be, to ensure that the toddlers don’t get their hands on it.)
I’ve noticed such a reverence with these materials. Ella knows how much trust and responsibility has been given to her with this activity and has totally blown me away with how precise and careful she is with the little nails and wooden hammer.
I asked Beth Holley of A Montessori Lexicon to write up a formal lesson for this hammering activity, since one really doesn’t exist in any Montessori Manuals that I know of and I’m so excited to share it with you today.
Purpose:
Material:
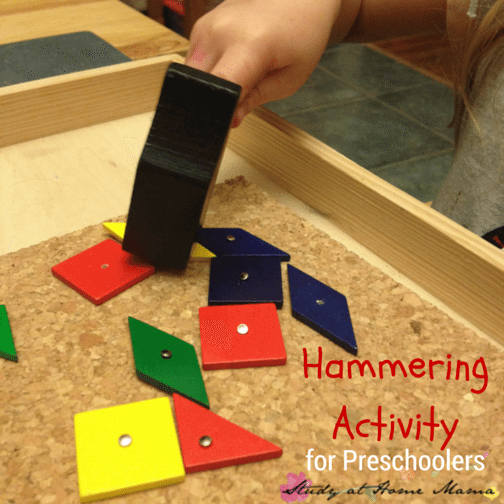
- a child-sized tray with a slight edge or lip for grasping
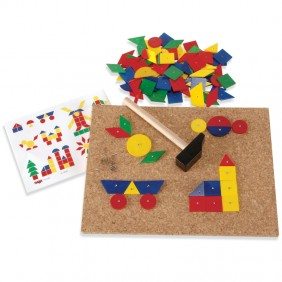
- Haba Geo Shape Nail Game (includes geometric shapes with pre-drilled holes, cork board, wooden hammer, tack nails, and suggested design cards)
- two small bowls , one containing the shapes and the other for nails
Presentation:
Points of Interest:
We are joining a fun blog hop for the year, and this month everyone is sharing a fun practical life activity!
I was just looking for something exactly like this. Thank you for the lesson too. I wan’t exactly sure how to present that to my son. 🙂
How to buy the hammering activity set? Thanks
There is a link under “Materials” where it says “Haba Geo Shape Nail Game”
I just want to thank Beth for making the proper Montessori description she wrote, it’s a great headstart to the slightly different hammering activity I have, I haven’t managed to think how properly it’s utilized – a shame her blog seems to be removed now.
Thank you also for making the post!