Montessori Practical Life Lesson: Folding Fabric
Another Thursday, another Montessori Practical Life Lesson!
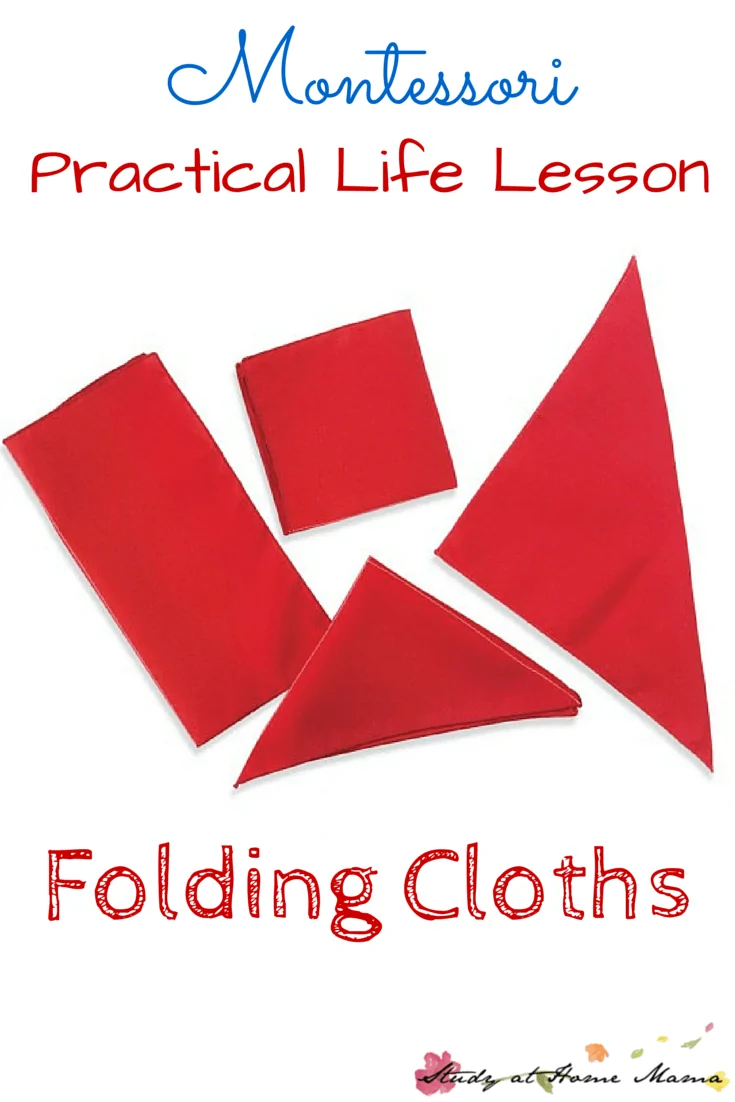
This week, we are exploring how to teach children to fold cloths. Personally, I like washcloths, napkins, and placemats rolled up, but this is still a great activity for finger dexterity, and after children have learned these folding basics they can be more creative in their cloth folding.
This is also a great way to prepare children for paper crafting or origami — or geometry, as Beth Holley goes on to explain.
Today’s practical life activity introduces your child to folding.
The first folding exercises are done with four identical squares of fabric in a solid color, with sides about 12″ long. Each square of fabric features stitched lines in a contrasting color to indicate how it will be folded.
- Fabric 1: single median line dividing the square into equal rectangles
- Fabric 2: horizontal and vertical median lines dividing the square into four equal squares
- Fabric 3: single diagonal line dividing the square into equal triangles
- Fabric 4: double diagonal lines dividing the square into four equal triangles
As you can see, this exercise is also a remote preparation for geometry! As the child practices folding, she unconsciously absorbs the shapes resulting from the dividing lines.
How to Present Folding Fabric
Purpose:
- Direct: to develop the movements needed for folding, including muscular control of the fingers.
- Indirect: remote preparation for geometry; independence and concentration.
Material:
The set of fabric squares described above can be made easily at home by using a fabric marker on cloths, or purchased premade from Montessori Services.
Another set also comes with a folding tray.
Age: 2 1/2 – 4
Presentation: Single Median Line
1. Place the tray on the table. Remove the first cloth with single median line, spreading it flat in front of you. The line is situated horizontally.
2. Say, “Watch how I show you to fold.”
3. Take the closest two corners between your forefingers and thumbs, then match the corners exactly to the opposite corners.
4. Slide your hand left to right across the crease to flatten it.
5. Point to the visible guide stitching, running your finger along it left to right.
6. Unfold the cloth from the corners, slide it in front of the child, and invite the child to try.
Single Diagonal Line
As above, but this time the line is situated diagonally, and you hold the cloth steady at the top left with one hand, while using the other to match the lower right corner to the upper left corner. Flatten the crease and point out the guide stitching as before.
Double Median Lines
Proceed as in the single median line above, then turn the cloth such that the remaining stitching is horizontal. Fold as before, taking the bottom corners between your forefingers and thumbs and matching to the top corners exactly. Press the crease and point out the guide stitching.
Double Diagonal Lines
Proceed as in the single diagonal line. Then hold the cloth steady at the top right, while using the other hand to match the lower left corner to the upper right corner. Flatten the crease and point out the guide stitching as before.
Points of Interest:
- Does the child match the corners such that the guide stitching is visible?
- Does she press the crease with her hand?
Note: Fabrics are stored flat upon the tray, preferably stacked in easiest–to–hardest order. Try to select a fabric that folds easily, but also holds the crease without coming undone. Silky fabrics slide around too much, and thick fabrics may not keep a nice flat shape. Fabrics with a little texture work well. I prefer bold, visible stitching in embroidery thread or fine yarn. A simple running stitch is all that’s needed.
After your child has practiced folding fabric, she may enjoy folding dinner napkins, kitchen and bath towels, or learning how to roll socks together. Later, she can be shown folding her own clothing. Whenever I take classroom work cloths and towels home for a good laundering, I bring them back unfolded, and the children love to dive right in, folding, stacking, and storing!
To learn more about Montessori theory, please visit Beth’s blog A Montessori Lexicon. You can also find her at Teachers Pay Teachers.
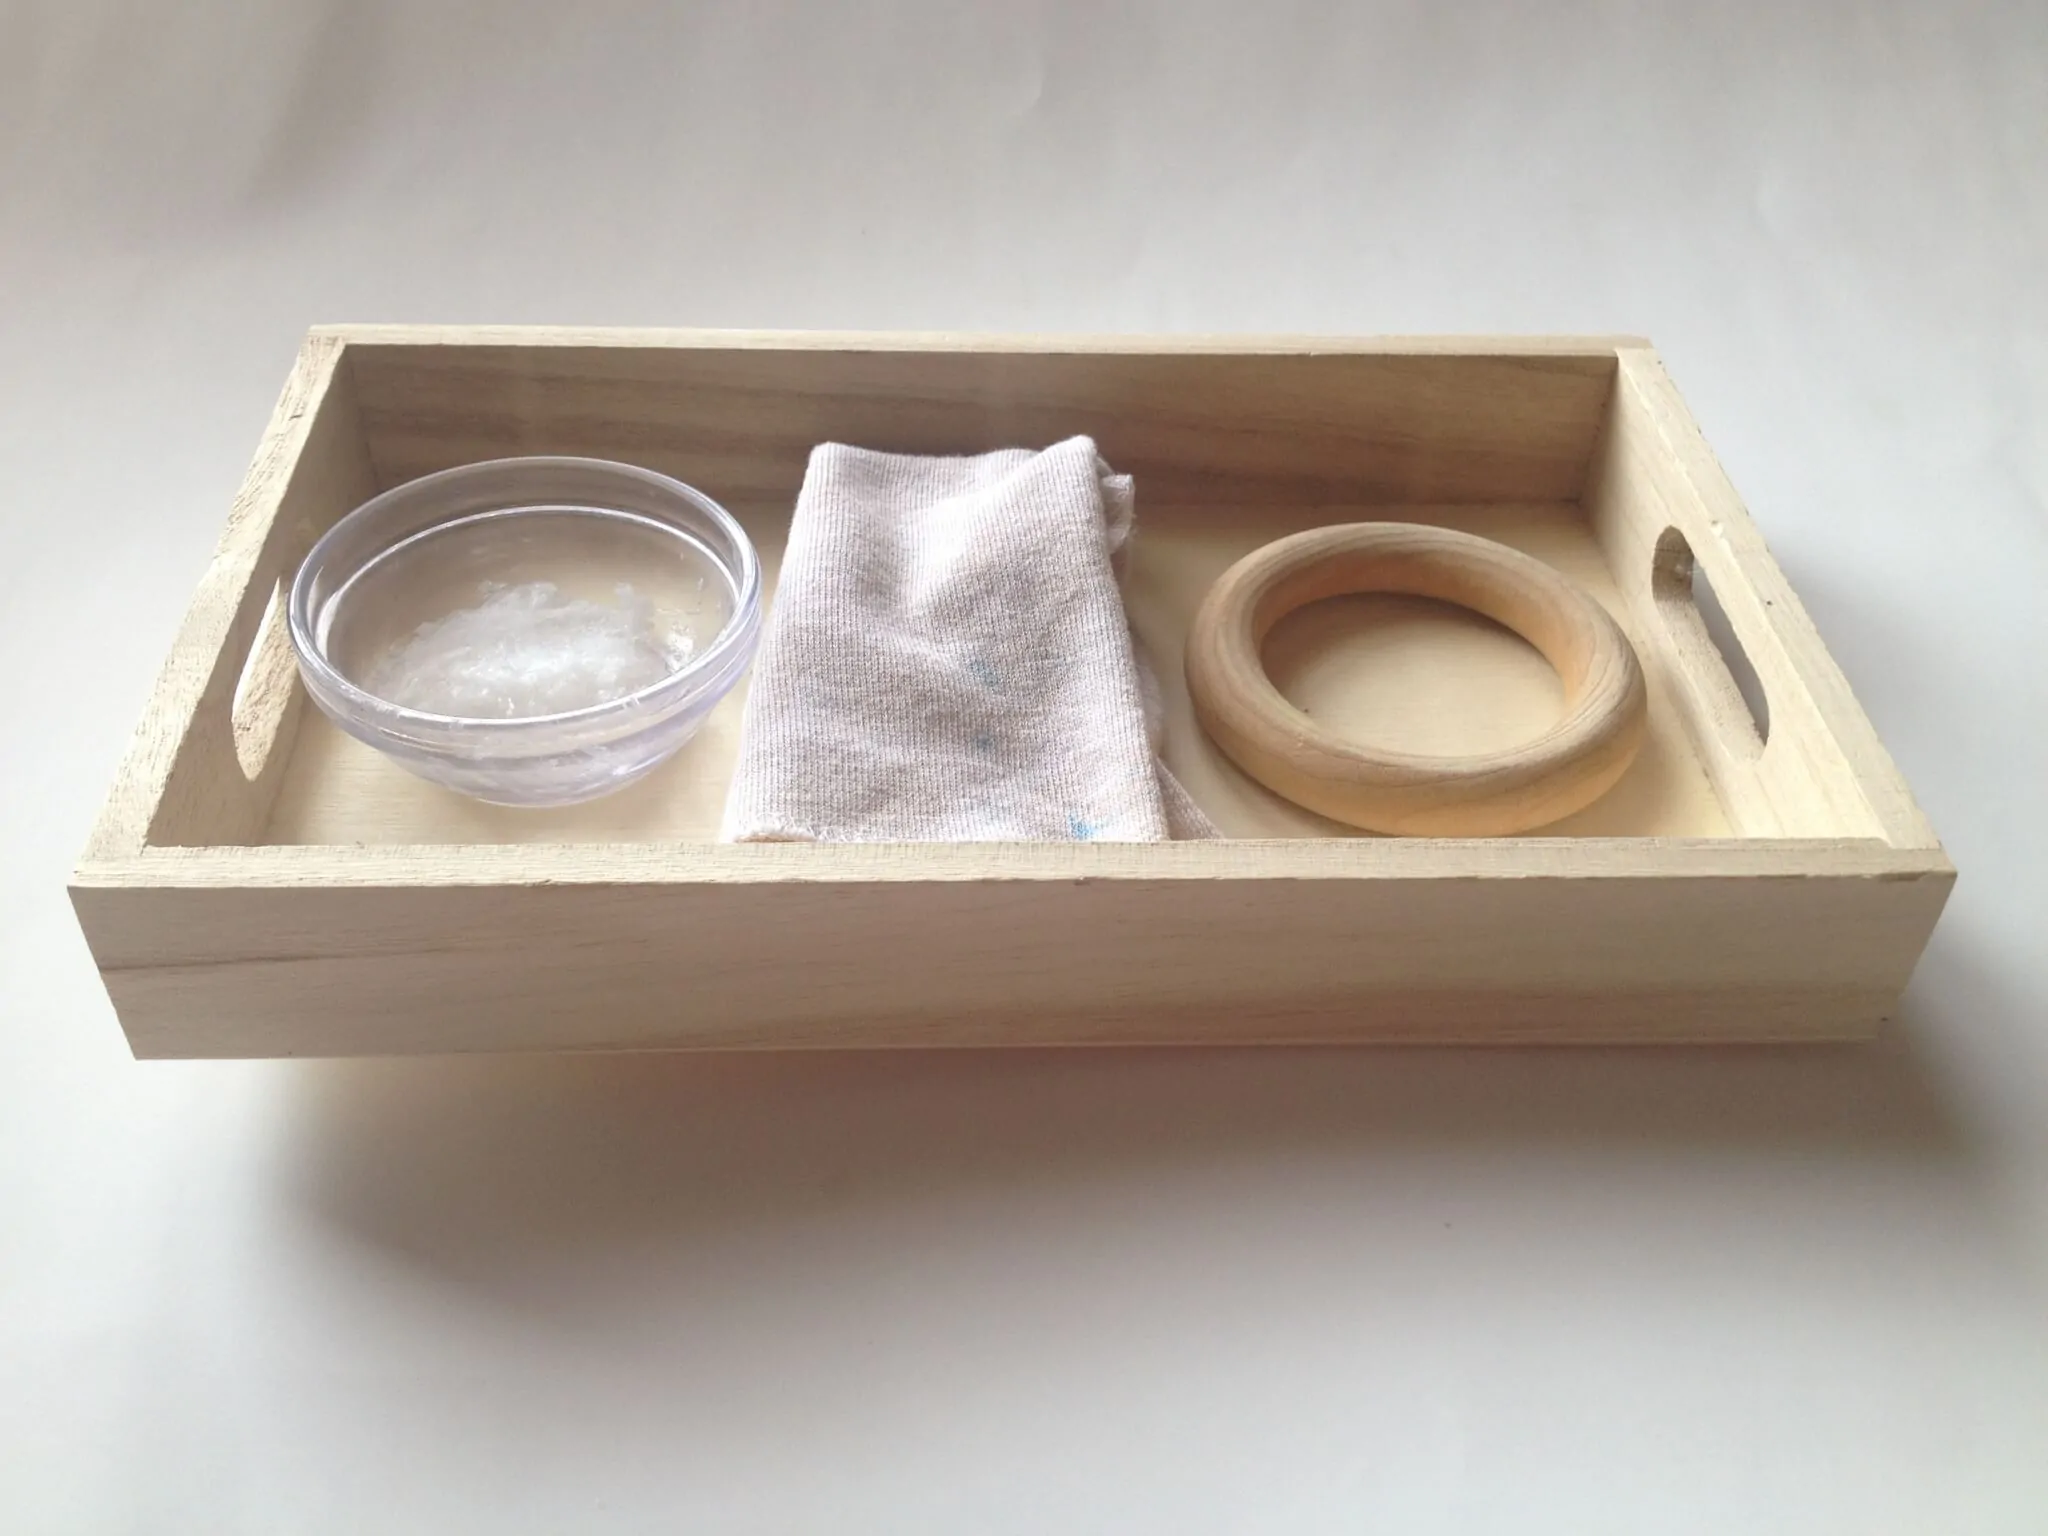
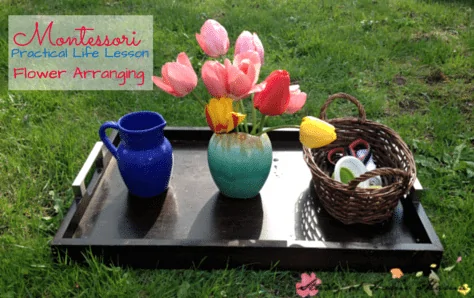
Did you enjoy this Montessori practical life lesson? Next up are polishing wood and flower arranging.

I love this!! Partly because I love fabric, partly because I love origami, and partly because I want to do this activity myself, I guess I can share it with the little ones too!
Thank you, Kelly! I hope your little ones enjoy it, as well 🙂
Oh how I love this work! I’m a HUGE fan of tableware. My kiddos use fabric napkins everyday. Princess can fold some now, but the other two still are working on it. Oh this post makes my heart happy!
Renae, you’re a woman after my own heart! LOL.
Aw, thanks for stopping by, Renae!
Hi,I read your new stuff named “Twitter” on a regular basis.Your story-telling style is witty, keep it up! And you can look our website about free ip proxy.
Thanks so much for your basic telling style is awesome. Keep it up