
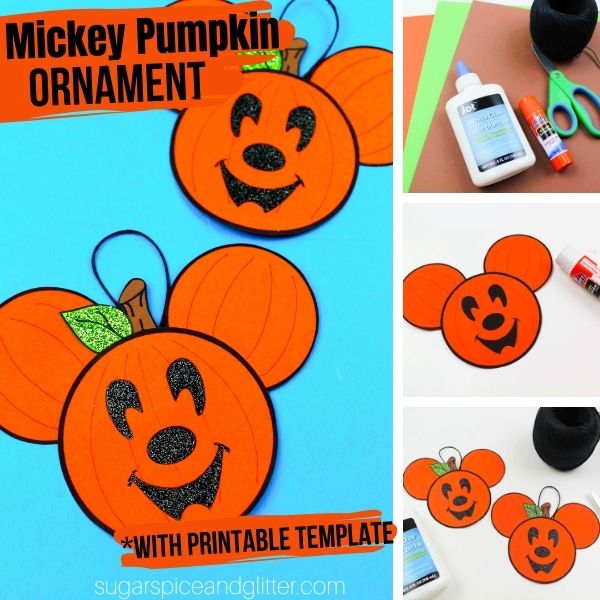
Mickey Pumpkin Ornaments
Welcome to Sugar, Spice & Glitter! Please note, this post may contain affiliate links. For more details, see our Full Disclosure.
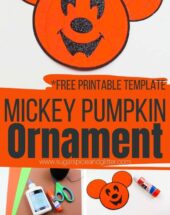
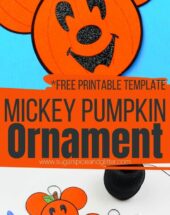
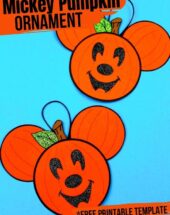
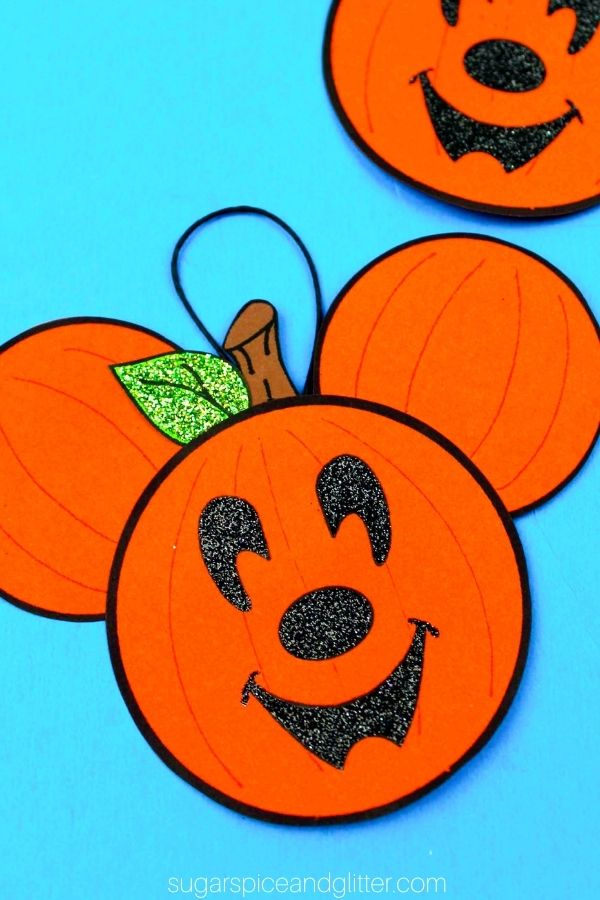
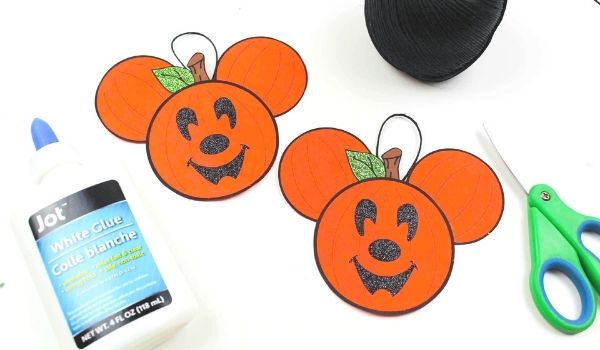
A fun DIY Halloween Ornament with some Disney flair, these Mickey Pumpkin Ornaments are a great way to add some Disney magic to your Halloween decor

Mickey Pumpkin Head Craft
I don’t think there’s ever a bad time to head to Disney World, but I just adore all of the fall decorations that Disney puts up at the end of August.
Yellow and orange buntings appear on all of the shopfronts, Mickey Pumpkin Head Wreaths adorn all of the lamp posts and cast members even start wearing seasonally-inspired outfits.
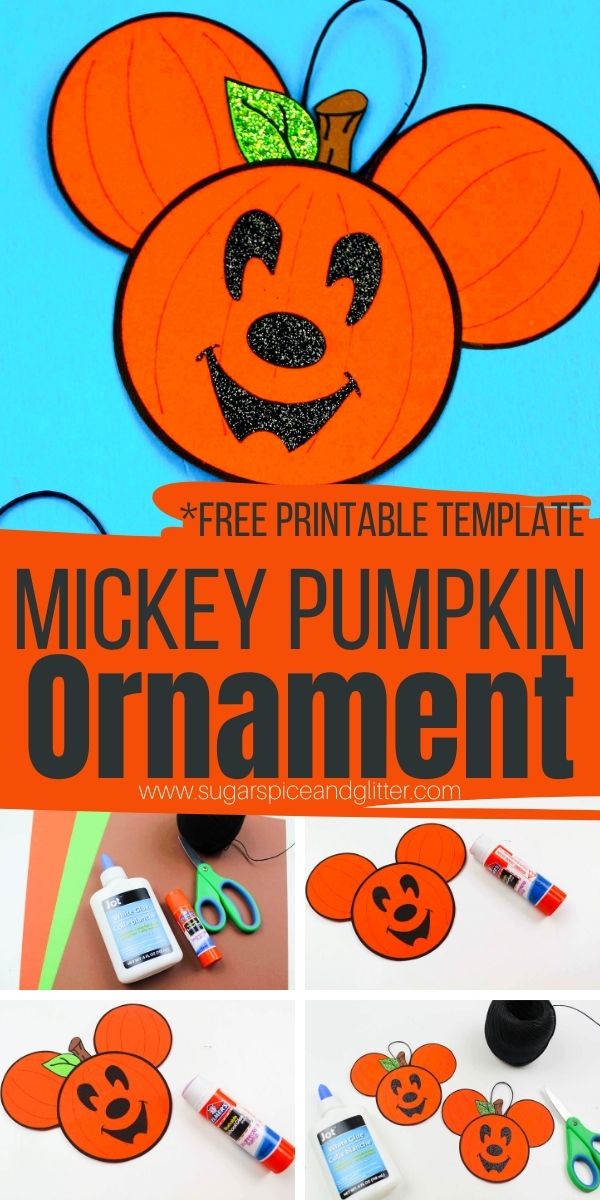
Today’s craft is a fun homemade version of those cute Mickey Pumpkin Heads that is made super duper simple by using our free printable template. You can simply print, cut and paste your ornament pieces together for a cute Mickey Pumpkin Head ornament, or take this craft a step further by adding glitter, changing up the colors, or letting the kids draw special designs on their Mickey ornaments.
We have a Christmas tree up all year round that we swap out seasonal decorations on, so that’s where we’ll be displaying our ornaments, but you can use these to make a bunting banner, hang on the fridge, decorate your rear view mirror, or even turn into a sweet homemade card or Halloween party invitation!
You can also laminate these ornaments to allow them to last year after year. This is the laminator I use, and I just buy the super cheap packages of laminate sheets from Amazon. It costs about 13 cents a sheet to laminate which lets us get so much use out of any activity we print out.
More Disney Halloween Crafts:
- Mickey and Minnie Frankenstein Ornaments
- Mickey Pumpkin Wreath
- Maleficent Mickey Ears Headband
- DIY Haunted Mansion Wreath
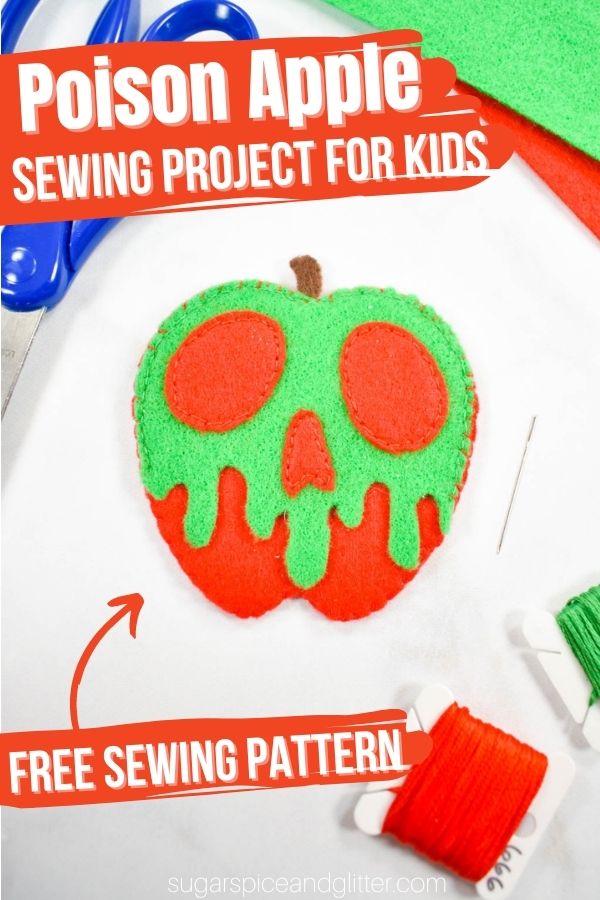
- Poison Apple Mickey Ears Headband
- Wizard of Oz Tin Man – Recycled Craft
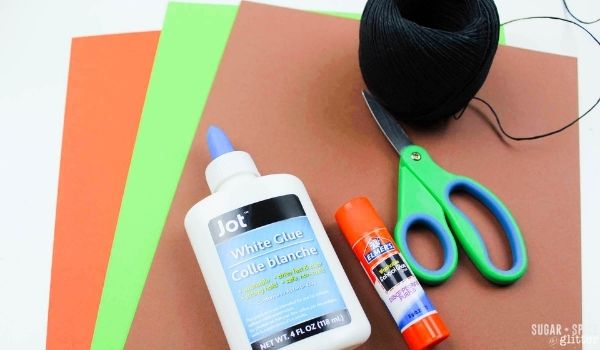
Materials for Mickey Pumpkin Head Ornaments
- Card stock: Orange, Brown and Green
- Glue
- Scissors <– these are the ones we have and they have lasted for years in our daycare, and unlike some other safety scissors – they actually cut things!
- Ribbon, Thread, Twine Etc.
- Glitter, optional
- Printable Mickey Head Pumpkin Ornament Template
Tip: if you don’t want to grab multiple colors of cardstock, print on white cardstock and use coloring markers or pencils to color in the designs.
How to Make a Mickey Pumpkin Ornament
First, assemble your craft materials.
Download and print out the Mickey Pumpkin Head Ornament template. Pay attention to the colors that the PDF instructs you to print each page of the template on:
- Mickey Head Shapes on the orange cardstock
- Leaf Shapes on the green cardstock
- Pumpkin Stem Shapes on the brown cardstock
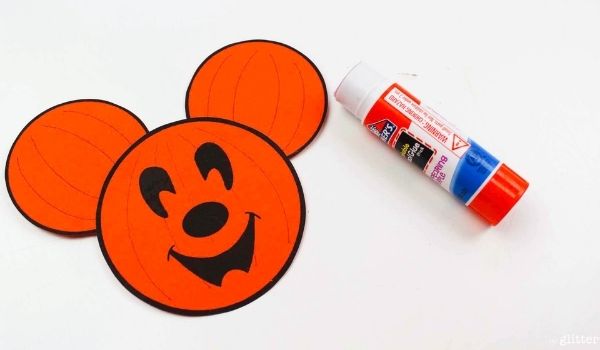
Cut out all ornament pieces.
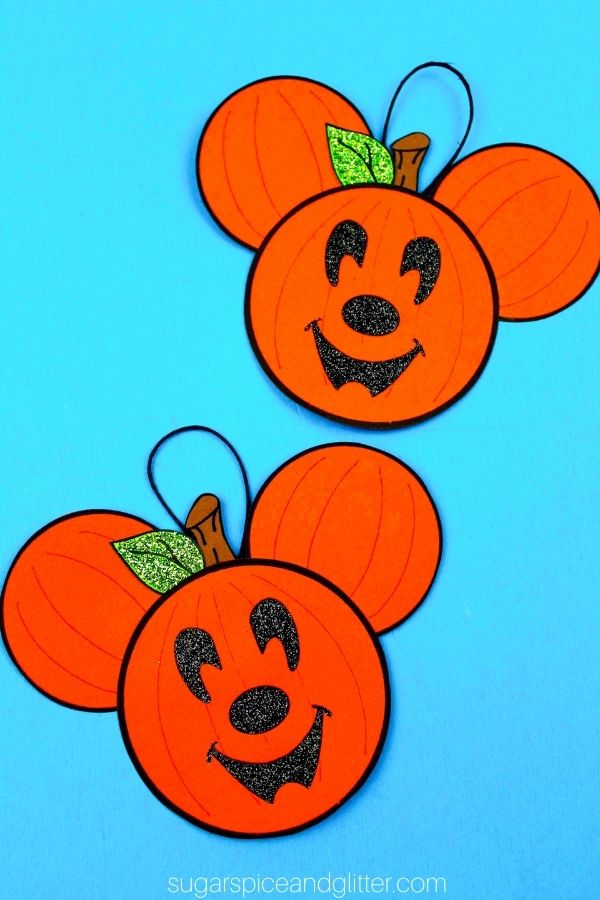
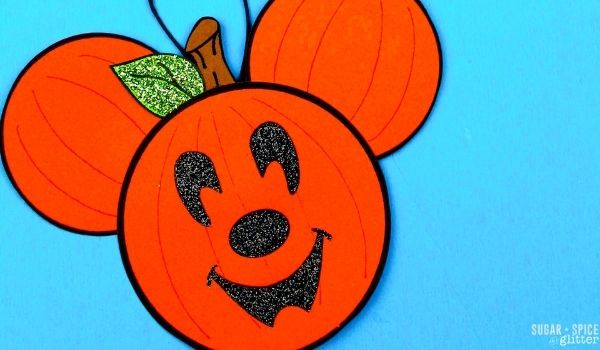
Start assembling the Mickey pumpkin ornaments by gluing the leaf and stem shapes onto the back of the Mickey Head shape, at the very top.
Glue the Mickey Ears behind the Mickey face, about a finger width’s apart, with the leaf and stem in between.
Apply a very light amount of glue to the areas that you would like to add glitter, if using. I find a paintbrush can be really helpful with this step.
Sprinkle the glitter onto the glue and shake off the excess.
Cut a small length of ribbon or twine (about 4″) and create a loop. Glue to the back of the pumpkins.
(If you’d like to cover the ribbon, you can use a small circle of orange cardstock to cover, or make these pumpkin ornaments double-sided.)
Pin this Easy Mickey Pumpkin Head craft for kids:
Grab your free printable instructions and don’t forget to grab your free :
Want to Save This Recipe?
Enter your email & I'll send it to your inbox. Plus, get great new recipes from me every week!
By submitting this form, you consent to receive emails from Sugar, Spice and Glitter.
Mickey Pumpkin Ornaments
A super quick and easy Mickey Pumpkin Head ornament with free printable template.
Materials
- Card stock: Orange, Brown and Green
- Glue
- Ribbon, Thread, Twine Etc.
- Glitter, optional
- Printable Mickey Head Pumpkin Ornament Template
Tools
- Scissors
- Printer
Instructions
- First, assemble your craft materials.
- Download and print out the Mickey Pumpkin Head Ornament template. Pay attention to the colors that the PDF instructs you to print each page of the template on:
- Mickey Head Shapes on the orange cardstock
- Leaf Shapes on the green cardstock
- Pumpkin Stem Shapes on the brown cardstock
- Cut out all ornament pieces.
- Start assembling the Mickey pumpkin ornaments by gluing the leaf and stem shapes onto the back of the Mickey Head shape, at the very top.
- Glue the Mickey Ears behind the Mickey face, about a finger width's apart, with the leaf and stem in between.
- Apply a very light amount of glue to the areas that you would like to add glitter, if using. I find a paintbrush can be really helpful with this step.
- Sprinkle the glitter onto the glue and shake off the excess.
- Cut a small length of ribbon or twine (about 4") and create a loop. Glue to the back of the pumpkins.
- (If you'd like to cover the ribbon, you can use a small circle of orange cardstock to cover, or make these pumpkin ornaments double-sided.)
Recommended Products
As an Amazon Associate and member of other affiliate programs, I earn from qualifying purchases.
-
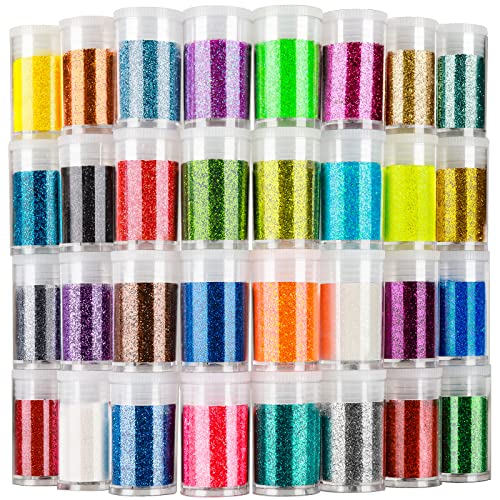
 Fine Slime Glitter, Set of 32 Colors, LEOBRO Multi Purpose Glitter Powder for Arts, Crafts, Epoxy Tumblers, Decoration Weddings Cards Flowers, Scrapbooking, Body, Face, Nail, Glitter Slime Making
 -
Astrobrights Colored Cardstock, 8.5” x 11”, 65 lb / 176 gsm, "Spectrum" 25-Color Assortment, 75 Sheets (80944-01)
-
Westcott Soft Handle Kids Scissors with Anti-Microbial Protection, Assorted Colors, 5" Pointed (14597-030)


I hope your kids love getting to make their own Mickey Pumpkin Head ornaments! Let me know how you end up displaying them.
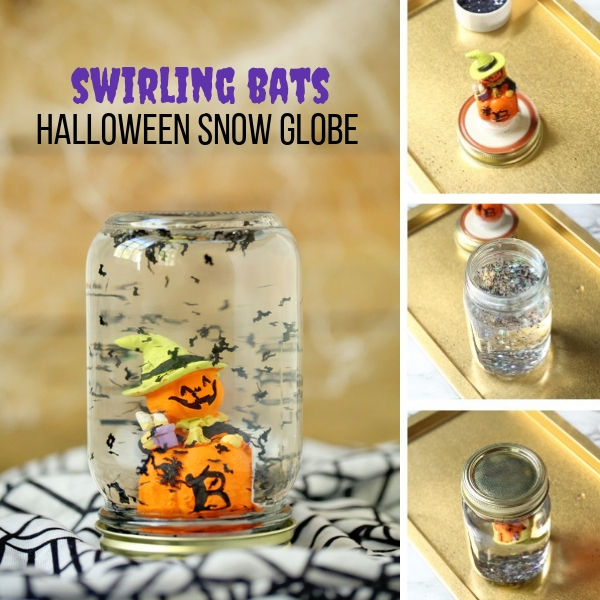
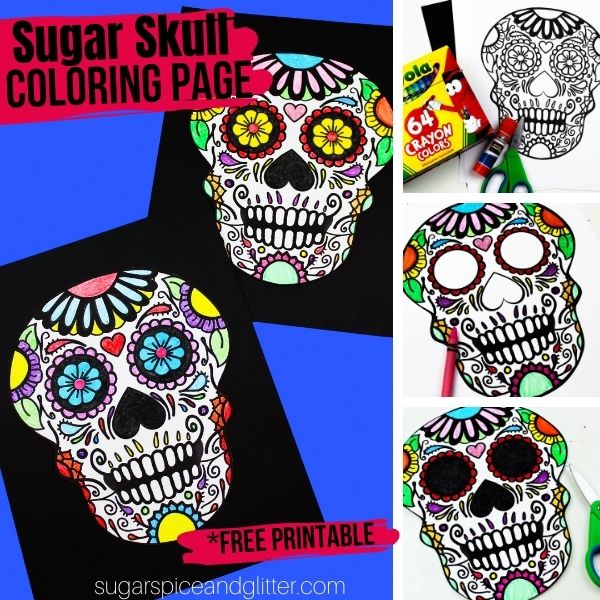
For more easy Halloween crafts for kids, check out our Swirling Bats Snow Globe (with video) or our Printable Sugar Skull Coloring Page.

Why Pawning Is Smarter Than Selling in a Pinch
Need quick cash but don’t want to lose your valuables forever? Pawning offers a way to borrow against your items with the option to get them back. Learn more at https://dallassuperpawn.com.