
Homemade Thin Mints
Welcome to Sugar, Spice & Glitter! Please note, this post may contain affiliate links. For more details, see our Full Disclosure.


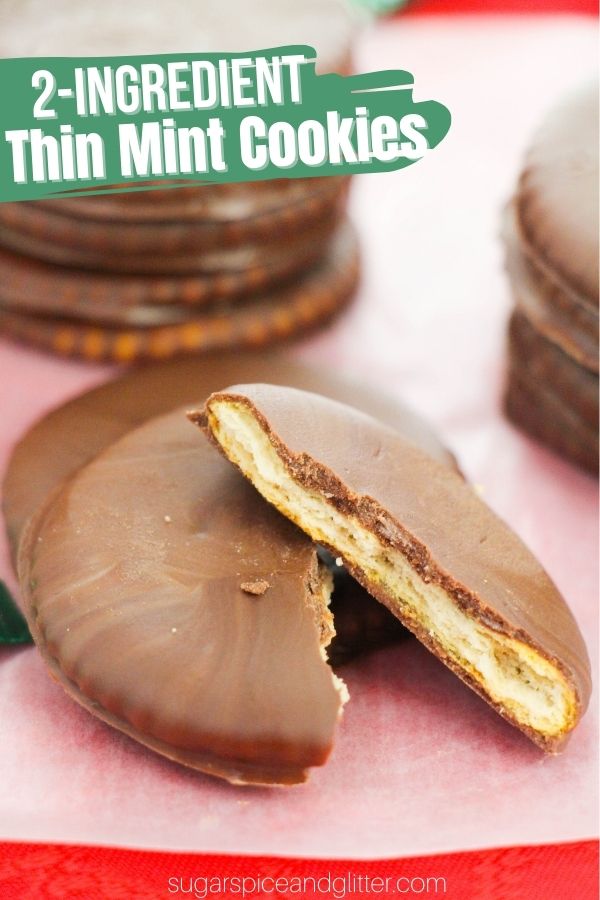
A Homemade Girls’ Scouts cookie recipe that you can enjoy year-round, these Homemade Thin Mint Cookies are a simple chocolate-coated mint chocolate cookie made using everyday ingredients. Perfect for holiday gifting or whenever a mint chocolate craving strikes!

Copycat Girls Scout Thin Mints Recipe
What’s your favorite Girl’s Scouts cookie?
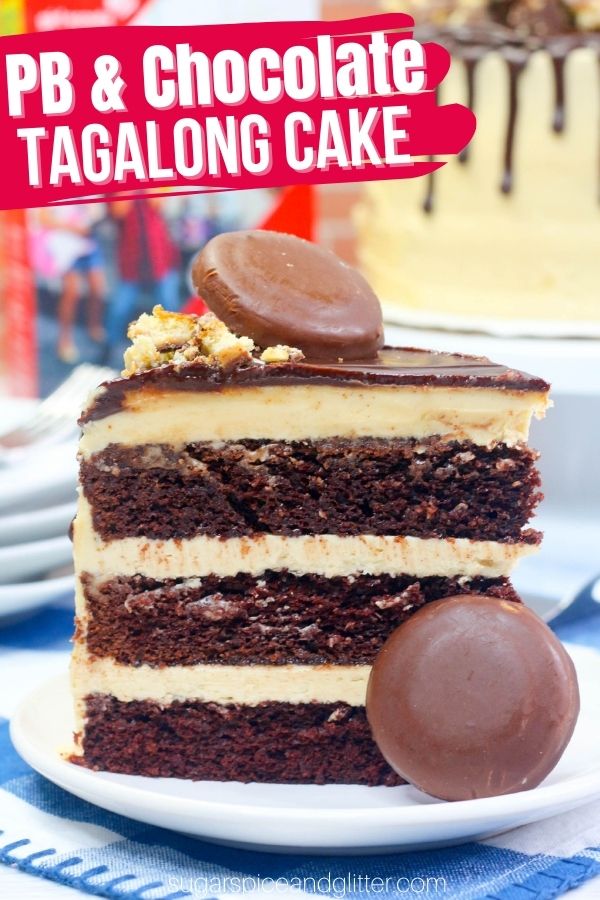
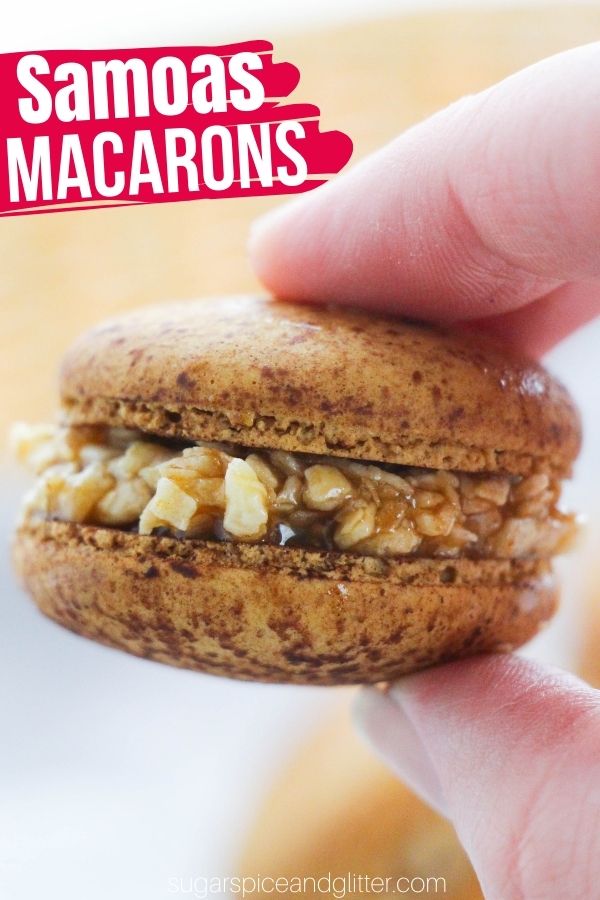
I’m partial to the traditional sandwich cookies or a caramel-coconut Samoa, but honestly, anytime my daughter’s friends hit me up to buy a box, I’m buying whatever they are selling!
However, is it just me, or is it whenever you are craving one specific Girl Scout’s cookie, it’s not in season? So, I’m determined to figure out easy, homemade versions of my favorites – but don’t worry, I’m still going to be supporting my local troops.
Today’s homemade thin mints recipe is super simple to make with everyday ingredients. The cookie is crisp, delicate but with a subtle snap, and coated in luscious and smooth mint chocolate.
By making this recipe at home, you can adjust the mint flavor to your personal preference, swap out the dark chocolate for white or milk, or even try out a variety of other flavor extracts. Personally, I think it would be fun to try to make this in unique shapes for different holidays or birthdays.
Homemade copycat Thin Mint cookies feature crisp chocolate cookies with a delicate mint flavor, coated in smooth dark chocolate. Perfect for holiday baking, gift boxes or anytime you crave a classic Girl Scout treat in your own kitchen.

 Why You’ll Love This Homemade Thin Mints Recipe
 Why You’ll Love This Homemade Thin Mints Recipe
 - A reliable recipe to allow to enjoy the classic Girl Scout recipe year-round, and not just when offered by your local troops.
- Crisp, delicate texture that mirrors the nostalgic favorite while tasting richer and fresher.
- Flexible mint-chocolate balance that can be adjusted to your preference.
- An easy recipe to add to homemade cookie boxes or personalize with unique flourishes, like sprinkles or candy drizzles.
Snackable History Fact: The Girl Scouts originally preserved fruits in response to food shortages in the 1910s and began selling homemade cookies door-to-door in the 1920s. In the 1950s, they introduced three staple varieties: sandwich, shortbread, and Chocolate Mints (what we now know as Thin Mints).

Recipe FAQs
Cookies are best stored in an airtight container in the fridge or freezer for up to 7 days.
Yes, the dough can be wrapped tightly and refrigerated for up to 48 hours or frozen for up to 1 month.
Chilling helps maintain the shape during baking and enhances the crisp texture
Milk chocolate can be used, but the cookies will be sweeter and slightly softer.
Keep them in an airtight container at room temperature for up to a week or freeze for longer storage.
To freeze baked cookies (best method):
Allow the chocolate coating to set completely before freezing.
Place the cookies in a single layer on a parchment-lined baking sheet and freeze for about 45–60 minutes until firm. This prevents them from sticking together.
Transfer the frozen cookies to an airtight freezer bag or container, layering parchment between layers if stacking.
Freeze for up to 3 months.
To freeze the dough:
Shape the dough into a flat disk or cut into cookie rounds. If cutting first, freeze on a cookie sheet for 1 hour before storing.
If freezing the dough, wrap tightly in plastic wrap, then place in a freezer bag.
Freeze for up to 2 months.
Thaw overnight in the refrigerator before rolling and cutting. If already cut, they can be baked from frozen by adding 2 extra minutes to the bake time.

Thin Mint Cookies Ingredients
 Thin Mint Cookies Ingredients
For the cookie dough:
- Unsalted Butter, softened
- Granulated White Sugar – essential for helping develop that crisp texture.
- Egg
- Vanilla Extract – helps round out the chocolate and mint flavors, adding warmth and depth to the cookies.
- Mint Extract – can swap with half the amount of peppermint extract.
- All-Purpose Flour – the moderate protein level of ap flour is essential to the structure and creating a cookie that is crisp but not tough.
- Cocoa Powder – Dutch-processed cocoa yields a smoother, less acidic flavor, while natural cocoa gives a brighter chocolate note.
- Baking Powder
- Salt
For the mint chocolate coating:
- Dark Chocolate Melting Wafers
- Mint Extract
Scroll down to the printable recipe card for full measurements.
Tip: set the butter out 30-60 minutes before starting to make the cookie batter to allow it enough time to soften.

Kitchen Tools You May Find Helpful
- Baking Sheets
- Measuring Cups and Spoons
- Electric Mixer
- Large Mixing Bowl
- Rolling Pin
- Cooling Racks
- Small Microwave-Safe Bowl
- Fork, for dipping

How to Make Thin Mint Cookies
 How to Make Thin Mint Cookies
Preheat oven to 350°F. Line two baking sheets with parchment paper and set aside.
In a large bowl using an electric mixer, cream butter and sugar until smooth and light, about 2-3 minutes.
Add egg, vanilla and mint extract. Mix until fully incorporated, scraping down the bowl’s sides often.
Switch to the paddle attachment if using a stand mixer, as it will make mixing the thick dough easier. Add flour, cocoa powder, baking powder and salt and mix until dough comes together.

On a lightly floured work surface, roll out dough to 3/16-¼ inch thickness. Use a 1.5-2 inch round cutter to cut cookies. Gather scraps and re-roll as needed.
Place the cookie rounds on the prepared baking sheets and chill in the freezer for 10 minutes before baking.
Bake 10-12 minutes or until centers are just set. Allow cookies to cool completely on wire racks.
Melt chocolate wafers in a medium heatproof bowl in 30-second intervals, stirring until smooth. Stir in mint extract.
Using a fork, dip cookies fully into melted chocolate, coating thoroughly. Tap off excess and place on parchment to set.
Once all cookies have been dipped, you can chill in the fridge or freezer to expedite the chocolate setting.
Store in an airtight container at room temperature or freeze for longer storage.

Thin Mint Recipe Variations:
- Thin Mint Sandwich: Spread a thin layer of chocolate ganache or peppermint buttercream between two cookies for a decadent twist.
- Milk Chocolate Coating: Swap out the dark chocolate coating for white or milk chocolate.
- Different Flavor Extracts: Swap out the mint flavor extract for another favorite that combines well with chocolate – like raspberry or caramel!
- Unique Cookie Shapes: Skip the circular cookie cutter and make these cookies in a variety of unique shapes – letters, animals, or seasonal cookie cutters are all great options.
- Add Colorful Garnishes: Sprinkles or candy melt drizzles (or just white chocolate drizzles) are a fun way to jazz up these cookies or theme them to different holidays/events.
- Gluten-Free: Substitute 1:1 gluten-free flour blend for the all-purpose flour to make them suitable for gluten-sensitive guests.
- Mocha Mint: Mix in 1 teaspoon instant espresso powder with the dry ingredients to enhance the chocolate flavor with a subtle coffee note.

Tips for the Perfect Thin Mint Cookies
- Adjust the mint to your personal preference – double it if you love strong mint flavors, or reduce it if you just want a faint aftertaste.
- Lightly flour the work surface to prevent sticking but avoid over-flouring, which can make cookies dry.
- Don’t forget to chill the cookies – it’s essential to helping them develop a sturdy texture that will stand up to the chocolate coating and prevent them from spreading too much in the oven.
- Roll the dough evenly to ensure even baking and that all cookies get the same crisp texture.
- Keep the dough cool while working. If the dough becomes soft or sticky during rolling, place it in the refrigerator for 10 minutes before continuing. Cooler dough creates cleaner cuts and sharper edges.
- Avoid overbaking. The cookies should look set but not dry or cracked at the 10-12 minute mark, but if your oven runs hot they may need be removed earlier. They will continue to firm up as they cool, creating the signature thin mint snap.
- Allow the chocolate coating to dry on parchment or silicone baking mats to prevent sticking and keep the bottoms smooth.
More Girl Scouts’ Inspired Recipes

Pin this Homemade Thin Mint Cookies recipe That Rivals the Original:


Printable Recipe Card:
 Printable Recipe Card:
Grab your free printable recipe card for our Homemade Thin Mint Cookies recipe.
If you tried this recipe and loved it too, please rate it! We’d also love to hear your thoughts in the comments.
For more delicious recipes delivered straight to your inbox, be sure to subscribe to our free weekly newsletter.
Want to Save This Recipe?
Enter your email & I'll send it to your inbox. Plus, get great new recipes from me every week!
By submitting this form, you consent to receive emails from Sugar, Spice and Glitter.
Thin Mint Cookies

A Homemade Girls' Scouts cookie recipe that you can enjoy year-round, these Homemade Thin Mint Cookies are a simple chocolate-coated mint chocolate cookie made using everyday ingredients. Perfect for holiday gifting or whenever a mint chocolate craving strikes!
Ingredients
For the cookie dough:
- 1 cup unsalted butter, softened
- 1 cup white sugar
- 1 egg
- 1 teaspoon vanilla extract
- ½ teaspoon mint extract (or ¼ teaspoon peppermint extract)
- 2 cups all-purpose flour
- ½ cup cocoa powder
- 1 teaspoon baking powder
- ½ teaspoon salt
For the mint chocolate coating:
- 10 oz dark chocolate melting wafers
- ½ teaspoon mint extract (or ¼ teaspoon peppermint)
Instructions
- Preheat oven to 350°F. Line two baking sheets with parchment paper and set aside.
- In a large bowl using an electric mixer, cream butter and sugar until smooth and light, about 2-3 minutes.
- Add egg, vanilla and mint extract. Mix until fully incorporated, scraping down the bowl's sides often.
- Switch to the paddle attachment if using a stand mixer, as it will make mixing the thick dough easier. Add flour, cocoa powder, baking powder and salt and mix until dough comes together.
- On a lightly floured work surface, roll out dough to 3/16-¼ inch thickness. Use a 1.5-2 inch round cutter to cut cookies. Gather scraps and re-roll as needed.
- Place the cookie rounds on the prepared baking sheets and chill in the freezer for 10 minutes before baking.
- Bake 10-12 minutes or until centers are just set. Allow cookies to cool completely on wire racks.
- Melt chocolate wafers in a medium heatproof bowl in 30-second intervals, stirring until smooth. Stir in mint extract.
- Using a fork, dip cookies fully into melted chocolate, coating thoroughly. Tap off excess and place on parchment to set.
- Once all cookies have been dipped, you can chill in the fridge or freezer to expedite the chocolate setting.
- Store in an airtight container at room temperature or freeze for longer storage.
Recommended Products
As an Amazon Associate and member of other affiliate programs, I earn from qualifying purchases.
-
 Patelai 12 Pcs Candy Dipping Tools Set Included 10 Pcs Chocolate Dipping Fork Spoons and 2 Pcs Stainless Steel Culinary Decorating Spoons Chef Art Pencil for Decorative Plates
 -
Frontier Co-op Organic Mint Flavor, 2 fl oz. - For Baking and Culinary Use
-
Ghirardelli Melting Wafers Variety Pack with Ghirardelli White Chocolate Melting Wafers and Ghirardelli Dark Chocolate Melting Wafers. One Stop Shopping for the Best Tasting Melting Chocolate Wafers.


Nutrition Information:
Yield:
24Serving Size:
1Amount Per Serving: Calories: 283Total Fat: 13gSaturated Fat: 8gUnsaturated Fat: 6gCholesterol: 31mgSodium: 78mgCarbohydrates: 37gFiber: 2gSugar: 16gProtein: 4g
Sugar, Spice and Glitter uses an auto-generate nutrition calculator. Nutrition information isn’t always accurate unless analyzed in a scientific lab, so these should be considered more of a guideline than medical information.

For more scrumptious cookies, check out our full cookie recipe collection here:

For more decadent desserts, check out our full dessert recipe collection here:


Another area where FunnyNamesLab is very useful is in naming pets. Pets are important companions, and giving them a funny name adds extra joy to daily life. A humorous pet name can match the pet’s behavior or appearance in a creative way. For example, a very active pet might have a calm-sounding Funny borg names, which creates a funny contrast. A small pet might have a big and powerful name, which makes it even more adorable.
Finding the perfect name for such a rare and powerful animal can be an exciting experience, and White Tiger Names offer inspiration drawn from grace, strength, and the mystique of the wild. A well-chosen name can capture the tiger’s striking beauty and bold spirit, giving it a unique and unforgettable identity.
These details make the images feel more alive and dynamic compared to ordinary profile pictures. Even when displayed in small sizes on mobile screens or comment sections, a well-designed funny discord pfp still appears clean and eye-catching. This quality matters because online users quickly judge profiles based on appearance.
Thanks for sharing, I’ve been looking for a good copycat recipe.
Great post thanks for sharing