
DIY: Montessori Rough and Smooth Boards
Welcome to Sugar, Spice & Glitter! Please note, this post may contain affiliate links. For more details, see our Full Disclosure.
One of the easiest DIYs that I have done for Montessori materials thus far has been the Rough and Smooth Boards. This is a sensory material used for the Primary level which teaches gradation of texture, refines the tactile sense, and encourages “lightness of touch.”
This is the perfect material to introduce before the DIY Sandpaper Letters.
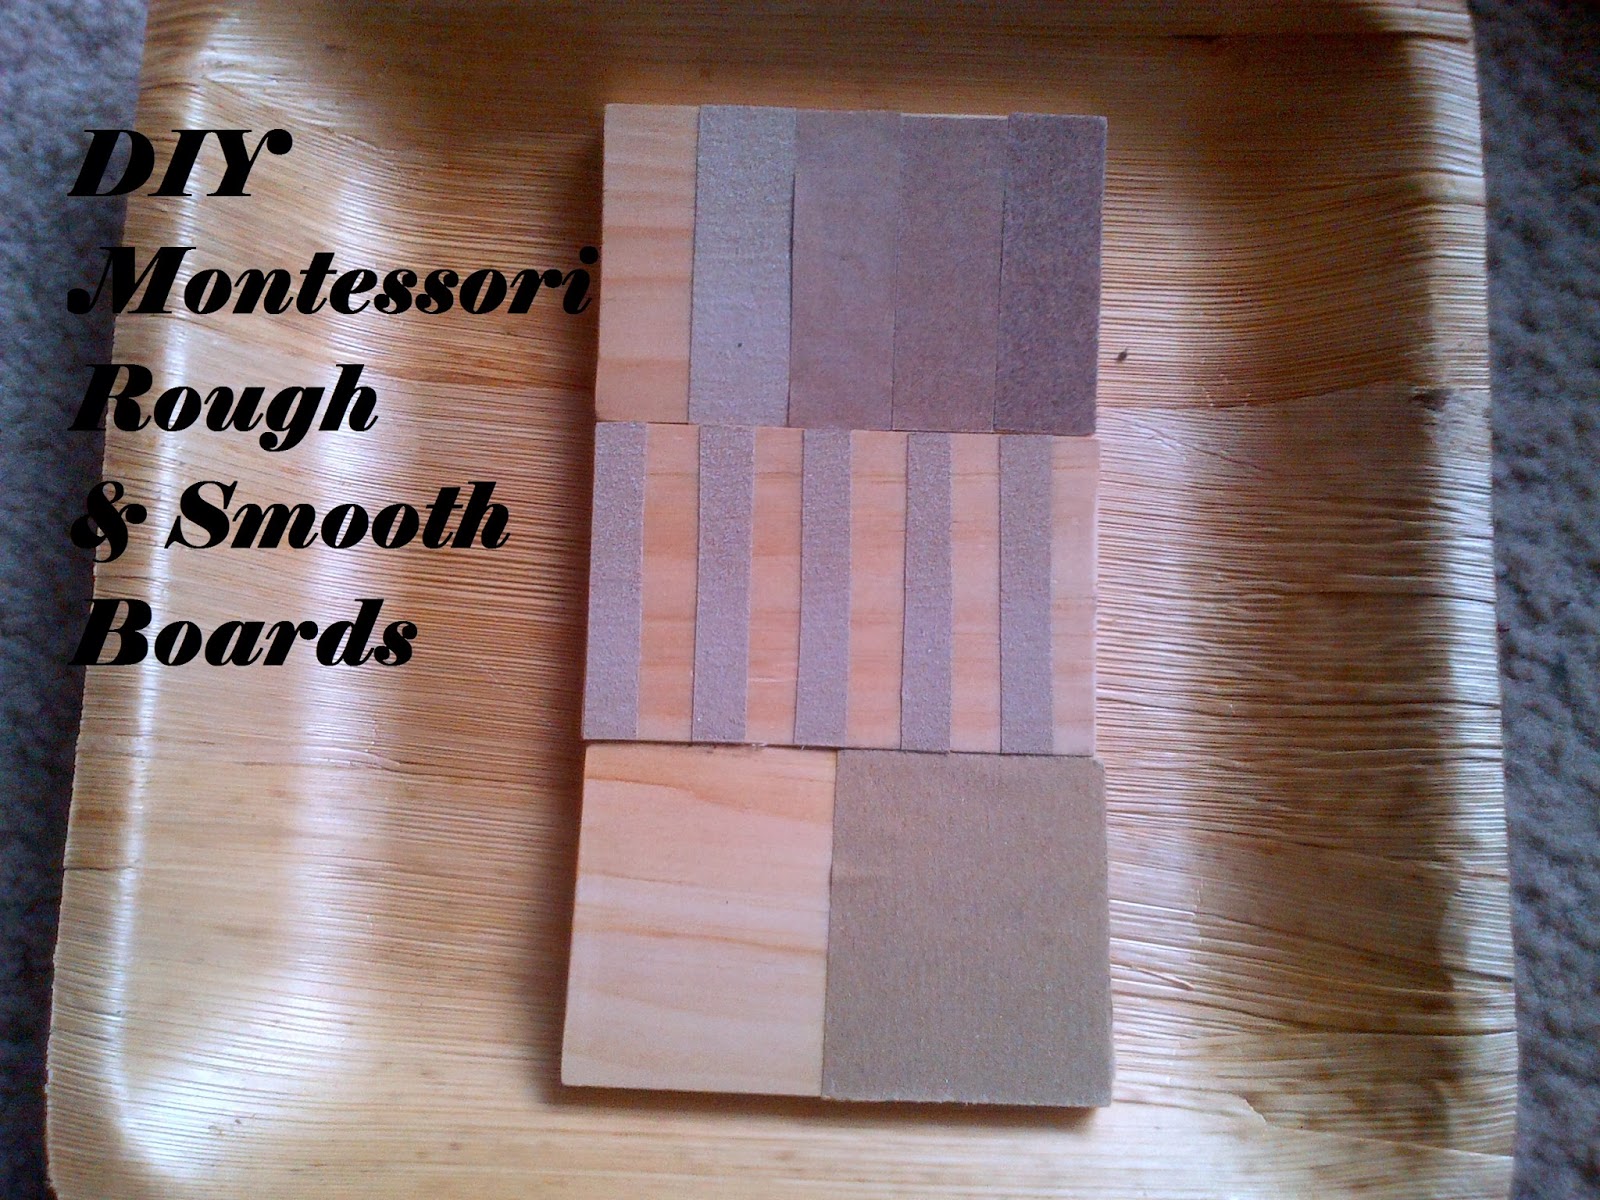
The set consists of three wooden boards:

- Board 1 is divided in half, one half being polished and smooth, the other have being covered in sandpaper and rough
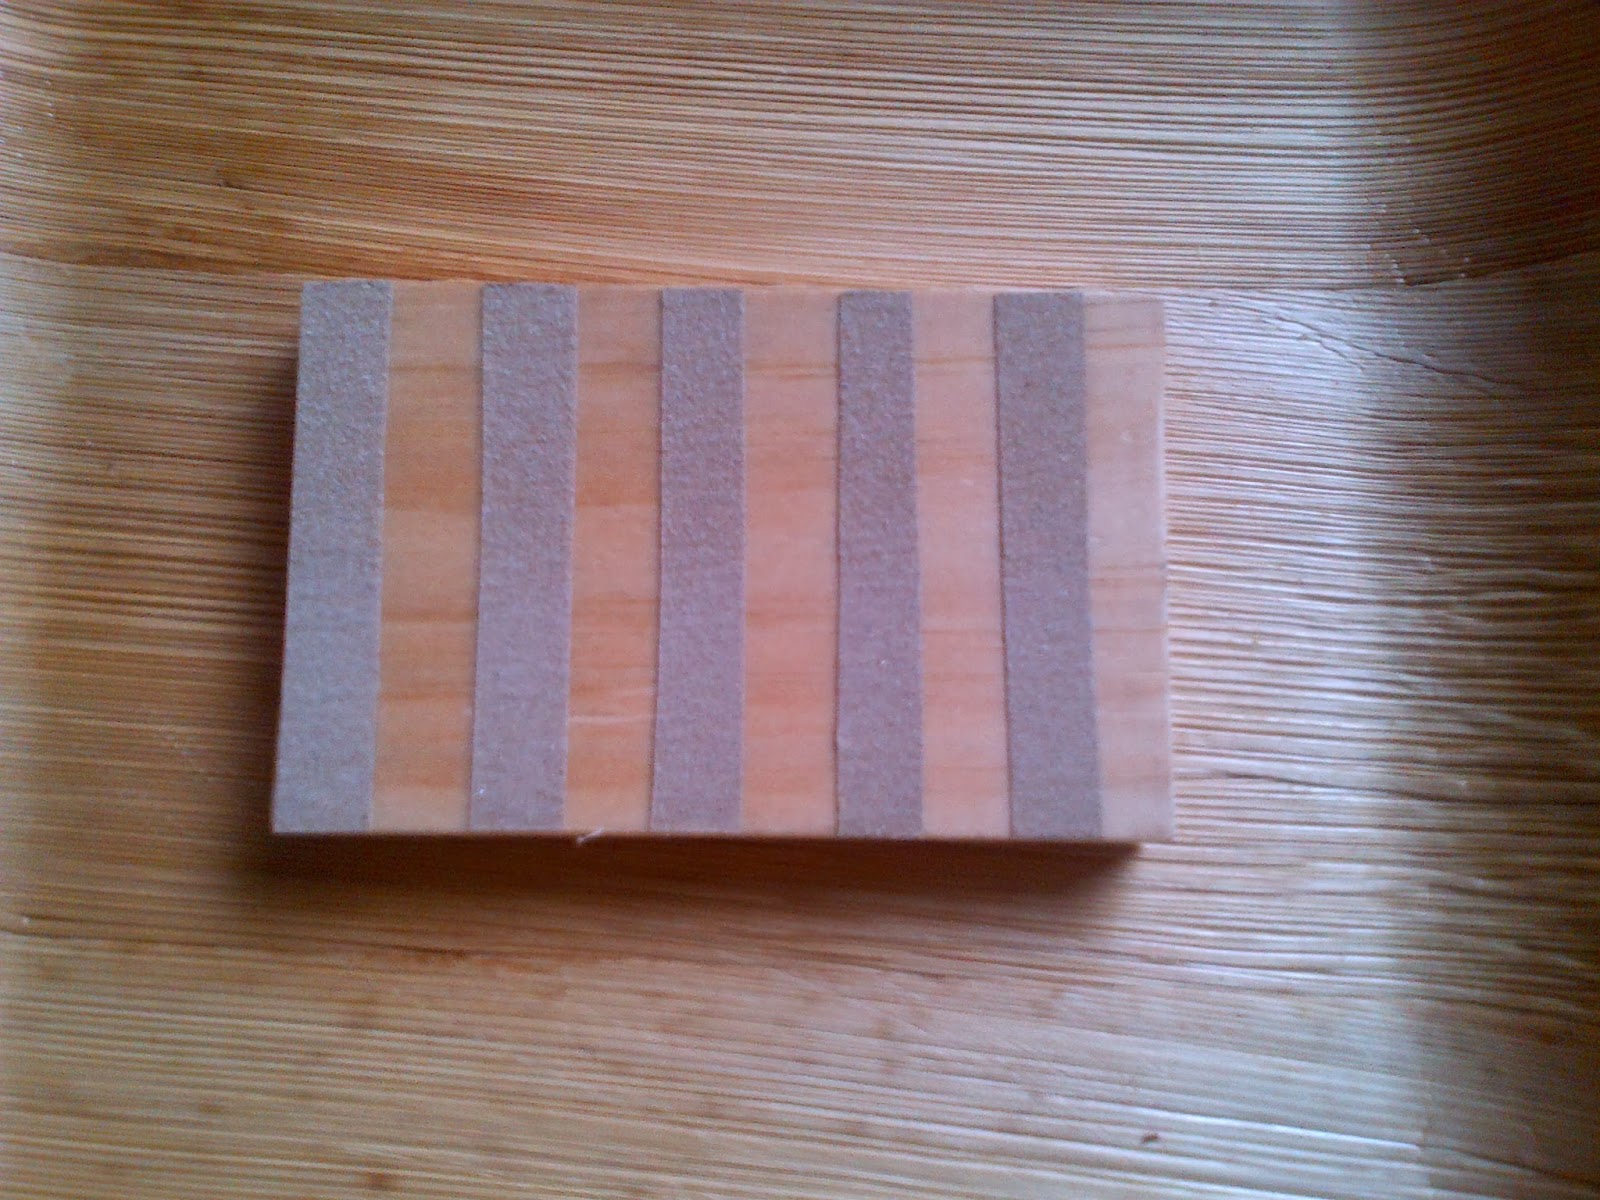
- Board 2 is divided into ten equal parts, alternating between smooth, polished strips, and rough, sandpaper-covered strips

- Board 3 is divided into five equal parts, starting with a smooth, polished strip and progressively rougher as the gradations of sandpaper increases
You will need:
- 3 equal boards (I did 3 boards of 3″x5″)
- White Glue
- 4 differing gradations of sandpaper (I found mine at a ReStore, but you can likely find one in a Dollarstore hardware section)
Sand and polish your boards.
(1) Divide the first board in half and attach sandpaper to one half with white glue.
(2) Divide the second board into ten, measure your “strips” and cut out sandpaper in the corresponding widths. Attach the sandpaper to the board, alternating one bare/smooth strip before every sandpaper-covered/rough strip.
(3) Divide the third board in five, measure your strips and cut out one strip from each of four gradations of sandpaper. Leave the first strip bare/smooth, and then attach the finest gradation of sandpaper to the board using the white glue, then the next gradation up, until the roughest gradation is the last strip.
Let the glue dry, cut off excess (with a pair of scissors that can take the beating from the sandpaper), and place in the desired tray or box. You can choose to seal the edges with Modge Podge, but I didn’t find this necessary.
Presentation:
When the child shows interest in the Boards, start with Board One. Show the child how to stroke each surface with just their pointer and middle fingers, allow them to repeat, and then label the textures as “rough” or “smooth.” Repeat with Board Two. With Board Three, introduce the descriptive concepts of “rougher” and “smoother.”
NOTE: You can also make the “Touch Boards” which are a series of boards all with individual grades of sandpaper, which we will post tomorrow. But the 3rd tablet can replace its use.
These are fantastic!! We made them as well:) Pinning to my DIY Montessori Materials board!!
Thanks, Cherine!