
DIY Agate Candy Slices: Candy Science
Welcome to Sugar, Spice & Glitter! Please note, this post may contain affiliate links. For more details, see our Full Disclosure.
Candy Science is definitely one of the most exciting ways to get kids learning in the kitchen, and today we’re bringing an a delicious twist to our rock exploration with these DIY Agate Candy Slices.
This month’s 12 Months of Montessori topic is Earth Science, and with a little rock collector on my hands that seemed like the perfect way to put some of her rocks to good use… but somehow we ended up making candy instead!
We first purchased agate slices for our light table a few years ago and they are always a subject of fascination, and learning that most of the world’s agates are found in ancient volcanic lava just makes them even cooler.
Agates naturally develop in hollow rocks when trapped quartz molecules develop microcrystals, which self-organize layer-by-layer to form pretty patterns and bands. The colors and patterns are influenced by changes in pressure, temperature and any impurities that occurred during the formation process. (For more information on Agate rocks, check out the Agate Lady’s website.)
If possible, it’s really cool to get to look at real agate slices before doing this activity. The ones I linked to above were really affordable, but you can also look at pictures online or see if there is a local geology exhibit that you can visit.

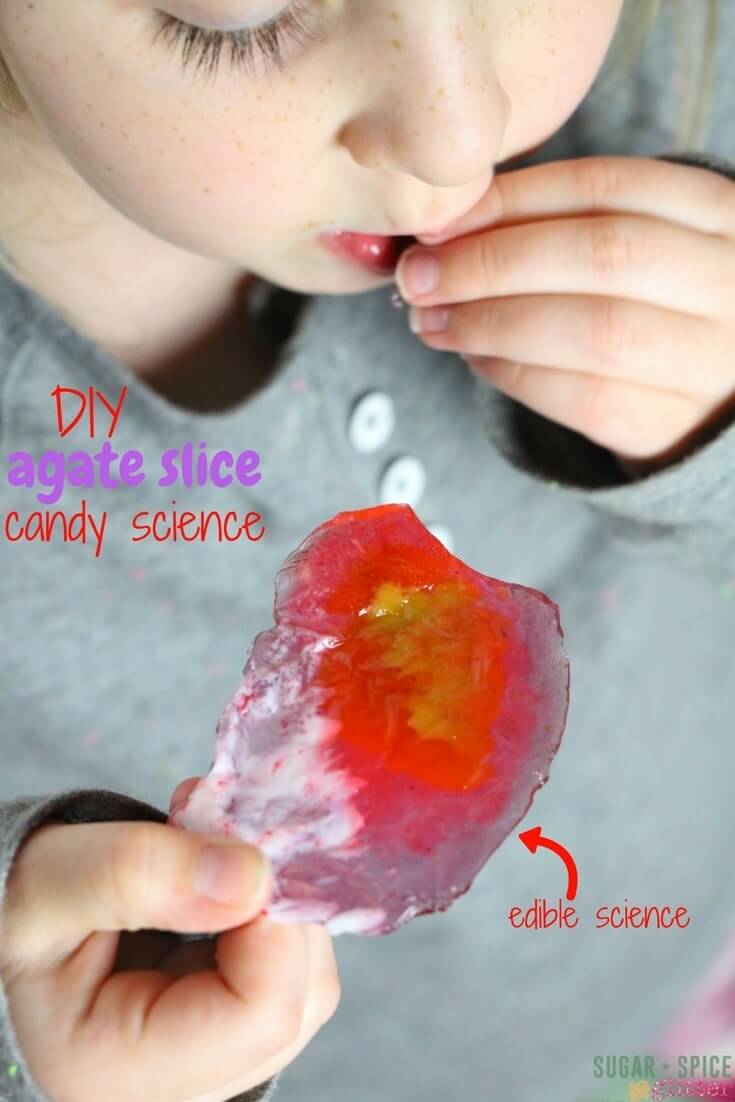
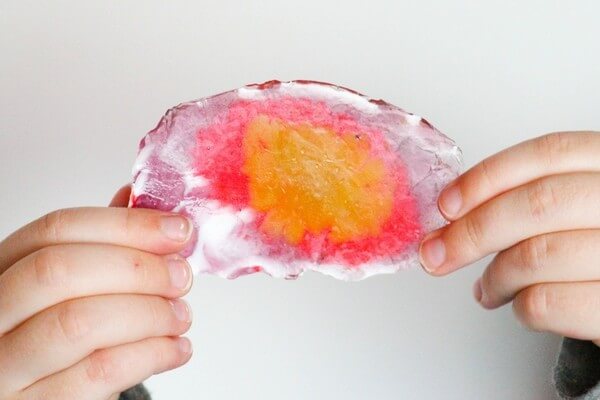
To make our own DIY Agate Slices, we broke up a variety of hard candies into “crystals,” placed them in homemade rock molds and then put them under heat to change their physical appearance.
This is a really cool kitchen science experiment that shows examples of both property changes and chemical changes – we’re changing the physical structure of the candies by smashing them (property change) and creating new bonds between different types of candy under heat (chemical change).
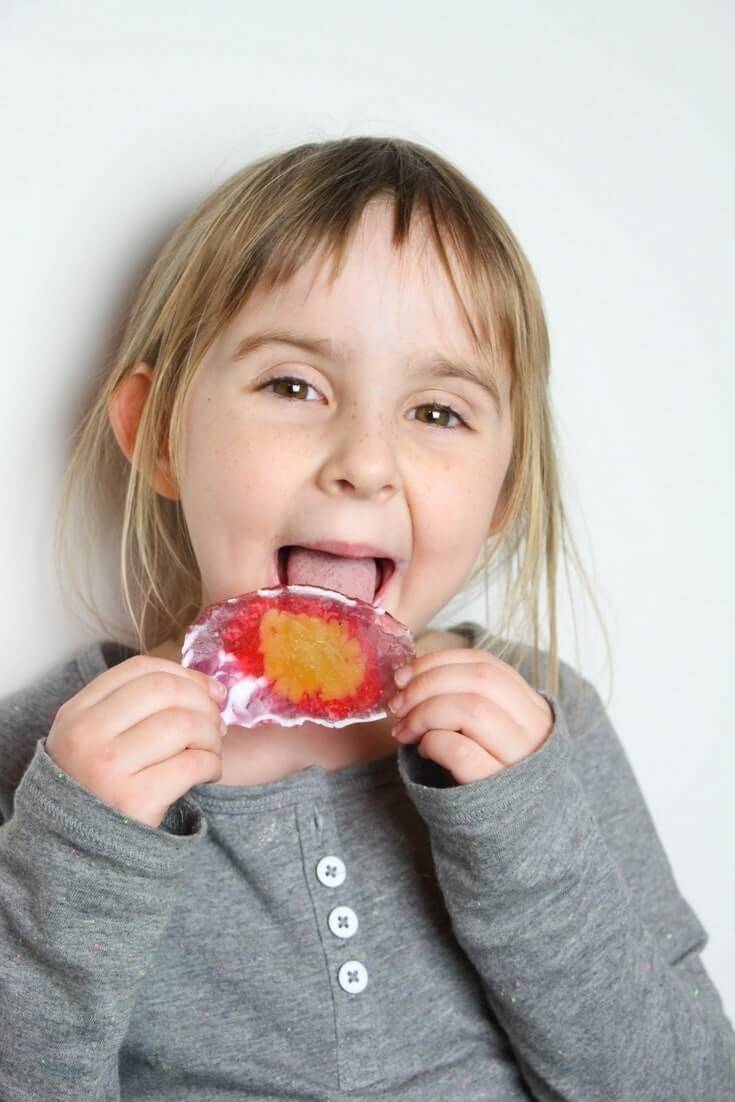
These DIY Agate Candies turned out so beautifully and was the perfect kitchen science experiment for my little rock collector. It has only deepened her love and fascination for the wide world of rocks!
You could use these DIY Agate Slices to decorate a cake or as a party favor for a science party. Ella enjoyed one as a special treat after our science lesson and is excited to give the rest to our family members after she has shared with them all of her Agate knowledge!

Materials to Make Candy Agate Slice
- Variety of hard candies, 5 of each
- Zip top bags
- Tinfoil (aluminum foil)
- Kitchen mallet or rolling pin
- Cutting board or hard surface
- Cookie sheet
- Small bowls and spoons
- Black edible glitter, optional
- Small paintbrush, optional
Tip: we used mostly fruit candies with a few hard peppermints and hard
How to Make Candy Rock Slices
Preheat your oven to 300F
Form your agate crystal rock molds by folding a 6″ length of tinfoil in half and turning up the edges, shaping into a “bean shape.” Look at examples of agate crystals on Google for inspiration.
Place the tin foil molds on your cookie sheet and set aside.

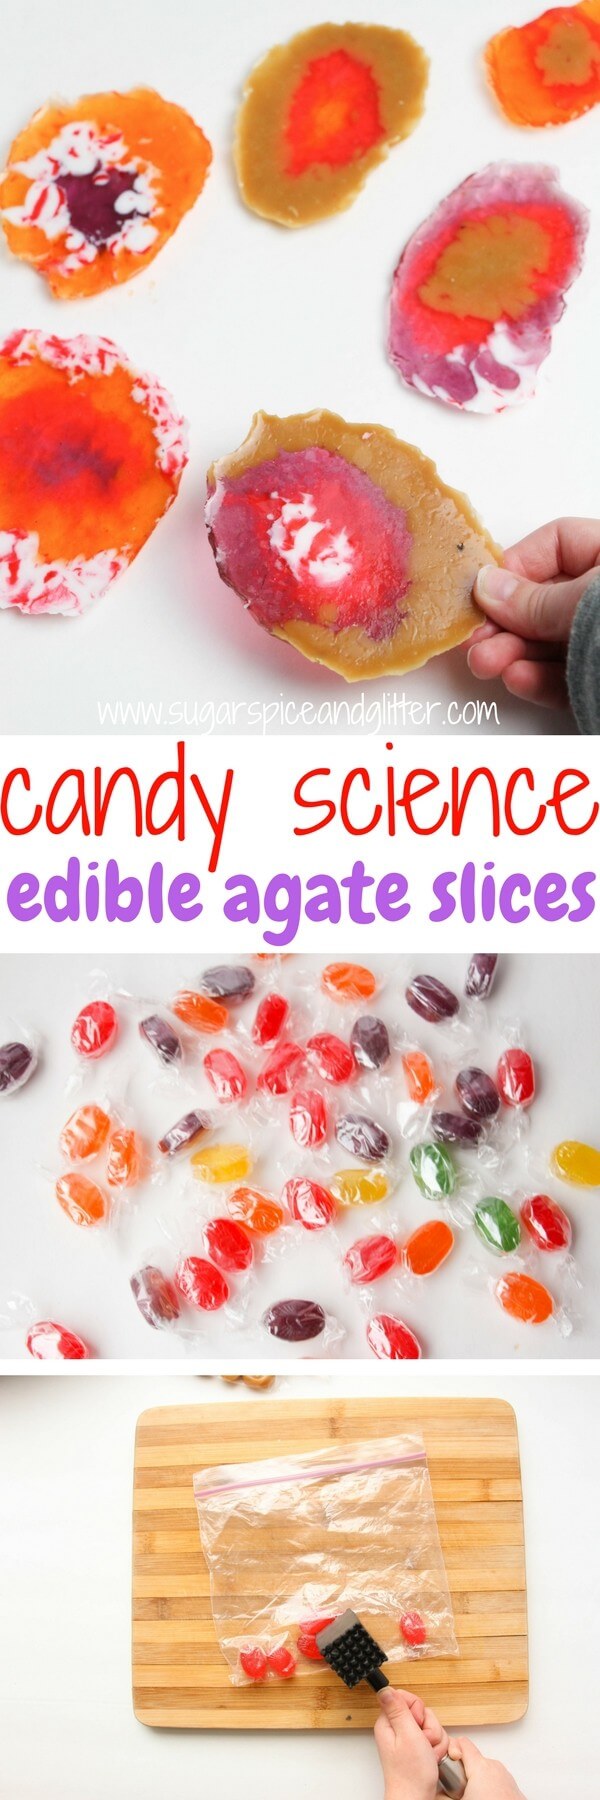
Select a variety of different colored candies and unwrap them all.
Place all of the candies into separate zip-top baggies.


And smash them into small pieces with a kitchen mallet or rolling pin.
Place all of the smashed candies into small bowls with spoons.

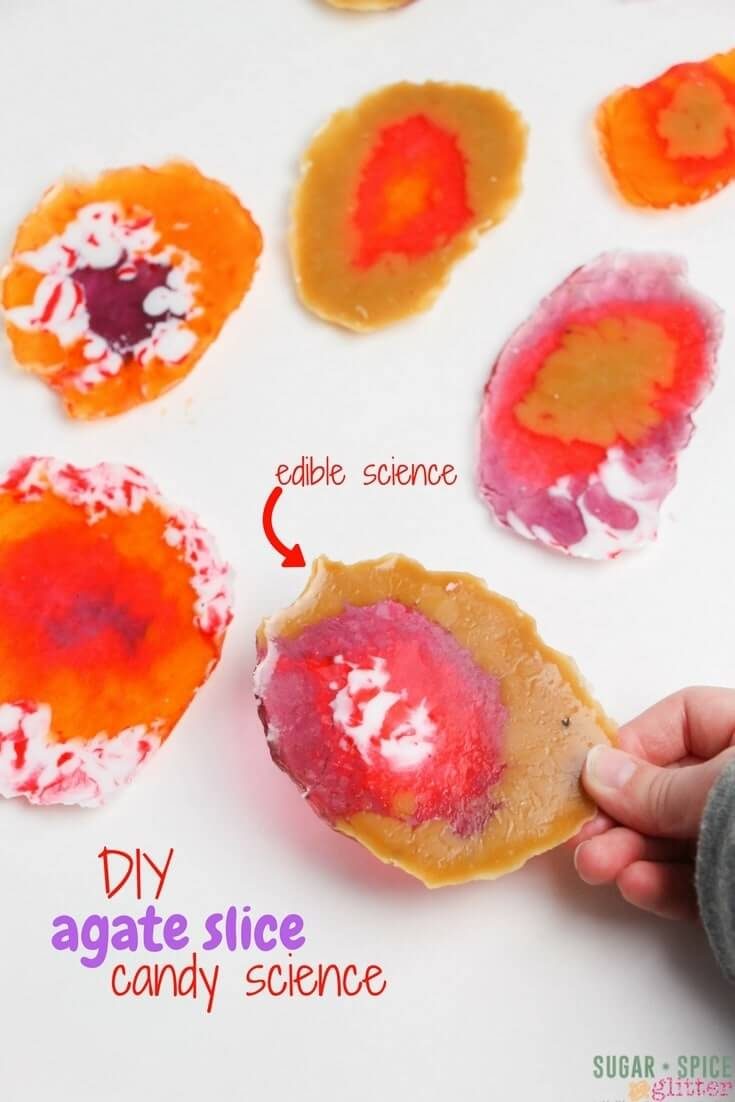
Fill in your agate crystal molds by spooning small amounts of the crushed candies into rings. We found it easier to work from the outside in after getting frustrated with a couple working from the inside out.

Make sure there are no empty spaces and your candy ring layers are not too thin. Ours was about 1/8″ thick but you can make it even thicker. (Too thin and they will snap easily.)

Bake them for just 3-5 minutes, watching carefully.
Remove them from the oven as soon as the crushed candies seem melted.

Let them cool on the cookie sheet and then carefully remove the tinfoil molds.
You can shape your agate slices with a sharp knife afterwards, or paint the edges black with a bit of edible black glitter mixed with water (to suggest the outer rock layer) – but we loved how ours turned out!

Pin this Edible Candy Science Experiment:
Grab your free printable to make your own candy agate slices:
Want to Save This Recipe?
Enter your email & I'll send it to your inbox. Plus, get great new recipes from me every week!
By submitting this form, you consent to receive emails from Sugar, Spice and Glitter.
DIY Agate Candy Slices: Candy Science
Science you can eat! This fun candy science experiment explores how agate crystals are formed in a delicious, hands-on science experiment that kids can eat
Ingredients
- Variety of hard candies, 5 of each
- Zip top bags
- Tinfoil (aluminum foil)
- Kitchen mallet or rolling pin
- Cutting board or hard surface
- Cookie sheet
- Small bowls and spoons
- Black edible glitter, optional
- Small paintbrush, optional
Instructions
- Preheat your oven to 300F
- Form your agate crystal rock molds by folding a 6" length of tinfoil in half and turning up the edges, shaping into a "bean shape." Look at examples of agate crystals on Google for inspiration.
- Place the tin foil molds on your cookie sheet and set aside.
- Select a variety of different colored candies and unwrap them all.
- Place all of the candies into separate zip-top baggies.
- And smash them into small pieces with a kitchen mallet or rolling pin.
- Place all of the smashed candies into small bowls with spoons.
- Fill in your agate crystal molds by spooning small amounts of the crushed candies into rings. We found it easier to work from the outside in after getting frustrated with a couple working from the inside out.
- Make sure there are no empty spaces and your candy ring layers are not too thin. Ours was about 1/8" thick but you can make it even thicker. (Too thin and they will snap easily.)
- Bake them for just 3-5 minutes, watching carefully.
- Remove them from the oven as soon as the crushed candies seem melted.
- Let them cool on the cookie sheet and then carefully remove the tinfoil molds.
- You can shape your agate slices with a sharp knife afterwards, or paint the edges black with a bit of edible black glitter mixed with water (to suggest the outer rock layer) - but we loved how ours turned out!
Nutrition Information:
Yield:
16Serving Size:
1Amount Per Serving: Calories: 17Total Fat: 0gSaturated Fat: 0gTrans Fat: 0gUnsaturated Fat: 0gCholesterol: 0mgSodium: 7mgCarbohydrates: 3gFiber: 0gSugar: 2gProtein: 0g
Sugar, Spice and Glitter uses an auto-generate nutrition calculator. Nutrition information isn’t always accurate unless analyzed in a scientific lab, so these should be considered more of a guideline than medical information.
I hope your kids love this fun edible science experiment! Let me know if you give it a try.
For more Montessori-inspired Earth Science ideas, check out:
Teaching Kids About Pollution – Air, Land, & Water Pollution Printables | Natural Beach Living
Weathering and Erosion Printables (24 3-Part Cards) | The Natural Homeschool
Montessori-Inspired Phases-of-the-Moon Playdough Tray | Living Montessori Now
Montessori Botany: Parts of a Flower | Mama’s Happy Hive
Montessori Inspired Volcano Study | The Kavanaugh Report
Montessori Inspired Activities for Earth Science | The Pinay Homeschooler
Montessori Science: Fruit Dissection | Christian Montessori Network
DIY Land Water And Air Jars With Free Printables | Uno Zwei Tutu
Water cycle and weather unit | Welcome to Mommyhood
And for more fun kitchen science activities from us, check out our rainbow water xylophone experiment or ivory soap kitchen science experiment.


This is lovely!