
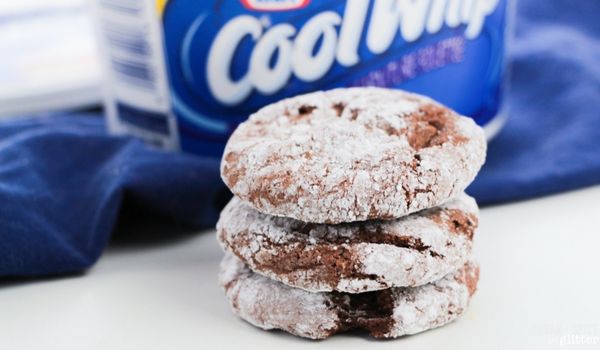
Cool Whip Cookies (with Video)
Welcome to Sugar, Spice & Glitter! Please note, this post may contain affiliate links. For more details, see our Full Disclosure.


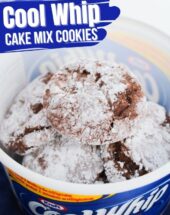

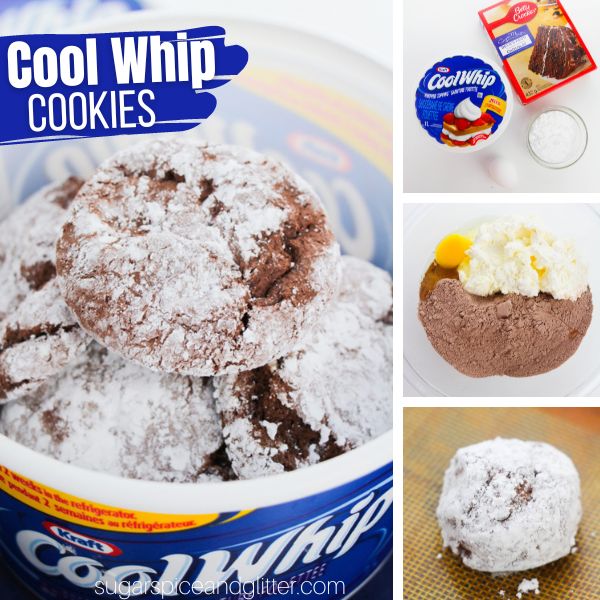
Melt-in-your-mouth, 4-Ingredient Cool Whip Cookies are a delicious treat to make with the kids when you’re pressed for time but want to make a few memories (and sweet treats). Whip them up and bake in less than 15 minutes total!

Cool Whip Cookies Recipe
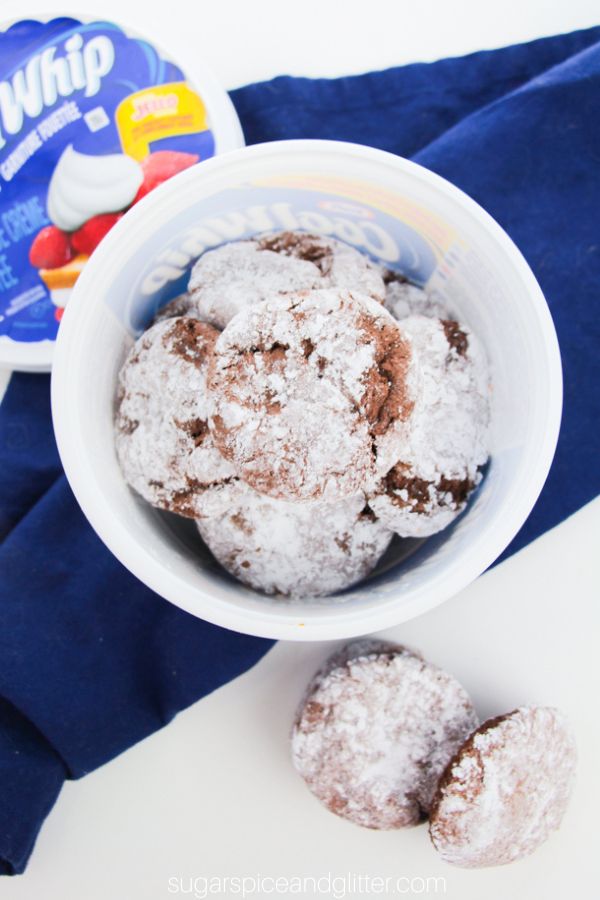
Today’s Cool Whip Cookies are soft, chewy and fluffy – kind of like a brownie in cookie form!
The centre is sticky and chewy, while the exterior of the cookie is crispy and crackly. The Cool Whip and cake mix combine to make a rich, flavorful cookie while the powdered sugar coating adds an extra touch of sweetness.
They taste similar and look the exact same as a traditional crinkle cookie, but are much easier to make, involving less time and fewer ingredients. Cool Whip Cookies have a slightly lighter texture and taste than our cake mix cookies recipes, which use oil in the same way that the Cool Whip is used in this recipe (as the fat).
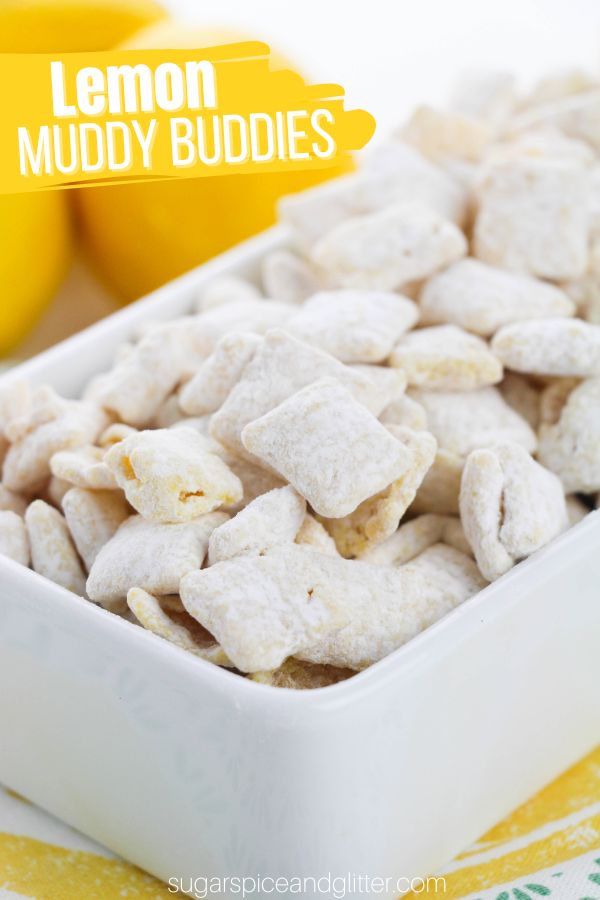
Plus I love that with these Cool Whip Cookies (just like with our cake mix cookies) we can make so many different flavors! My favorite is lemon (made with lemon cake mix) but chocolate is definitely a family favorite around here, too.
These Cool Whip Cookies are an easy recipe to make with the kids – they are perfect for making as a thoughtful gift, especially during the holidays. My daughter LOVES being able to bring her teachers and coaches a homemade treat.

Cool Whip Cookie Variations
- Use different cake mix flavors to make your cookies (lemon, strawberry, chocolate, vanilla, etc)
- Spiced Cool Whip Cookies: use a spice cake mix and then add a bit of cinnamon or pumpkin spice to the powdered sugar coating
- Funfetti Cookies: I would not only use a funfetti cake mix to make a batch, I would also roll the cookie dough balls in sprinkles (instead of powdered sugar) for some added color and crunch!
- Actually, you can add sprinkles to just about any flavor of these cookies and it would be a fun touch.
- Add a handful of chocolate chips to your cookies
- Blossom Cookies: once you remove the cookies from the oven, immediately press a Hershey’s Kiss (or other small chocolate) in the center of the cookies

Pro Tips for Making Cool Whip Cookies
Here are some tips for trouble-shooting these cookies:
- If the dough is too sticky and hard to work with, chill the dough for an hour to make it easier to handle.
- If the dough is too soft, add 1/2 cup flour.
- To reduce calories/sugar, this recipe can be made with sugar-free cool whip
How to store Cool Whip cookies: Cool Whip cookies can be stored in an airtight container at room temperature for up to 5 days. (After that, the texture may change.)
How to freeze Cool Whip cookies: To freeze, place the cookies in a ziptop freezer bag or airtight freezer container with sheets of parchment paper separating any layers of cookies. (This set of freezer containers is a crazy bargain.) Enjoy within 3 months.
Check out our quick recipe video for how to make Cool Whip Cookies – and then don’t forget to scroll down to grab your free printable recipe card:
Cool Whip Cookies Ingredients
Scroll down to the printable recipe card for full measurements.
Tip: add sprinkles, chocolate chips, nuts, etc to the dough for a special touch.

Kitchen Tools You May Find Helpful
- Measuring Cups and Spoons
- Electric mixer <– this is a great hand mixer if you don’t want to make the investment into a stand mixer
- Mixing Bowl
- Small Bowl
- Cookie Scoop
- Cookie Sheet
- Silicone Baking Mat
How to Make Cool Whip Cookies
Preheat oven to 350F.
Line two baking sheets with parchment paper or silicone baking mats. Set aside.
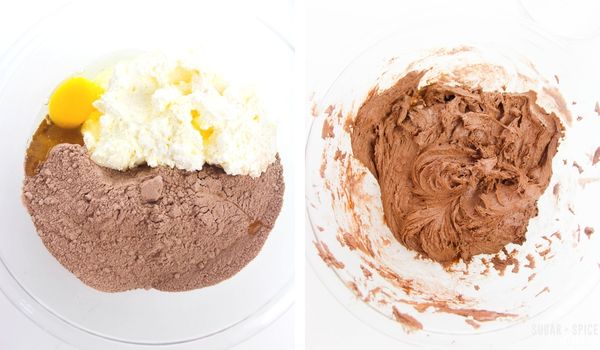
In a large bowl, beat together the cake mix, Cool Whip and egg until well combined and no dry streaks of cake mix remain.
Place the powdered icing sugar in a small bowl.
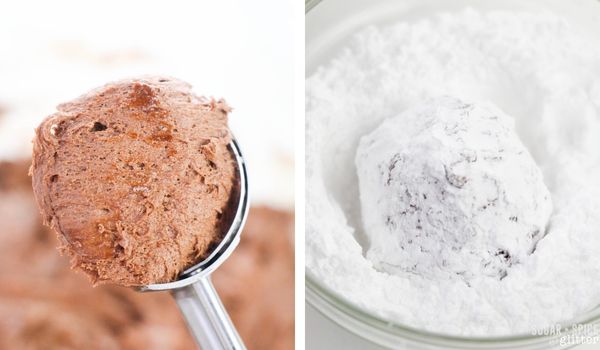
Use a 1.5 Tablespoon cookie scoop to portion out some batter and then drop it into the sugar. Roll the dough around to coat completely, then transfer to the prepared baking sheets.
Repeat with all dough.
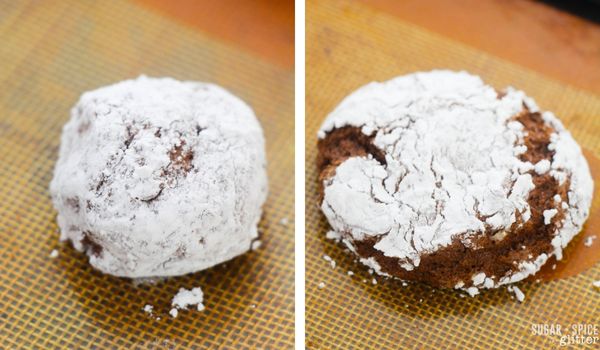
Bake for 10-12 minutes until cracks appear on the surfaces of the cookies and the cracks are no longer glossy.
Pin this Easy 4-Ingredient Cool Whip Cookie recipe for your next baking session:

Grab your free printable recipe card for our 4-Ingredient Cool Whip Cookies recipe:
Want to Save This Recipe?
Enter your email & I'll send it to your inbox. Plus, get great new recipes from me every week!
By submitting this form, you consent to receive emails from Sugar, Spice and Glitter.
Cool Whip Cookies
Ingredients
- 1 box Cake Mix
- 2 cups Cool Whip, thawed
- 1 Egg
- 1/3 cup Powdered Sugar
Instructions
- Preheat oven to 350F.
- Line two baking sheets with parchment paper or silicone baking mats. Set aside.
- In a large bowl, beat together the cake mix, Cool Whip and egg until well combined and no dry streaks of cake mix remain.
- Place the powdered icing sugar in a small bowl.
- Use a 1.5 Tablespoon cookie scoop to portion out some batter and then drop it into the sugar. Roll the dough around to coat completely, then transfer to the prepared baking sheets.
- Repeat with all dough.
- Bake for 10-12 minutes until cracks appear on the surfaces of the cookies and the cracks are no longer glossy.
Recommended Products
As an Amazon Associate and member of other affiliate programs, I earn from qualifying purchases.


Nutrition Information:
Yield:
22Serving Size:
1Amount Per Serving: Calories: 120Total Fat: 3gSaturated Fat: 2gTrans Fat: 0gUnsaturated Fat: 0gCholesterol: 8mgSodium: 178mgCarbohydrates: 23gFiber: 0gSugar: 14gProtein: 1g
Sugar, Spice and Glitter uses an auto-generate nutrition calculator. Nutrition information isn’t always accurate unless analyzed in a scientific lab, so these should be considered more of a guideline than medical information.
I hope your family loves these easy Cool Whip Cookies as much as mine does!
For more decadent desserts, check out our full dessert recipe collection here:

For more scrumptious cookies, check out our full cookie recipe collection here:


These were so good! We ate them up in 2 days. Can’t wait to make them again.
I’m so glad – and also, sorry they only lasted 2 days! At least they are easy to make.