3D Haunted House Paper Craft
Welcome to Sugar, Spice & Glitter! Please note, this post may contain affiliate links. For more details, see our Full Disclosure.
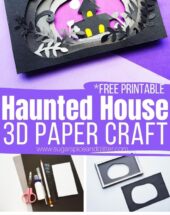
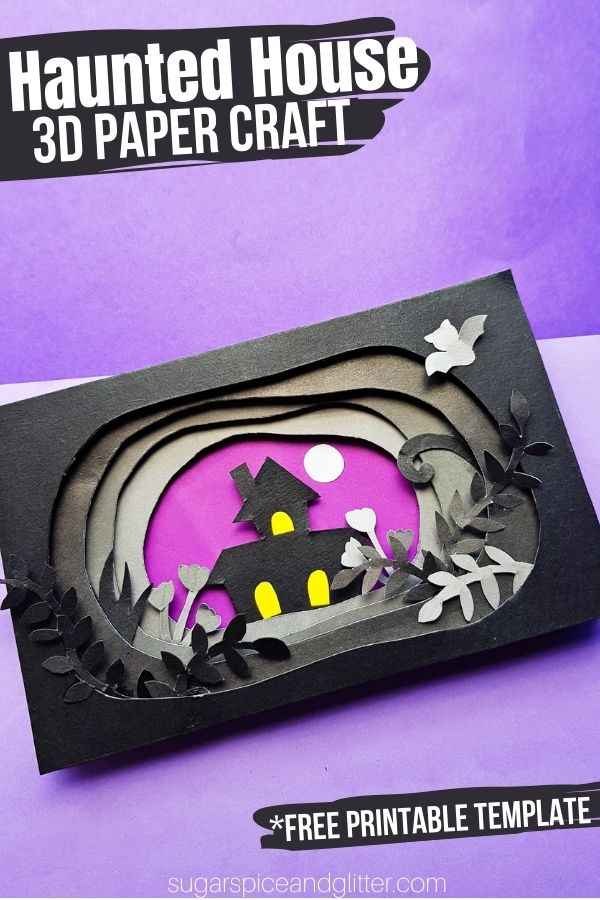
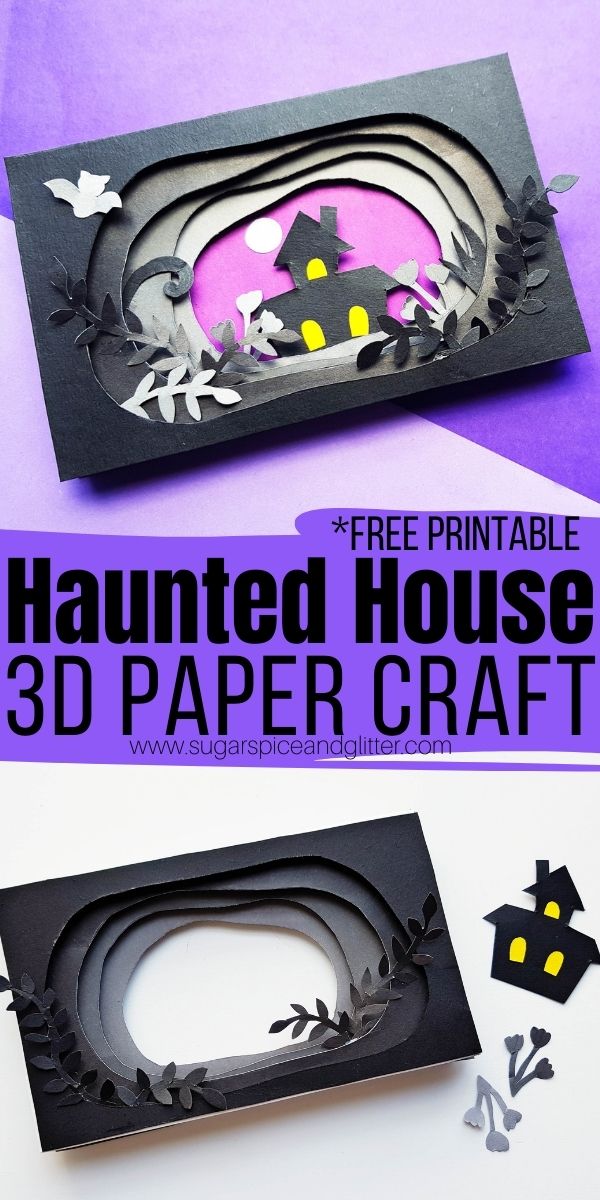
A fun Haunted House craft for kids with a cool 3D effect – this Haunted House Paper Craft makes a great piece of homemade Halloween decor and is incredibly easy to make thanks to our free printable template!
3D Haunted House Craft
Halloween is one of my favorite times of year. Candy, costumes, and so many fun options for crafting!
Luckily, my daughter is a huge fan, too, so we’ve been spending our family time doing Halloween craft after Halloween craft. I love having our home filled with Halloween decor that we’ve made ourselves.
This easy Halloween craft for kids results in a really stunning 3D craft thanks to it’s 3D layers and ombre color effect. This haunted house craft may look complicated, but it’s incredibly easy – no matter your crafting skill set – thanks to a free printable template and a little assistance from some foam craft board.
To create the 3D layers, we made simple frames with one of those foam craft boards that kids often have to use for school presentations. Those frames get glued in between each layer of this craft’s monochromatic frames, drawing your eye in towards the spooky haunted house at the center.
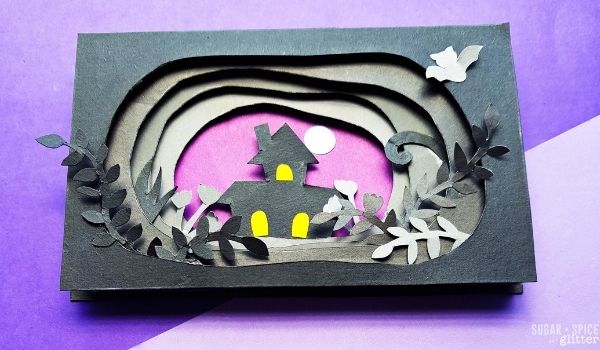
Of course, kids can replace the haunted house with any Halloween symbol – a black cat, the moon, a pumpkin, etc. Or, you can nix the Halloween theme altogether and put a silhouette or cut out of anything you’d like at the center of your frame. (This would also make a super cute DIY photo frame.)
This craft does involve the use of an X-acto knife to cut out the foam frames. It’s a lot easier than trying to cut it with scissors, but may require parental assistance. If you’re doing this craft with a group, I would have the frames cut out and ready to go before starting.
Because this craft involves layers, I would encourage kids to go slow and lay out their craft design before applying any glue to avoid frustration.
More Haunted House Crafts:
- Haunted House Milk Carton Craft (with video)
- Haunted House Oil Pastel Drawing
- Haunted House Cut Out Craft

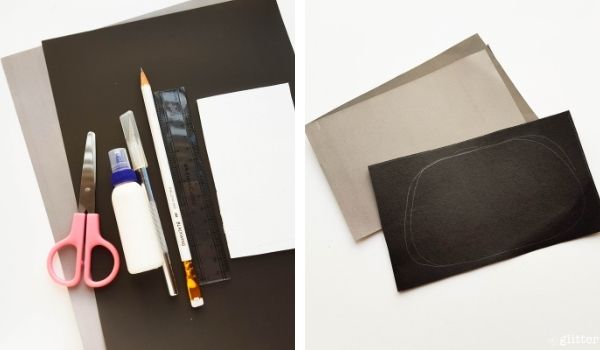
Materials Needed for a 3D Haunted House Paper Craft
- Colored cardstock paper
- Pencil
- Scissors <– these are the ones we have and they have lasted for years in our daycare, and unlike some other safety scissors – they actually cut things!
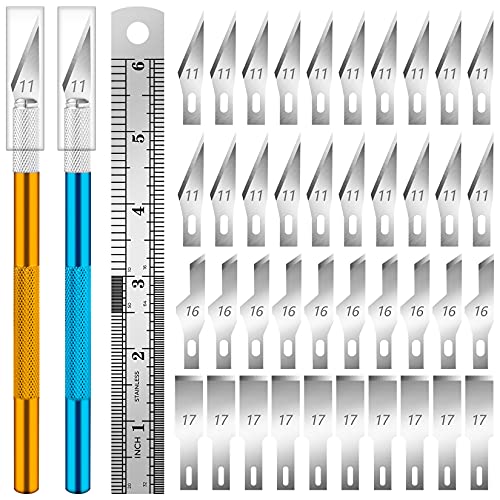
- X-acto knife
- Craft glue
- Craft foam board
- 3d Bottom and 2nd Bottom Layer
- 3d Front and 2nd Front Layer
- Halloween 3d Art Items Template
Tip: have the craft foam board frames cut out and ready to go before starting this craft if working with a group of kids for a seamless crafting experience.
How to Make a 3D Haunted House Paper Craft
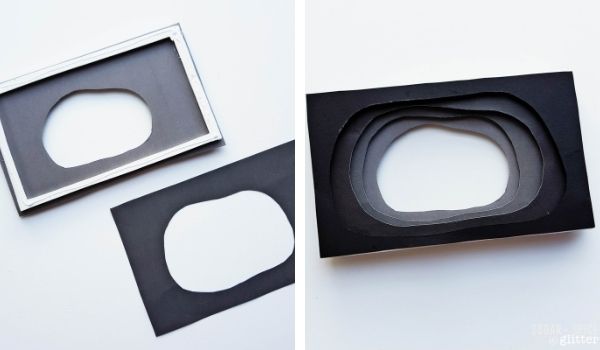
Decide the shades for each layer. I’m using different shades of black and grey craft papers. This 3d art has 4 layers, so you’ll need 4 different shades of papers. Cut all 4 sheets into the same size. I’ve cut the papers into 5.5 inches X 3.5 inches.
Take the sheet selected for the front layer. Use a pencil to draw the front layer pattern on the sheet from the given template. Or you can simply draw a pattern you want.
One by one trace the layer patterns on each sheet. Make sure to keep an ombre color sequence while tracing the patterns. Use an x-acto knife to cut out the traced patterns. The front layer cutout should be the biggest and the rest of patterns should get smaller towards the bottom layer.

Grab some craft foam board sheets and trace the canvas frame layout on them. We’ll need 4 frames for this art.
Grab the bottom layer and a foam board frame. Apply thin lines of glue along the foam board frame.
Carefully place the bottom layer paper on the glued frame, making sure to match all 4 sides of the paper with the board frame.
Flip the frame attached paper to the frame’s end. Apply a layer of glue along the frame and grab the second bottom paper layer.
Place the second bottom layer on the frame like we did in the previous step.
Attach another frame on the second bottom layer and then attach the 3rd bottom layer on the frame. And at last, attach the front layer, making sure to attach a frame between each paper layer.
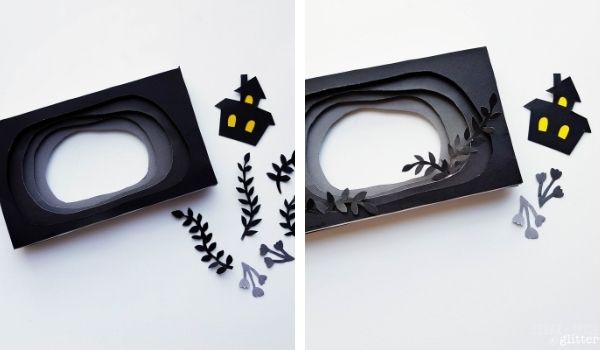
Trace and cut out the other items (leaves, grass, bat, moon, haunted house, plants etc.).
Take any one of the plant or grass cutouts and attach them to the back side of any layer.
Grab each item one by one and attach them to each layer to create a 3d scene.
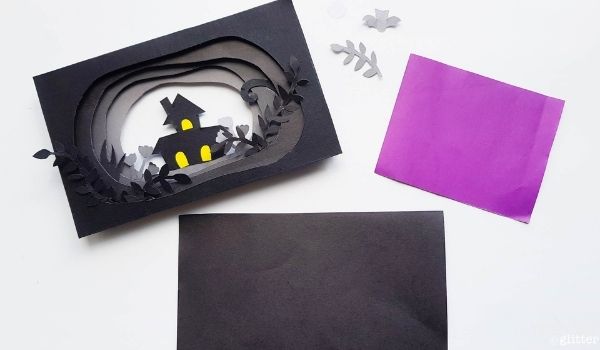
Select a paper for the empty background. You can either cut the paper to the layer size (5.5 inches X 3.5 inches) or cut to the size to fill the background space (the bottom layer cutout). Also cut out a thick paper layer for the back side of the 3d art.
Attach the background paper on the back side paper.
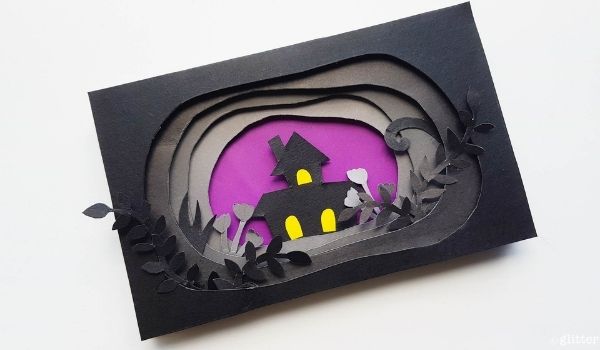
Attach the 3d art piece on the background paper prepared in the previous step. Allow the glue to dry and then frame it.
Pin this Easy Halloween Craft for kids:
Grab your free printable instructions for our 3D Haunted House craft and don’t forget to grab your free printable craft templates (above):
Want to Save This Recipe?
Enter your email & I'll send it to your inbox. Plus, get great new recipes from me every week!
By submitting this form, you consent to receive emails from Sugar, Spice and Glitter.
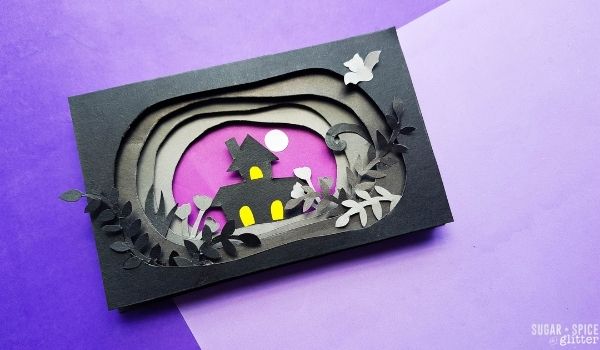
3D Haunted House Paper Craft
A stunning Haunted House craft with 3D layers that pull your eyes in. Incredibly simple to make thanks to a free printable template.
Materials
- Colored cardstock paper
- Pencil
- Craft glue
- Craft foam board
- 3d Bottom and 2nd Bottom Layer
- 3d Front and 2nd Front Layer
- Halloween 3d Art Items Template
Tools
- Scissors
- X-acto knife
Instructions
- Decide the shades for each layer. I'm using different shades of black and grey craft papers. This 3d art has 4 layers, so you'll need 4 different shades of papers. Cut all 4 sheets into the same size. I’ve cut the papers into 5.5 inches X 3.5 inches.
- Take the sheet selected for the front layer. Use a pencil to draw the front layer pattern on the sheet from the given template. Or you can simply draw a pattern you want.
- One by one trace the layer patterns on each sheet. Make sure to keep an ombre color sequence while tracing the patterns. Use an x-acto knife to cut out the traced patterns. The front layer cutout should be the biggest and the rest of patterns should get smaller towards the bottom layer.
- Grab some craft foam board sheets and trace the canvas frame layout on them. We’ll need 4 frames for this art.
- Grab the bottom layer and a foam board frame. Apply thin lines of glue along the foam board frame.
- Carefully place the bottom layer paper on the glued frame, making sure to match all 4 sides of the paper with the board frame.
- Flip the frame attached paper to the frame’s end. Apply a layer of glue along the frame and grab the second bottom paper layer.
- Place the second bottom layer on the frame like we did in the previous step.
- Attach another frame on the second bottom layer and then attach the 3rd bottom layer on the frame. And at last, attach the front layer, making sure to attach a frame between each paper layer.
- Trace and cut out the other items (leaves, grass, bat, moon, haunted house, plants etc.).
- Take any one of the plant or grass cutouts and attach them to the back side of any layer.
- Grab each item one by one and attach them to each layer to create a 3d scene.
- Select a paper for the empty background. You can either cut the paper to the layer size (5.5 inches X 3.5 inches) or cut to the size to fill the background space (the bottom layer cutout). Also cut out a thick paper layer for the back side of the 3d art.
- Attach the background paper on the back side paper.
- Attach the 3d art piece on the background paper prepared in the previous step. Allow the glue to dry and then frame it.
Recommended Products
As an Amazon Associate and member of other affiliate programs, I earn from qualifying purchases.
-
 Elmer's Foam Board Multi-Pack, 8 x 10 Inches, 3/16 Inch Thickness, White, 5 Count
 -
Astrobrights Colored Cardstock, 8.5” x 11”, 65 lb / 176 gsm, "Spectrum" 25-Color Assortment, 75 Sheets (80944-01)
-
DIYSELF Exacto Knife Upgrade Precision Carving Craft Knife Hobby Knife Exacto Knife Kit 40 Spare Exacto Knife Blades for Art, Scrapbooking,Stencil


I hope your kids love getting to make their own 3D Haunted House crafts – I think they turned out so pretty!
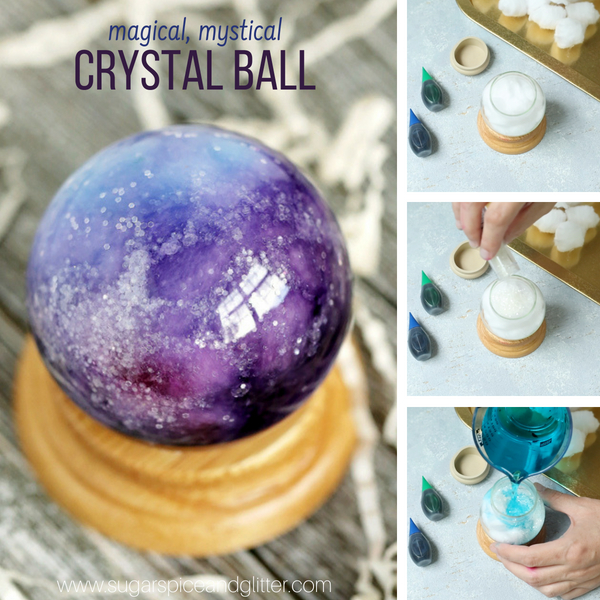
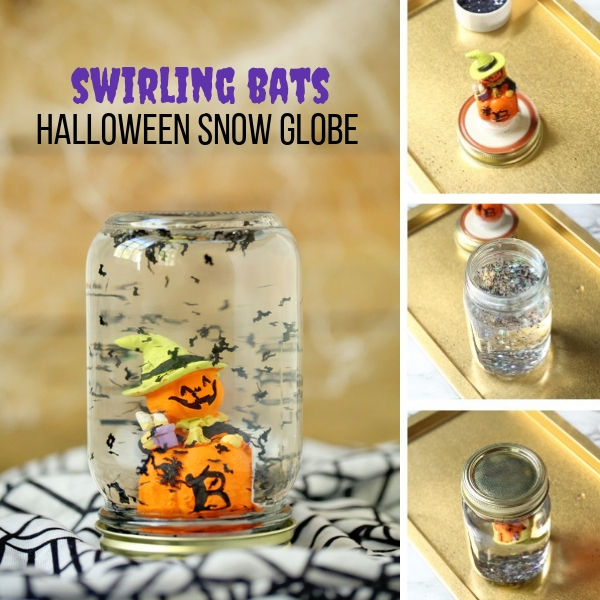
For more fun Halloween crafts for kids, check out our Magical Crystal Ball Craft or our Swirling Bats Snow Globe – both with how-to videos.