
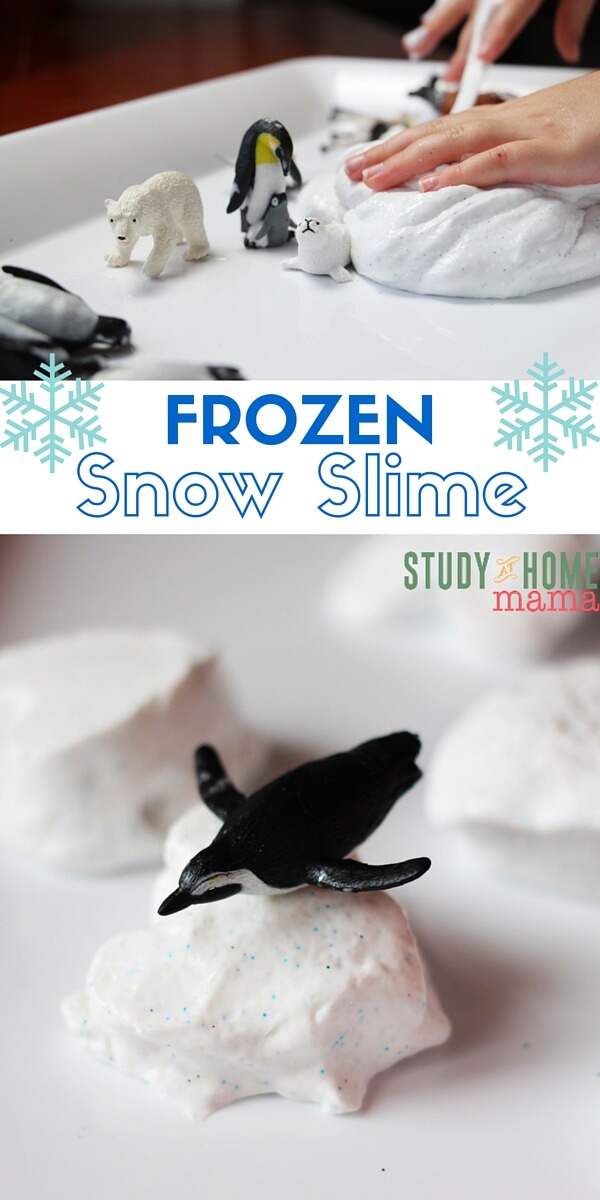
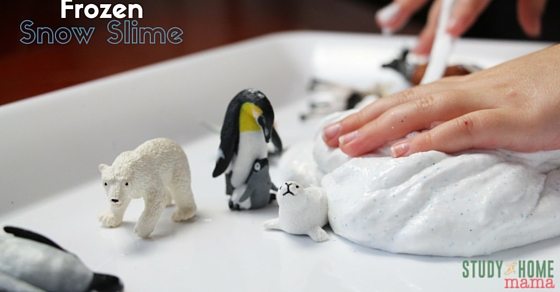
Frozen Snow Slime (with Video)
Welcome to Sugar, Spice & Glitter! Please note, this post may contain affiliate links. For more details, see our Full Disclosure.
My daughter will never get sick of playing with slime – it’s her favourite form of sensory play – but I love coming up with fun ways to make each batch just a little bit different.
Ella – like most kids – is fascinated with learning about other parts of the world. With the arrival of winter and snow, she’s curious about how other countries and continents experience snow.
We’ve been learning a little bit about the Arctic Circle and Antartica, so I thought it would be fun to make some snow slime. At first I thought I’d just chill the ingredients, but curiousity got the better of me and I decided to see what would happen if I froze the slime!
The result was this amazing frozen snow slime with a unique texture and sensory experience unlike anything we’ve played with before.
Slime can require a bit of experimentation and patience, especially if you’re still new to it. If you run into any slime fails, check out this troubleshooting post to help fix your slime.

Before we get to the recipe, I had to tell you that it’s finally here! I wrote The (Ultimate) Slime Book oozing with over 50 pages of stretchable, squishy sensory fun – including a year of seasonal slimes, edible slimes and unique ways to play with slime.
You can also purchase The Slime Book on Amazon.
Check out our quick video to see how to make your own frozen snow slime – and see how fun it is to play with – and then don’t forget to scroll down to grab your free printable instructions:

How to Make Frozen Snow Slime
Materials:
- Liquid Starch
- White glue
- Water
- Glitter – we used white, light blue, and silver
- Arctic Animals TOOB
Scroll down to the printable recipe card for full measurements.
Kitchen Tools You May Find Helpful:
- Large bowl
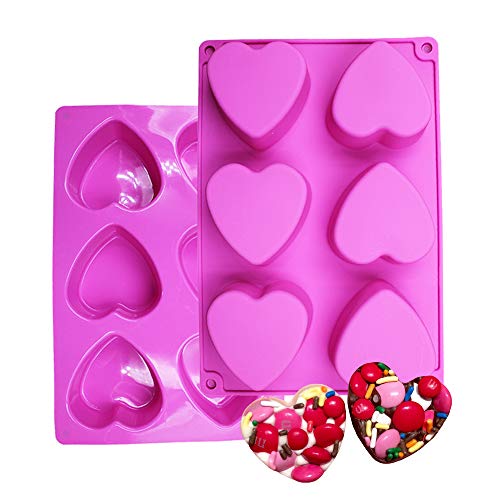
- Silicone Heart Mold
- Measuring cups and spoons
- Spatula <– I like these spatulas because they are one solid piece and don’t have removable heads for bacteria to get trapped underneath. Plus they are heat-resistant and have a lifetime warranty.
- Vinegar, for clean-up
I started off by setting the glue and starch in the fridge for a bit to give them a chilly effect. I wasn’t sure how the freezing experiment would go later, so I thought I’d give Ella a chance to play with the cold slime first, just in case freezing it was a bust!

Simply mix your ingredients together – adding just a little less starch than the recipe calls for, adding it in if the glue is still sticky.
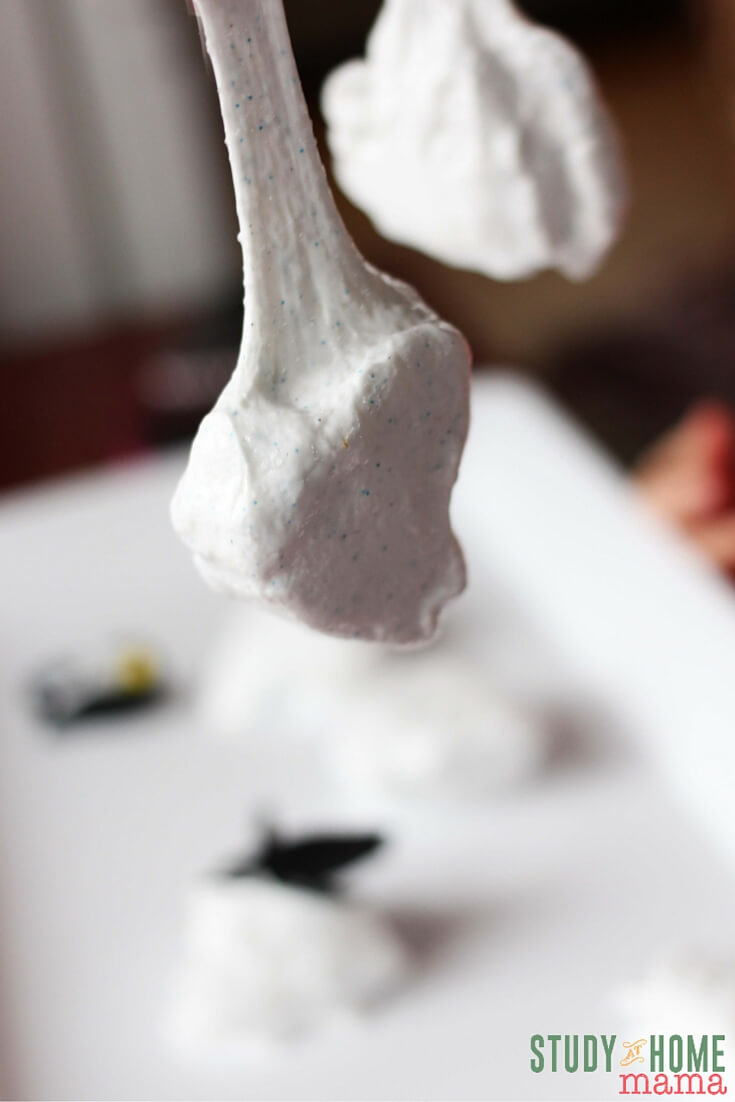
Slime is one of those materials that needs a lot of kneading to reach it’s final texture. You’ll know it’s done when it’s stretchy and smooth, without sticking to your hands! The first time you make slime will be a bit of experimenting, but it gets easier with every batch.
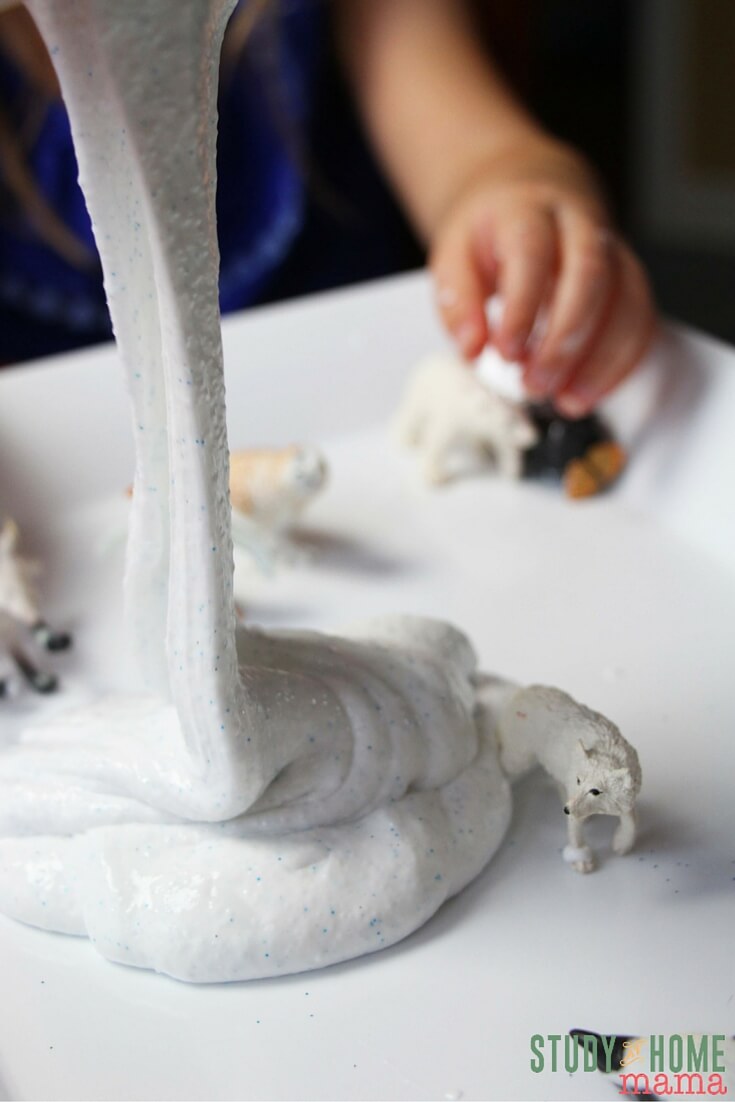
See that stretch? Perfect slime!

We just played with our slime and TOOB animals at first. The slime was chilly to the touch and glittered in the light, a fun interpretation of the snow that our Arctic & Antarctic Animals are used to.
We talked about how the different animals had features that prepared them for a chilly environment, and imagined different scenarios where the animals would interact with each other.
(PS – Some would have issues with using animals from both areas at the same time, but they came in the same TOOB. You try telling my 4 year old that penguins aren’t allowed to join in the fun!)
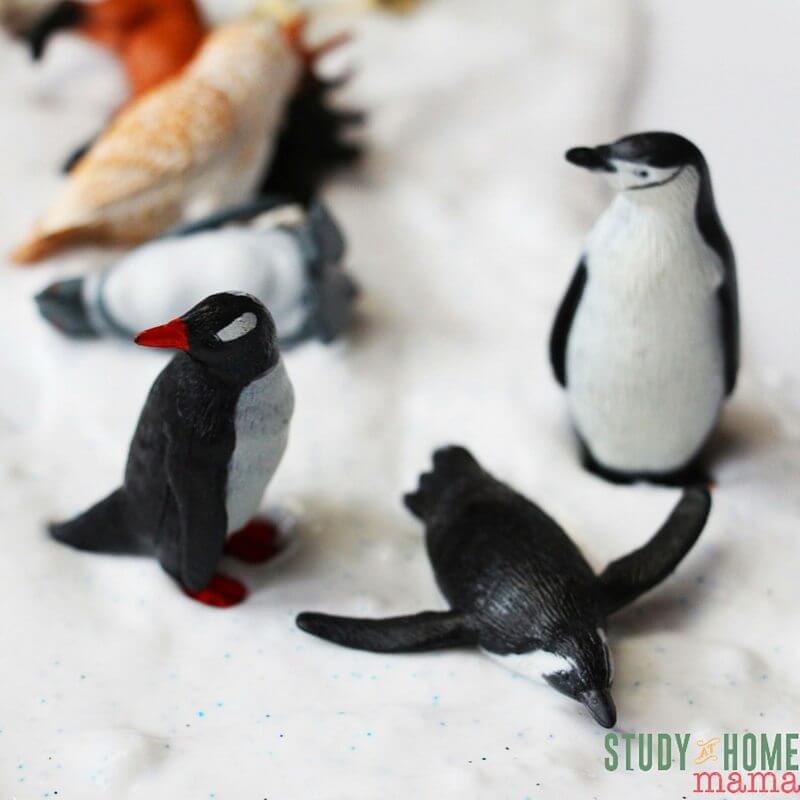
Here are some penguins sliding in the snow!
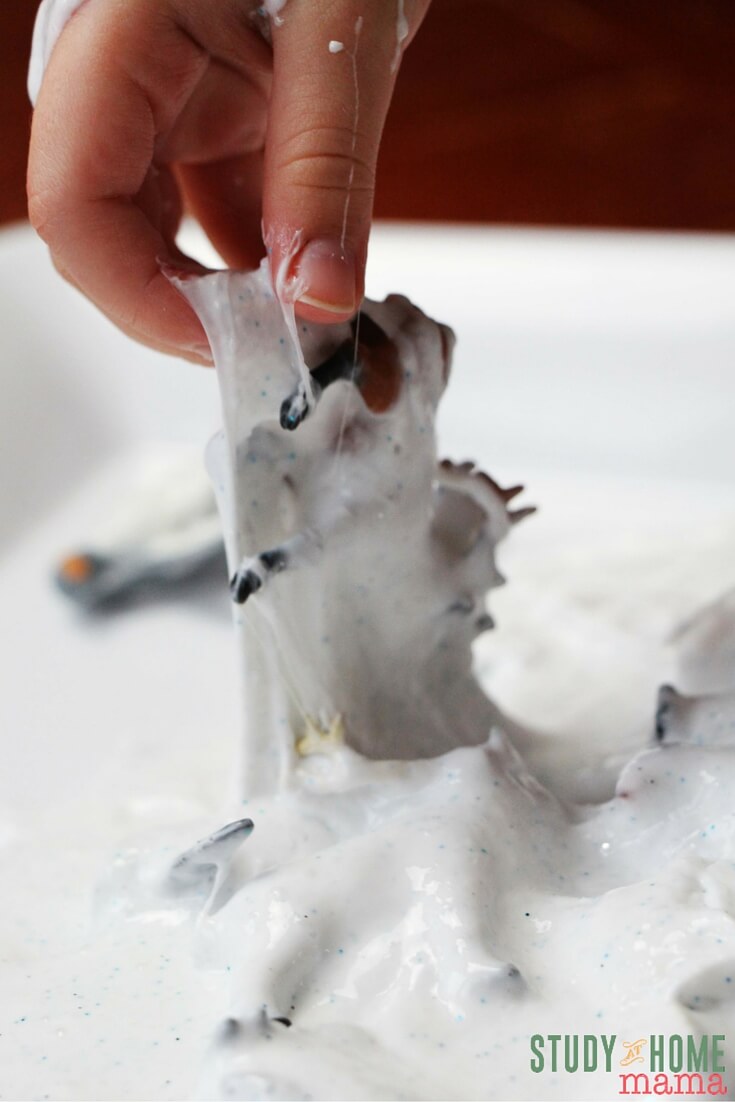
In a somewhat twisted turn of events, there was eventually an avalanche which covered the animals in snow slime – and we had to “save” each one. A good slime should be super easy to remove from your plastic figurines.
After about an hour of playing with the slime like this (you may need to add in a bit of extra starch if the slime gets too sticky) I decided to start phase two of our Frozen Slime experiment.
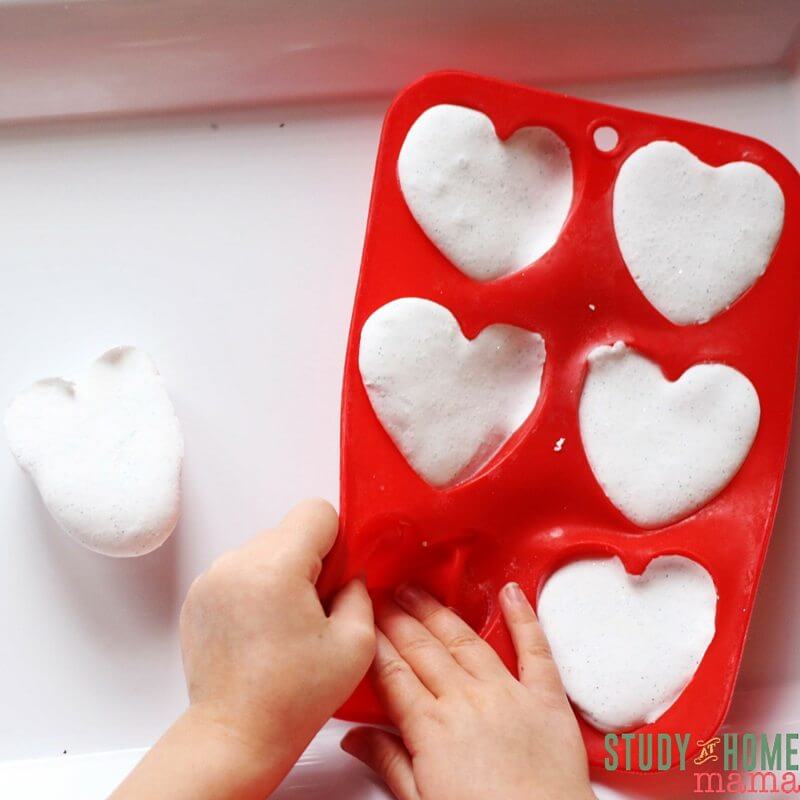
I used the same silicone heart mold that we used for our fizzy frozen hearts experiment (another awesome sensory play meets science activity) and divided the slime amongst the compartments. It took about two hours to freeze fully, but could be used after an hour.
The frozen slime was completely solid at first, which is great for a child who is a bit intimidated by slime – as the slime warms up, the child might slowly warm up to the increasingly squishy texture!
Grab your free printable to make this frozen slime:
Want to Save This Recipe?
Enter your email & I'll send it to your inbox. Plus, get great new recipes from me every week!
By submitting this form, you consent to receive emails from Sugar, Spice and Glitter.
Frozen Snow Slime
FROZEN Snow Slime - two great sensory play materials in one! Make sparkly snow slime and then freeze it for a fun adventure in texture, temperature, and Arctic sensory play.
Materials
- 2 bottles white craft glue
- 1/2 cup liquid starch
- 2 Tablespoons water
- copious amounts of glitter - we used white, light blue, and silver
- Arctic Animals TOOB
Tools
- Measuring cups and spoons
- Mixing bowl
- Heart-shaped silicone tray
- Spatula
Instructions
- I started off by setting the glue and starch in the fridge for a bit to give them a chilly effect. I wasn't sure how the freezing experiment would go later, so I thought I'd give Ella a chance to play with the cold slime first, just in case freezing it was a bust!
- Simply mix your ingredients together - adding just a little less starch than the recipe calls for, adding it in if the glue is still sticky.
How to Freeze Slime
- After about an hour of playing with the slime like this (you may need to add in a bit of extra starch if the slime gets too sticky) I decided to start phase two of our Frozen Slime experiment
- I used the same silicone heart mold that we used for our fizzy frozen hearts experiment (another awesome sensory play meets science activity) and divided the slime amongst the compartments. It took about two hours to freeze fully, but could be used after an hour.
- The frozen slime was completely solid at first, which is great for a child who is a bit intimidated by slime - as the slime warms up, the child might slowly warm up to the increasingly squishy texture!
Recommended Products
As an Amazon Associate and member of other affiliate programs, I earn from qualifying purchases.
-
 Purex Sta-Flo Concentrated Liquid Starch, 64 oz Bottle by Sta-Flo (1) (Original Version) (Original Version)
 -
Fine Slime Glitter, Set of 32 Colors, LEOBRO Multi Purpose Glitter Powder for Arts, Crafts, Epoxy Tumblers, Decoration Weddings Cards Flowers, Scrapbooking, Body, Face, Nail, Glitter Slime Making
-
Elmer's Liquid School Glue, White, Washable, 32 Ounces - Great for Making Slime
-
Safari Ltd Arctic TOOB With 10 Fun Figurines, Including A Harp Seal, Husky, Caribou, Arctic Rabbit, Killer Whale, Walrus, Arctic Fox, Beluga Whale, Igloo, And Polar Bear – For Ages 3 and Up
-
BAKER DEPOT 6 Holes Heart Shaped Silicone Mold For Chocolate Cake Jelly Pudding Handmade Soap Mould Candy Making Set of 2


The half-frozen slime still had that great stretch and was really fun to snap apart and smoosh. It was also a lot less sticky than normal slime, making it perfect for kids who can’t stand sticky!

I loved the puffy, squishy texture mixed with the firm, frozen cores of these frozen hearts. They made perfect little icebergs for our sensory play.
What do you think? Will you be trying our recipe for Frozen Snow Slime?
Check out these other fun Frozen Doughs from my fellow kids’ activities bloggers:
Melting Hearts Valentines Frozen Dough | Lemon Lime Adventures
Melting Fizz Chia Frozen Dough | Powerful Mothering
Frozen Mousse Dough | In The Playroom
Easy Frozen Sensory Dough Recipe | Natural Beach Living


What a great idea! Frozen slime sounds like a lot of fun.
I’ve never tried slime, but since we are reading about penguins, it will make sense making some. Would love to see your posts in the Practical Mondays Link Up:)
How long have you been able to keep it?
Yes, I would like to know how long the slime says good.
It was actually a great idea to make frozen slime I loved it! I want to try the same experiment too. It was the BEST IDEA EVER!!!!!!!!
AWESOME IDEAS !!. I LOVE THEM ALL.THANKS FOR YOUR TIME TO DO ALL THIS FOR THE KIDS AND FAMILIES. BLESSINGS! KEEP UP!
Your article is very amazing. It is very helpful for newcomers to slime
I’m so glad you enjoyed it!