
Montessori Practical Life Lesson: The Zipper Dressing Frame
Welcome to Sugar, Spice & Glitter! Please note, this post may contain affiliate links. For more details, see our Full Disclosure.
How are you liking our Montessori Practical Life Lesson series? We’re about 20 posts in and not stopping anytime soon!
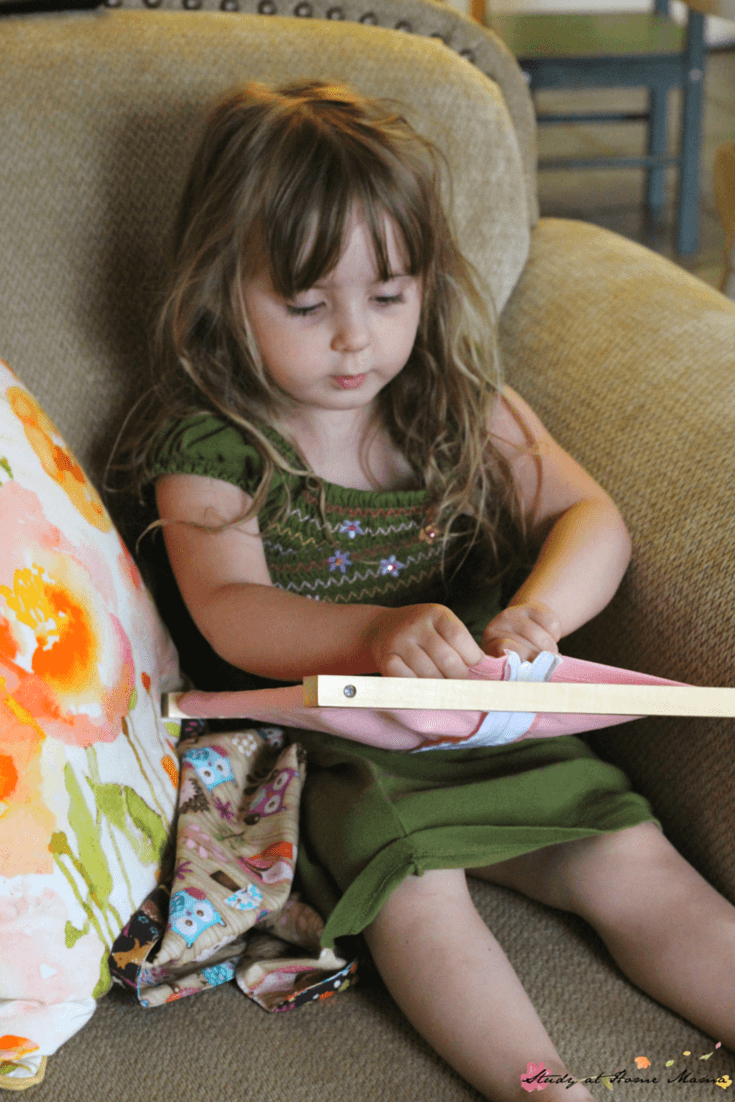
Today, we’re continuing on the Montessori dressing frames to learn how to present the Montessori Zipper Dressing Frame.

Today’s post is the second in our series on the Montessori dressing frames. Previously we presented the button frame. Each dressing frame is individually presented to the child, helping her master various fastening devices. It’s much easier to learn how to manipulate buttons or hooks and eyes when they are isolated on a frame, which can be placed on the table.
Another fabulous aspect of the dressing frames is that the child can spend as much time as she wishes buttoning and unbuttoning, zipping and unzipping with no time constraint! I confess to zipping coats when trying to get 28 children onto the playground in the allotted time.
The child, however, does not develop according to our daily time table. She needs the space to choose what she will practice and the time to practice it. With each new skill, freely chosen and freely practiced, comes self confidence and independence.
How to Present the Montessori Zipper Frame
Purpose:
- Direct: to develop the finger control and dexterity to manipulate a zipper.
- Indirect: independence and concentration.
Material: a Montessori zipper frame (or you can make your own frames)
Age: 2 1/2 – 4
Presentation:
1. Show the child how to properly carry the frame to the table, grasping both sides. Place the frame on the table and sit down.
2. Assuming the zipper pull is on the right, grasp the top left of the fabric with your thumb and forefinger.
3. Lift the zipper pull with your right hand, thumb on top, finger underneath (pincer grasp).
4. Pull zipper down slowly.
5. Open the fabric to show that it is fully disengaged. Close the fabric.
6. Use left pincer grasp to hold the bottom left flap, and right pincer grasp to hold the zipper pull and casing.
7. Insert the tab into the casing all the way.
8. Now grasp the casing with left pincer while right pincer slowly pulls the zipper up.
9. When at the top, press the pull down flat.
10. Invite the child to try.
Points of Interest:
- Does the child insert the zipper tab all the way into the pull casing before trying to pull up the zipper?
- Does she have the teeth aligned properly?
Note: The pincer grasp is used to hold the fabric steady, to grasp the pull and to pull it up and down, and to insert the tab. This is a fine motor activity!
Once your child has practiced on the frame, lay out a variety of clothing with zippers and let her practice with the variously sized zippers. Finally, practice while wearing the clothing.

To learn more about Montessori theory, please visit Beth’s blog A Montessori Lexicon, and you can also find her on Teachers Pay Teachers.