
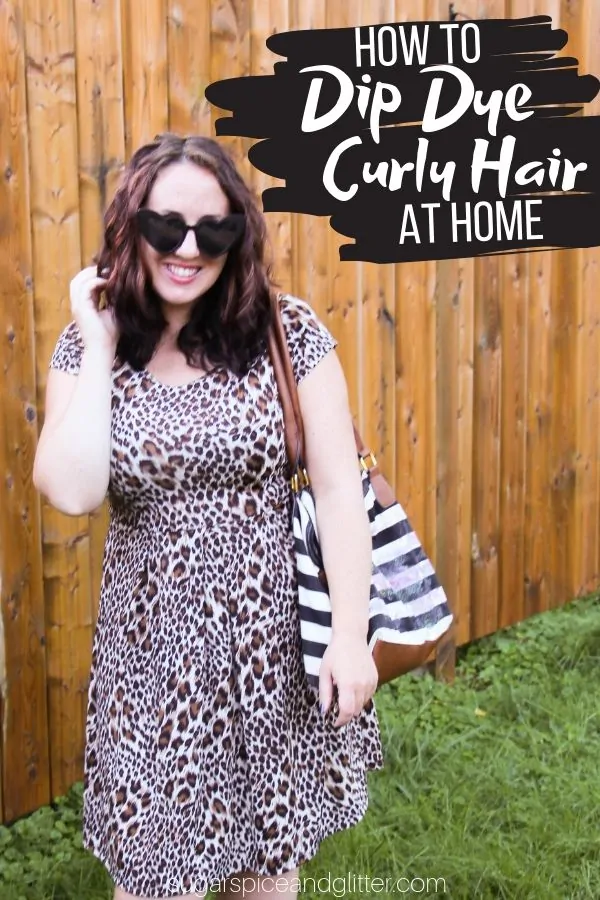
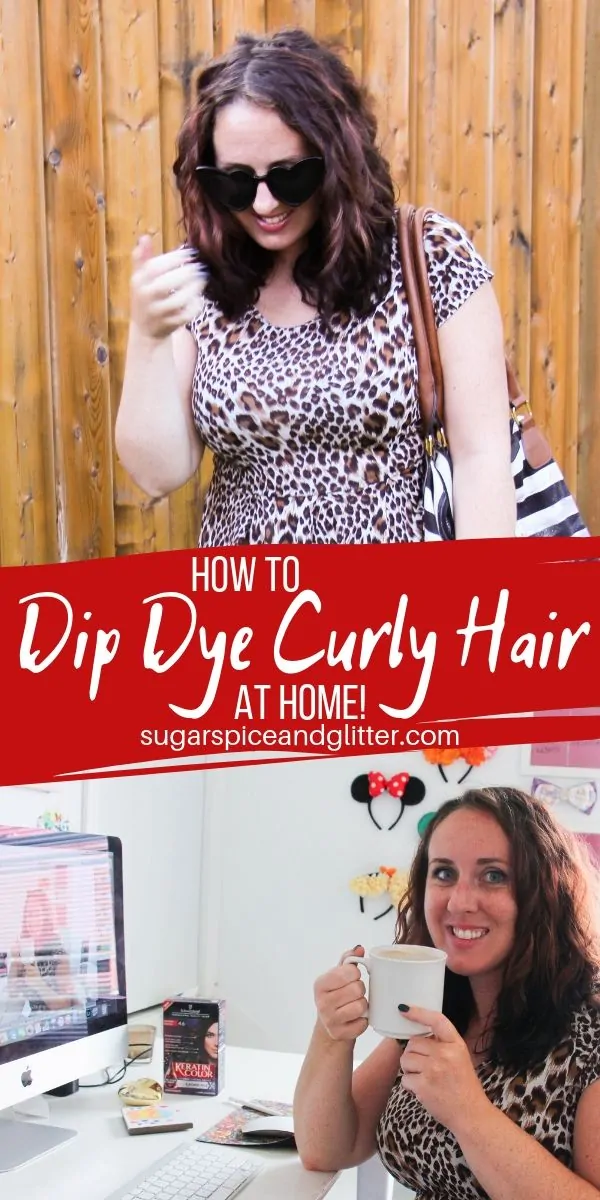
How to Dip Dye Curly Hair
This shop has been compensated by Schwarzkopf. #ShopSchwarzkopf #sponsored
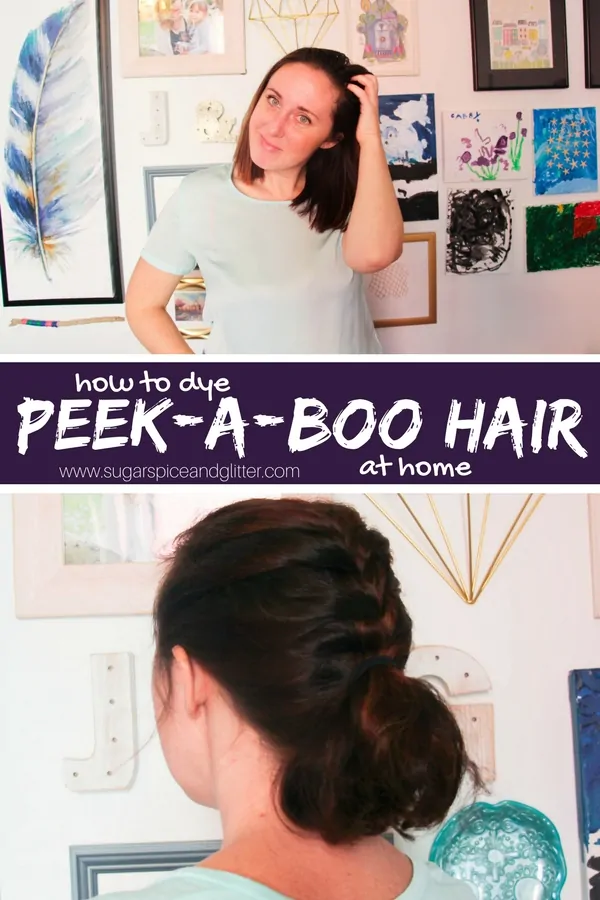
Last year, I shared a tutorial on how to dye peek-a-boo hair, and this year I’m back with another easy DIY Home Hair Color Tutorial: How to Dip Dye Curly Hair at Home!
Curly Hair Reverse Dip Dye
I love doing fun things with my hair, but we’re so busy with family life and travel that I can’t commit to hairstyles that require crazy levels of upkeep or regular salon visits.
Also, with curly hair, I try to avoid over-processing and many styles that look great on women with straight hair need to be altered to work for my hair type.
I’ve had this nice red tone in my hair for a few months and while I wanted to keep it and avoid covering it up, I wanted to do something to bring new life into it. A reverse dip dye – putting a few inches of dark color at the ends of my hair – sounded like a great option. It would serve as a contrast to the red color, making it seem brighter and more noticeable, while playing up the curly texture of my hair instead of working against it (as many dye jobs on curly hair can end up doing).
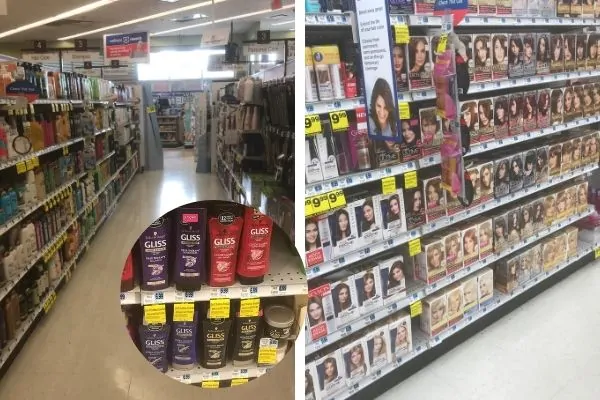
I’ve been exclusively using Schwarzkopf® brand hair color for a few years now, so I headed to Rite Aid to see what options were available to help me achieve a fun reverse dip dye effect.
There were so many new, intense colors available, I had a hard time narrowing it down!
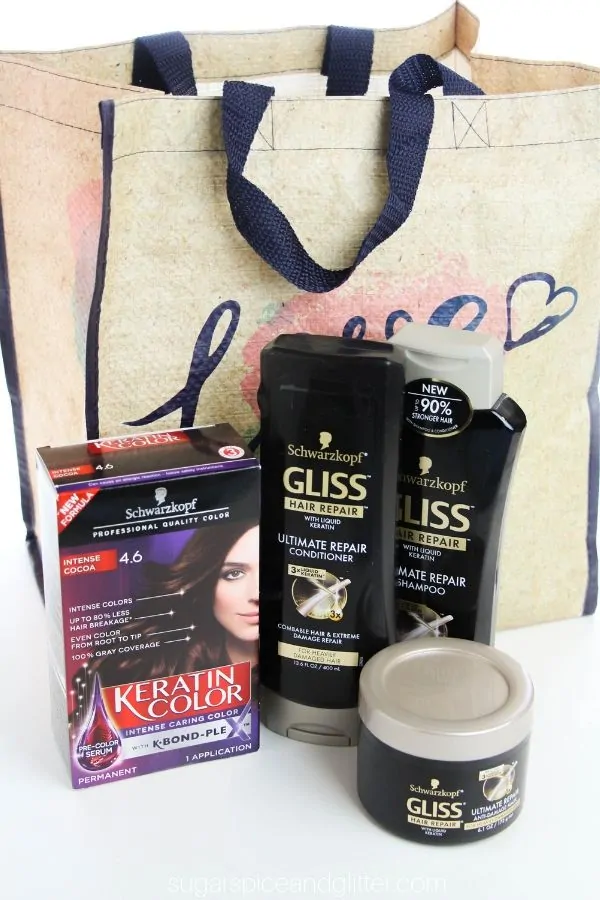
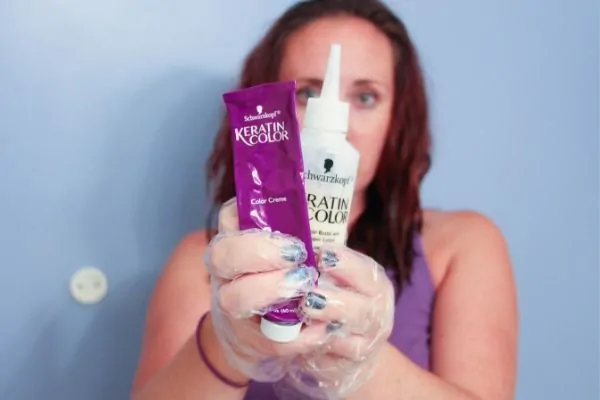
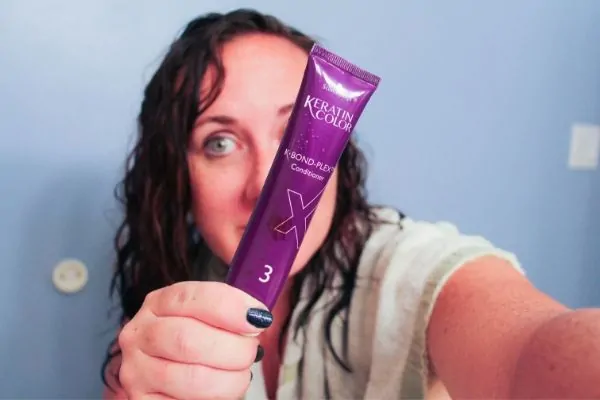
I opted for the Schwarzkopf® Keratin Color in Intense Cocoa because it contains K●BOND-PLEX® an innovative, salon inspired anti-breakage technology which repairs the inner hair structure, resulting in up to 80% less breakage (vs untreated hair). For my friends with gray hairs peeking through, it also promises 100% gray coverage.
Even with the K●BOND-PLEX technology, I always believe that you should really nurture colored hair, especially in the two weeks following a new color. For curly girls, this can mean the difference between glossy curls and a frizzy mess.
So, while at Rite Aid I headed over to the Shampoo Aisle and picked up Schwarzkopf® Gliss® Ultimate Repair Shampoo, Schwarzkopf® Gliss® Ultimate Repair Conditioner, and Schwarzkopf® Gliss® Ultimate Express Repair Conditioner.
The Schwarzkopf Gliss products are formulated with Hair-Identical Keratin Technology which helps repair and restore hair by replacing the lost keratin.
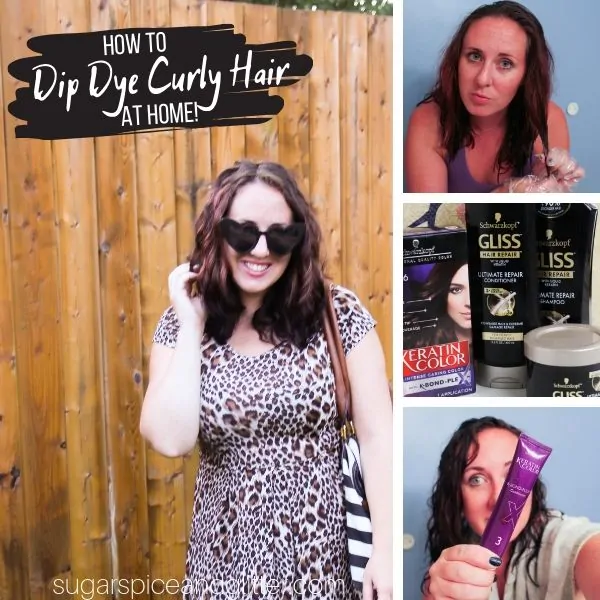
How to Dip Dye Curly Hair
For best results, hair should be product-free but not freshly washed. Second day hair is perfect.
Read the instructions fully one time through and prepare your “work area.” Put on an old shirt, grab a dark towel that can get slightly stained, and cover any porous surfaces in your bathroom that may come into contact with the dye.
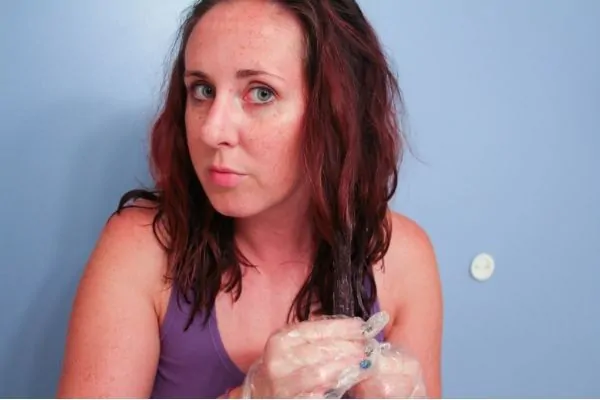
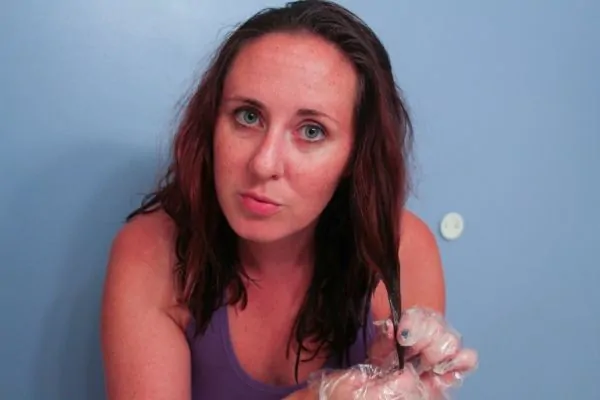
Decide how much of your hair you will be dying. I decided on about 5″, which covers the entirety of my bottom hair layer and then an extra 1 1/2″ to 2″ of the middle layer of my hair. (You don’t want to just do your bottom layer or it will look clunky.)
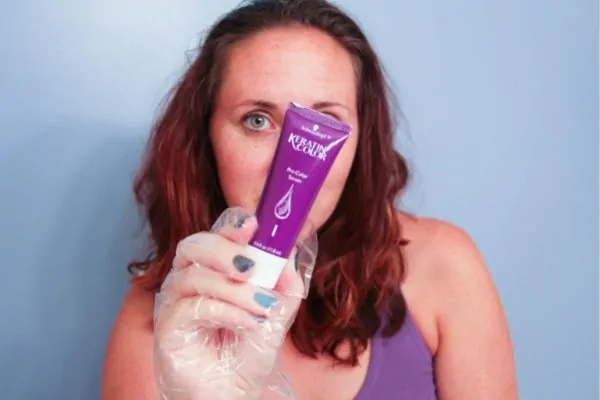
Put the provided gloves on and rub the protective Pre-Color Serum into the ends of your hair (the area that you plan to dye).
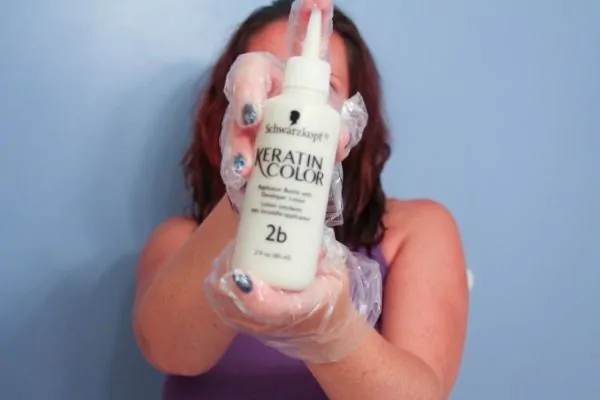
Mix the color, as instructed, and apply to the ends of your hair.
Try to keep the length of hair dyed consistent, within a half inch of accuracy, for best results. Curly hair will cover up slight inconsistencies.
Follow the instructions for how long to leave your hair color in, and then wash out as instructed.
Towel dry hair (if you don’t have an old towel, use an old t-shirt!) and then apply the K●BOND-PLEX conditioner. Rinse out as instructed.
Style hair as usual. For me, that meant hair oil, a hibiscus-coconut gel, and then covering my silk pillowcase with a towel just in case I missed any residual dye.
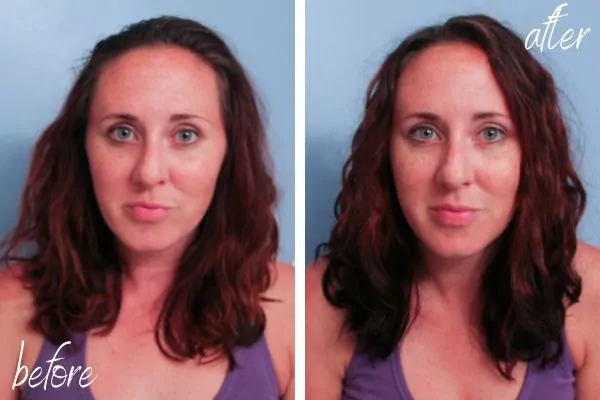
Before and after the at-home dip dye:
This is my hair the morning after:
I’m so happy with the results! The dip dye effect brought some serious drama – bringing new life to my previous hair color while also emphasizing my natural curl pattern. I’m also pleasantly surprised at how defined my curls look after dying! There was none of that straw-like feeling that dyed hair can sometimes have – my hair felt and looked healthy even after processing.
This DIY dip dye hair color method was easy enough for an overtired mama to achieve at the end of a busy week, and because it’s at the ends of the hair, it will grow out well. (Which is good because we have three trips in the next two months, so I do not have time for high-maintenance upkeep.)
Pin this Tutorial for How to Dip Dye Curly Hair:

Hey great article, thank you for the information.
thank you for the comment.