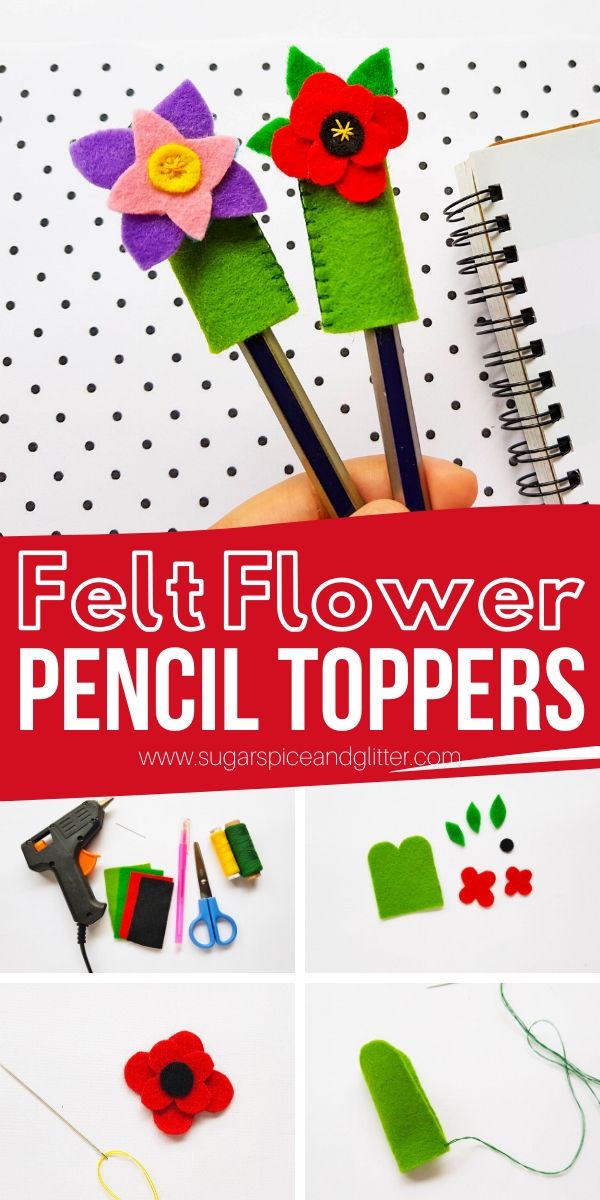
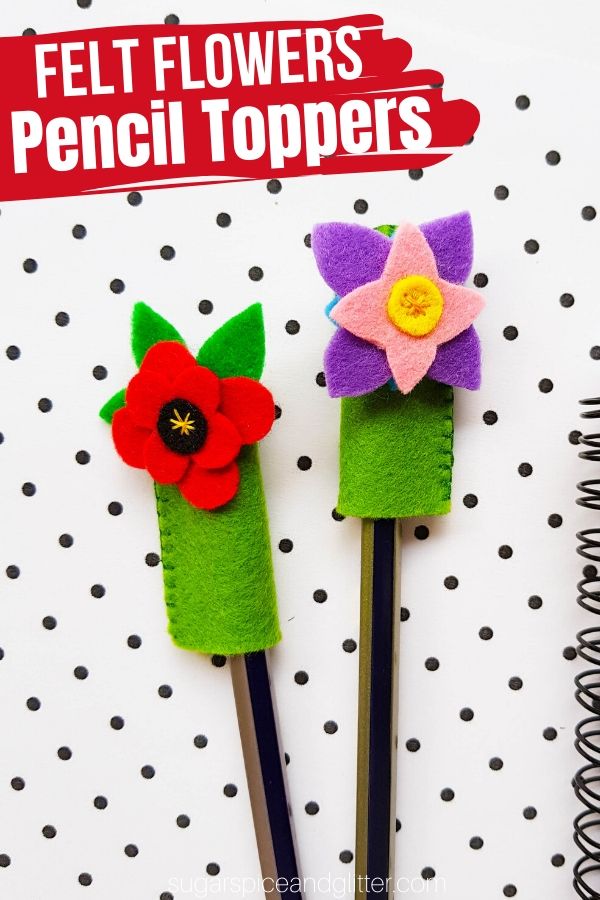
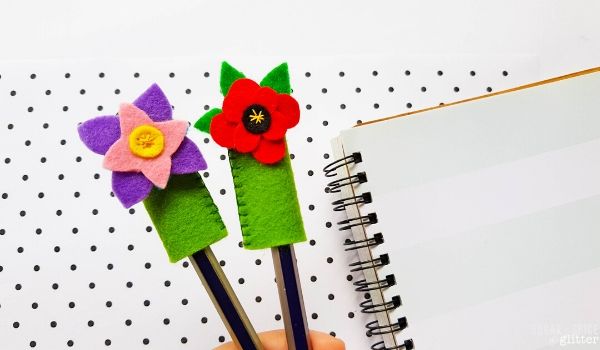
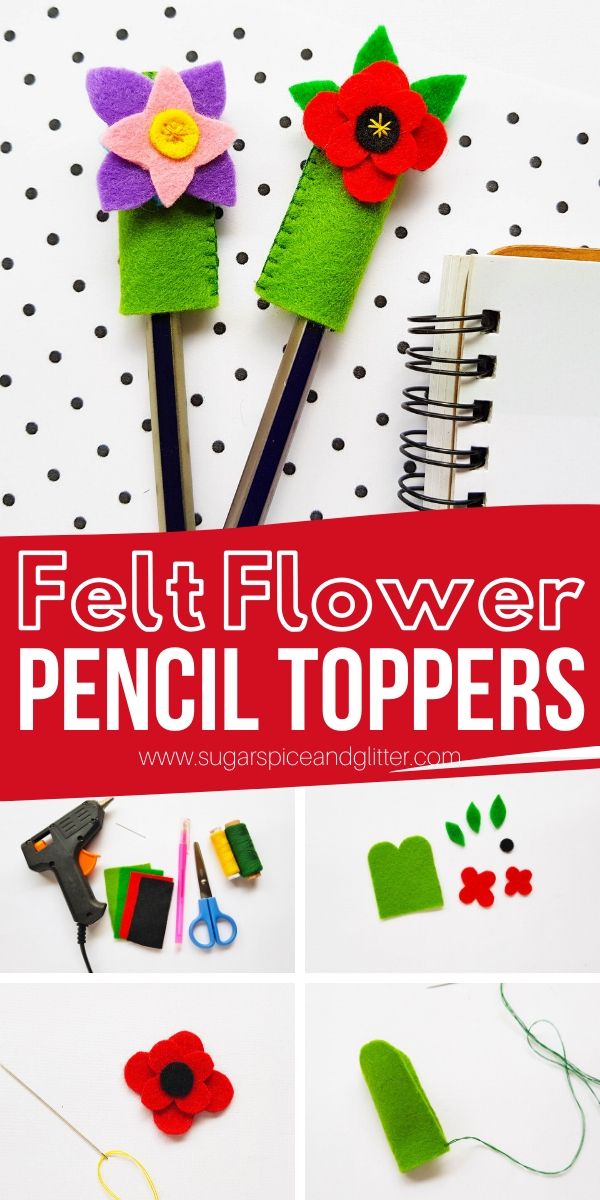
DIY Felt Flower Pencil Toppers
A DIY felt pencil topper craft kids can make, these Felt Flower Pencil Toppers are a fun way to add personality to your desk or school supplies – and they also make a great homemade teacher gift!
DIY Felt Flowers Craft
Sewing is such a great life skill for kids.
It builds fine motor strength, increases their ability to focus on tasks for longer periods of time, and is also one of those essential life skills that many of us seem to have overlooked.
Knowing how to sew doesn’t have to mean your kids will make their own clothes from scratch, but it empowers them to do simple repairs or alter their clothing – whether to make it fit better or to add a personal touch.
This DIY Felt Pencil Topper is a great sewing project for kids, no matter their level of sewing ability. I’ve provided a free printable template for you to cut the pattern out from, and then you just need to know how to do a basic whip stitch and cross stitch. (A cross stitch is pretty easy to fake.) This craft allows kids to practice those simple stitches, but is pretty quick and not too labor-intensive.
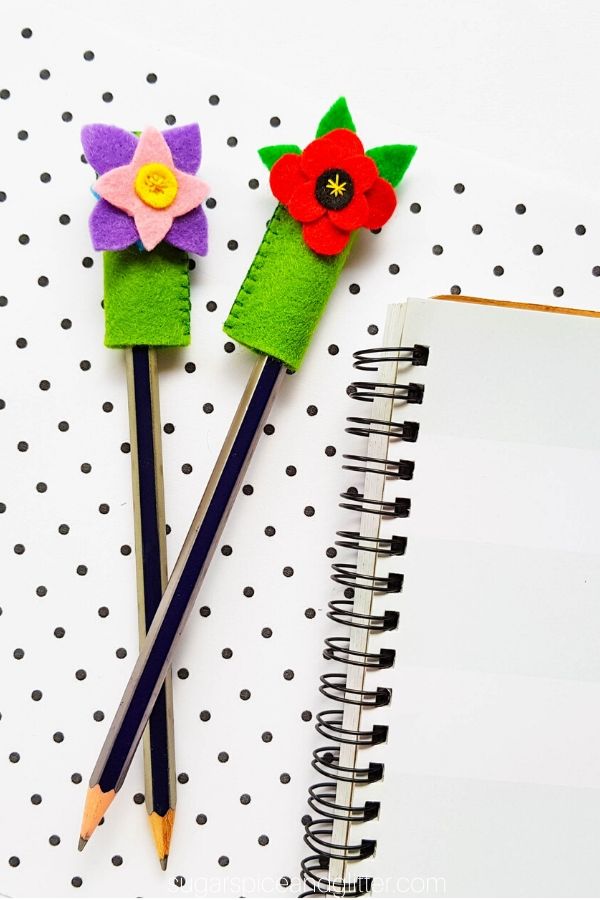
Kids can use these to add a bit of whimsy to their desk, or they would also make a cute gift – especially if paired with a pretty floral notebook.
The poppy flower version is also a great option for a Remembrance Day craft for kids. (Check out our collection of Poppy Crafts here.)
Whenever we need to cut out intricate shapes from felt, I always grab some freezer paper and use the freezer paper trick to cut out our felt shapes, but good-quality felt and a sharp pair of scissors also makes all the difference.
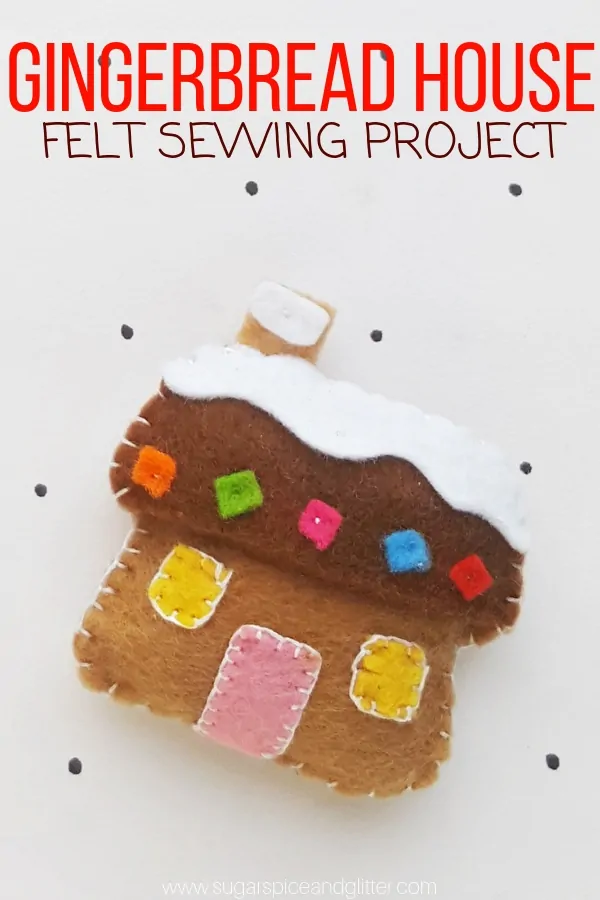
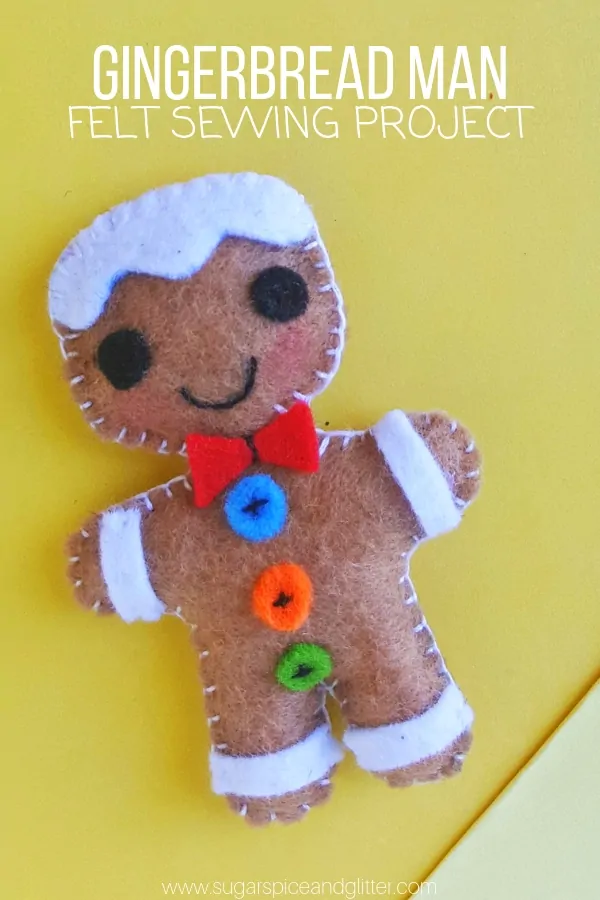
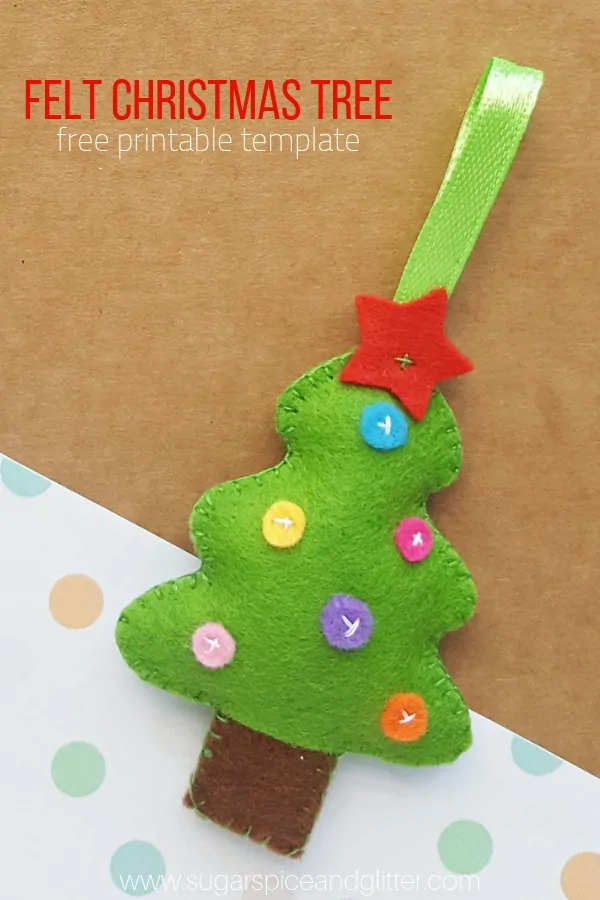
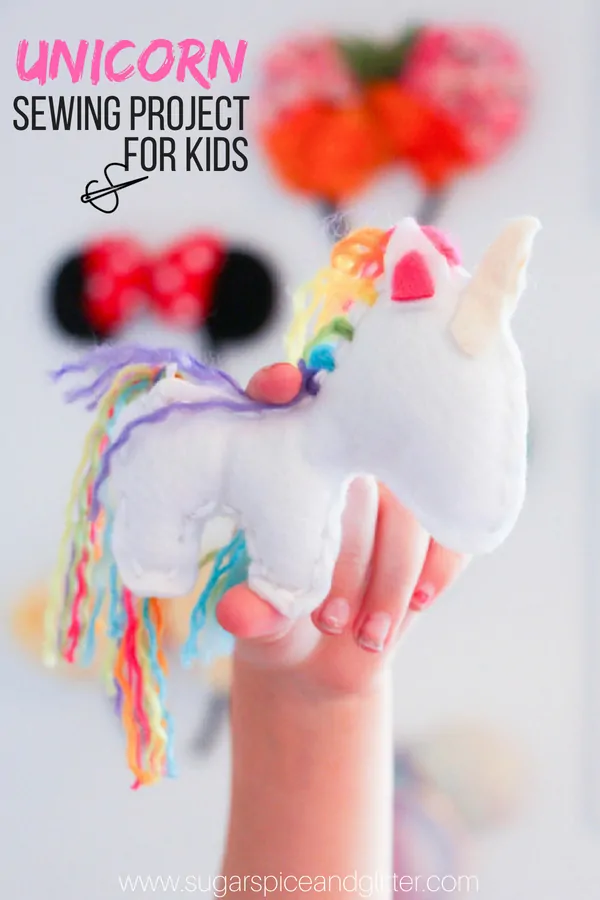
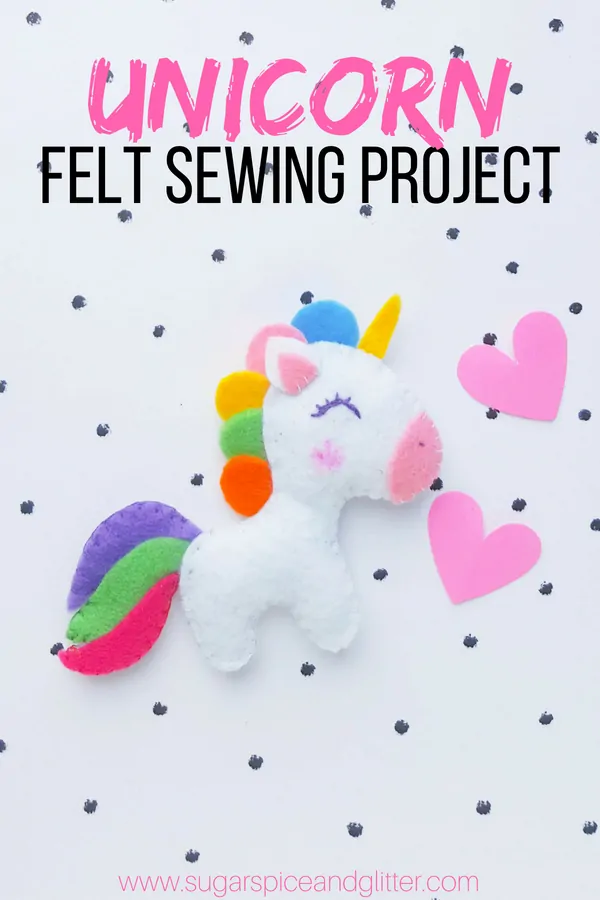
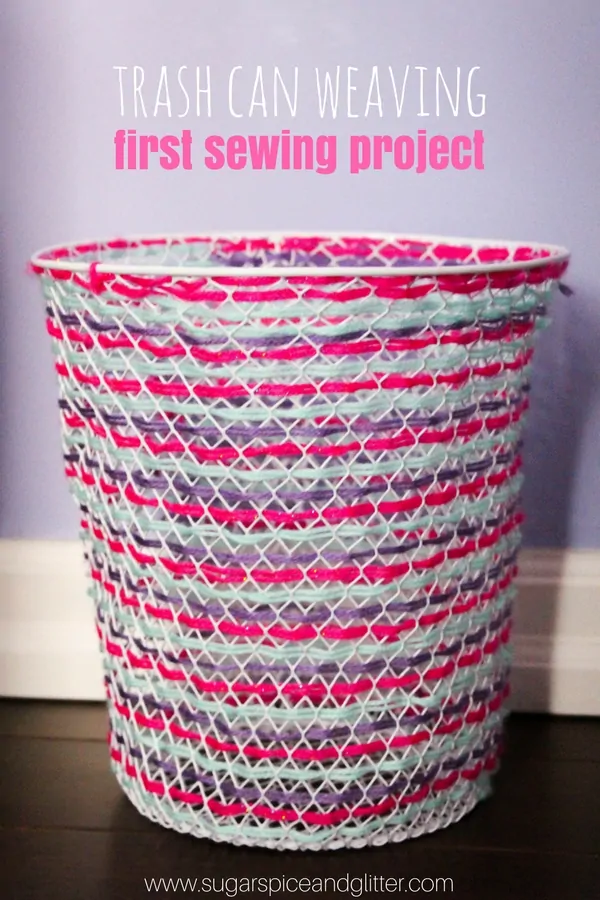
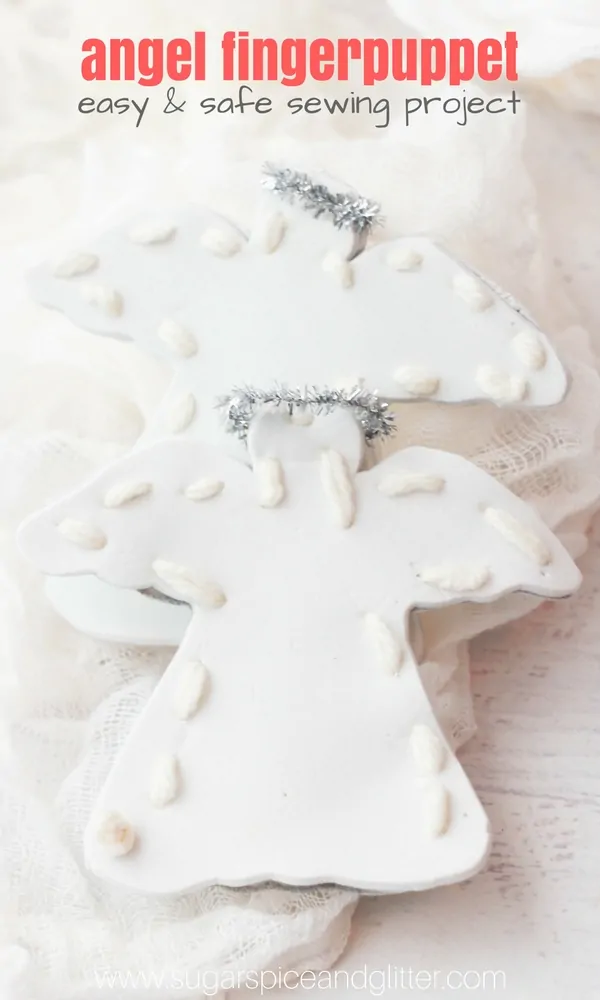
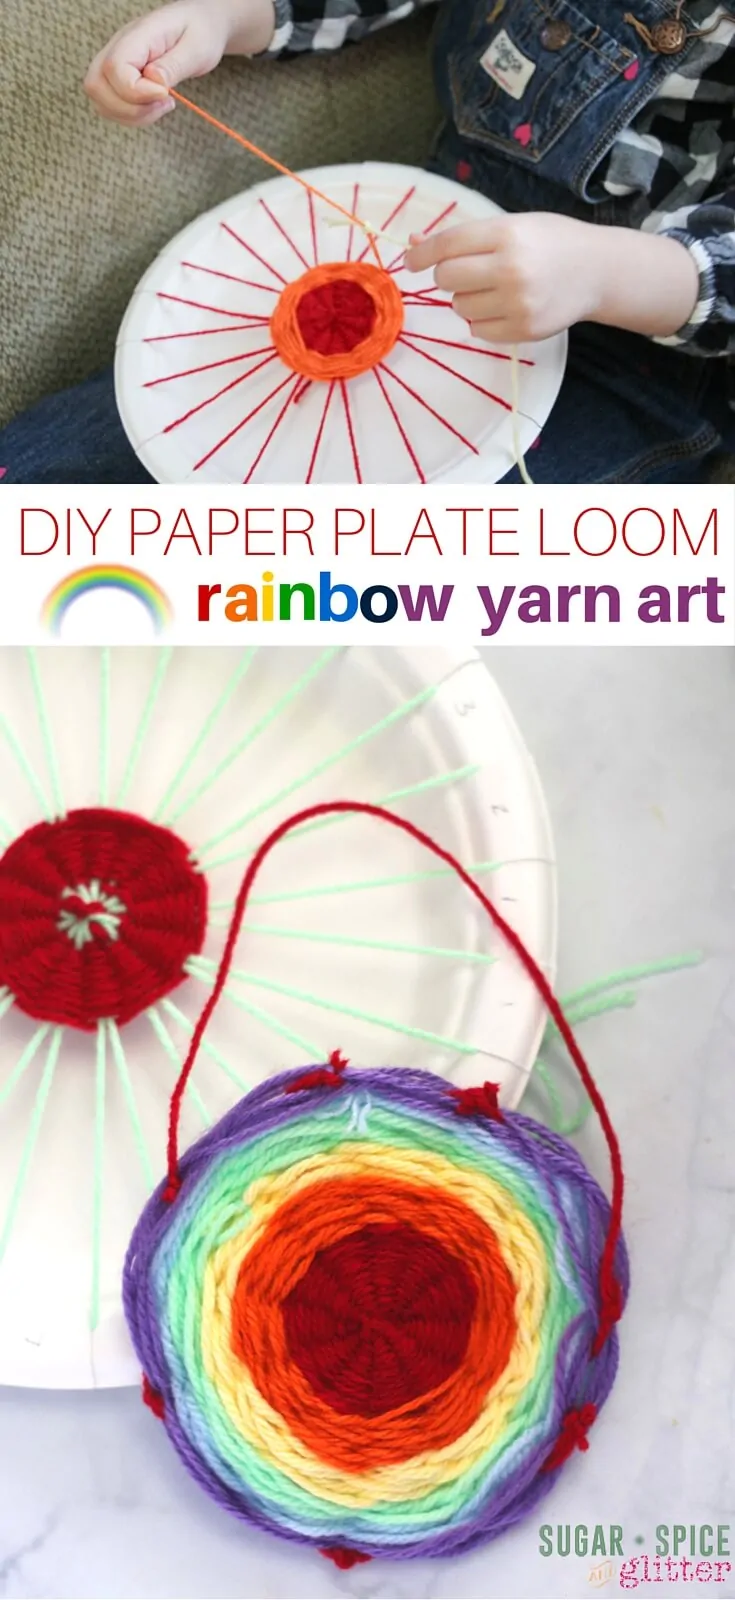
Check out some of our other Easy Sewing Projects for Kids:
")


")
")


")
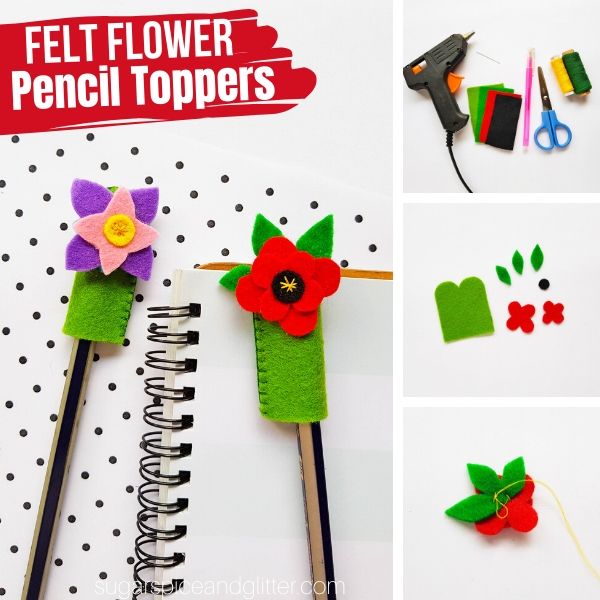
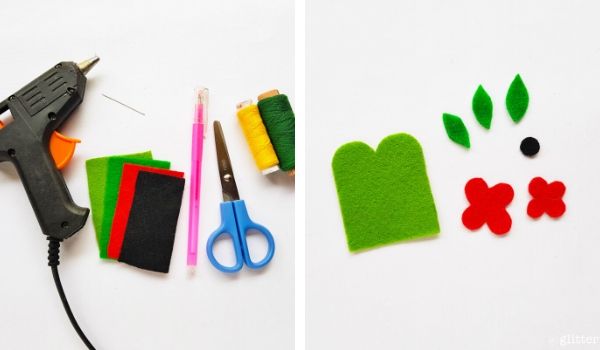
Felt Flower Pencil Topper Materials
- Felt
- Pencil or fabric marker
- Scissors
- Freezer paper and iron (if using the freezer paper trick)
- Needle
- Thread
- Hot glue gun and glue stick
- Pen Topper Template
Scroll down to the printable recipe card for full measurements.
Tip: print out a couple copies of the template before getting started.
How to Make Felt Flower Pencil Toppers
Print out the template patterns and cut them out. Trace the patterns on felt fabrics and cut out the traced patterns using scissors. Te template includes 3 sets of patterns of 3 different sizes, choose any size you want.
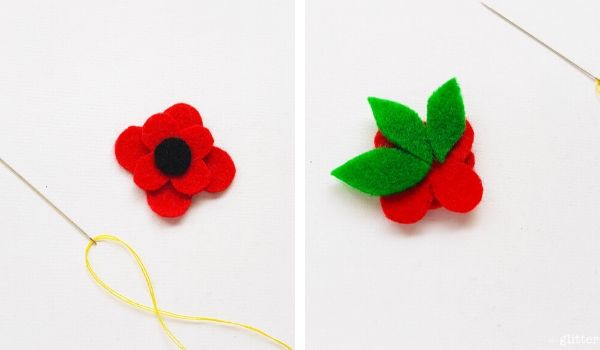
Take the flower patterns. Place the small flower pattern on the top of the big flower pattern and then place the small round shape on the center of e small flower pattern.
Hold all 3 patterns together and flip tem to the back side. Place the 3 leaf patterns on the back side of the flower arrangement.
Stitch the leaves with the flower on the back side, while keeping in mind to stitch the small round center piece with the flower as well.
I did a double cross stitch to stitch all 6 patterns together (3 leaves, the flowers and the round shape).
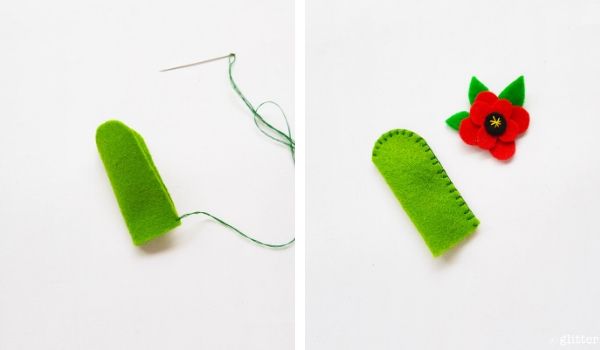
Now take the pen topper base cutout and prepare needle and thread.
Fold the pen topper cutout into half lengthwise. Start to stitch from the bottom side.
You can do running stitch or flat blanket stitch around the open side to close it.
The pen topper and the felt flower are ready. Prepare the hot glue gun to attach the felt flower on the pen topper.
Use hot glue to attach the felt flower on the top closed end of the felt topper.
Pin this Easy Felt Flower Craft for Kids:
Grab your free printable instructions for our felt flower pencil toppers and don’t forget to grab your Pen Topper Template:
Want to Save This Recipe?
Enter your email & I'll send it to your inbox. Plus, get great new recipes from me every week!
By submitting this form, you consent to receive emails from Sugar, Spice and Glitter.
DIY Felt Flower Pencil Toppers
An easy felt pencil topper craft for kids to add personality to their school supplies. The poppy version is a great option for a Remembrance Day craft.
Materials
- Felt
- Thread
Tools
- Pencil or fabric marker
- Scissors
- Freezer paper and iron (if using the freezer paper trick)
- Needle
- Hot glue gun and glue stick
- Pen Topper Template
Instructions
- Print out the template patterns and cut them out. Trace the patterns on felt fabrics and cut out the traced patterns using scissors. Te template includes 3 sets of patterns of 3 different sizes, choose any size you want.
- Take the flower patterns. Place the small flower pattern on the top of the big flower pattern and then place the small round shape on the center of e small flower pattern.
- Hold all 3 patterns together and flip tem to the back side. Place the 3 leaf patterns on the back side of the flower arrangement.
- Stitch the leaves with the flower on the back side, while keeping in mind to stitch the small round center piece with the flower as well.
- I did a double cross stitch to stitch all 6 patterns together (3 leaves, the flowers and the round shape).
- Now take the pen topper base cutout and prepare needle and thread.
- Fold the pen topper cutout into half lengthwise. Start to stitch from the bottom side.
- You can do running stitch or flat blanket stitch around the open side to close it.
- The pen topper and the felt flower are ready. Prepare the hot glue gun to attach the felt flower on the pen topper.
- Use hot glue to attach the felt flower on the top closed end of the felt topper.
Recommended Products
As an Amazon Associate and member of other affiliate programs, I earn from qualifying purchases.
-
 Fabric Marker, Emooqi 24 Colors Textile Marker No Bleed Non Toxic Fabric Pen Permanent and Washable T-Shirt Marker,Ideal for Decorate T-shirts, Bibs, Textiles, Shoes, Handbags, Graduation Signatures
 -
Reynolds Freezer Paper Plastic Coated 50 Sq Ft (3 Rolls)
-
flic-flac 44PCS 4 x 4 inches (10 x10cm) Assorted Color Felt Fabric Sheets Patchwork Sewing DIY Craft 1mm Thick


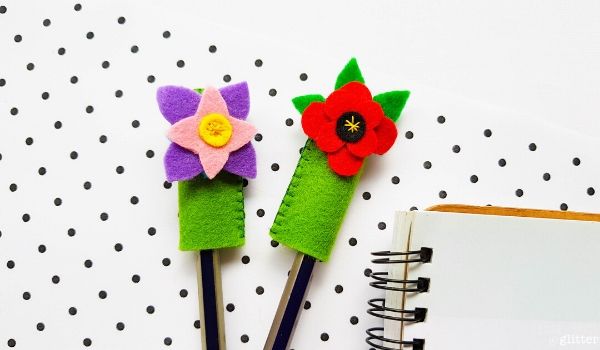
This DIY Felt Pencil Topper is a fun way to encourage kids to practice their sewing skills and makes a great DIY School Supply or homemade gift!
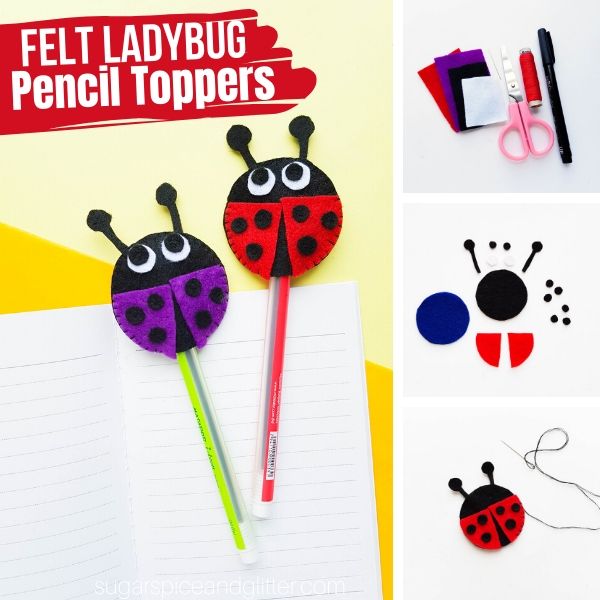
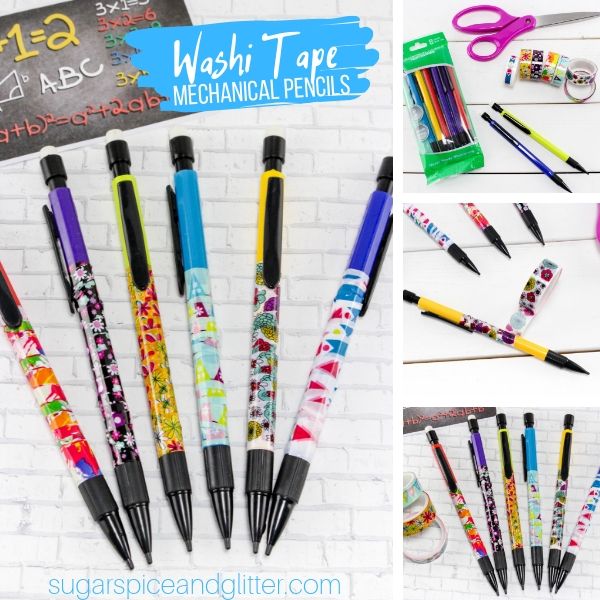
Check out some of our other DIY pencil crafts, like our DIY Ladybug Pencil Toppers or our DIY Washi Tape Pencils.