
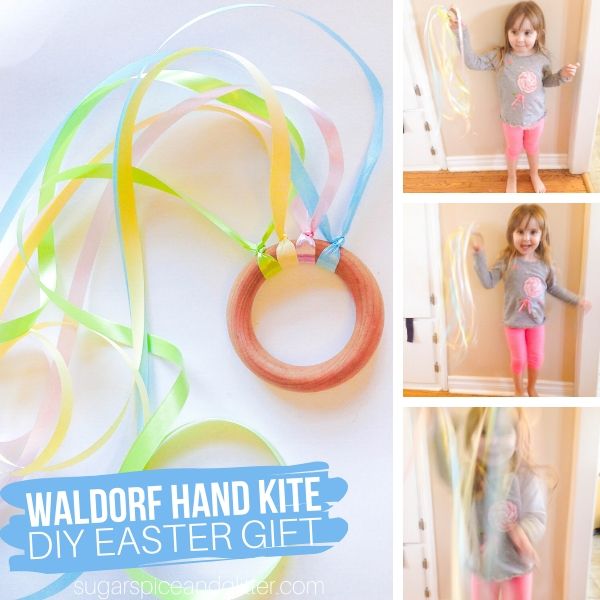
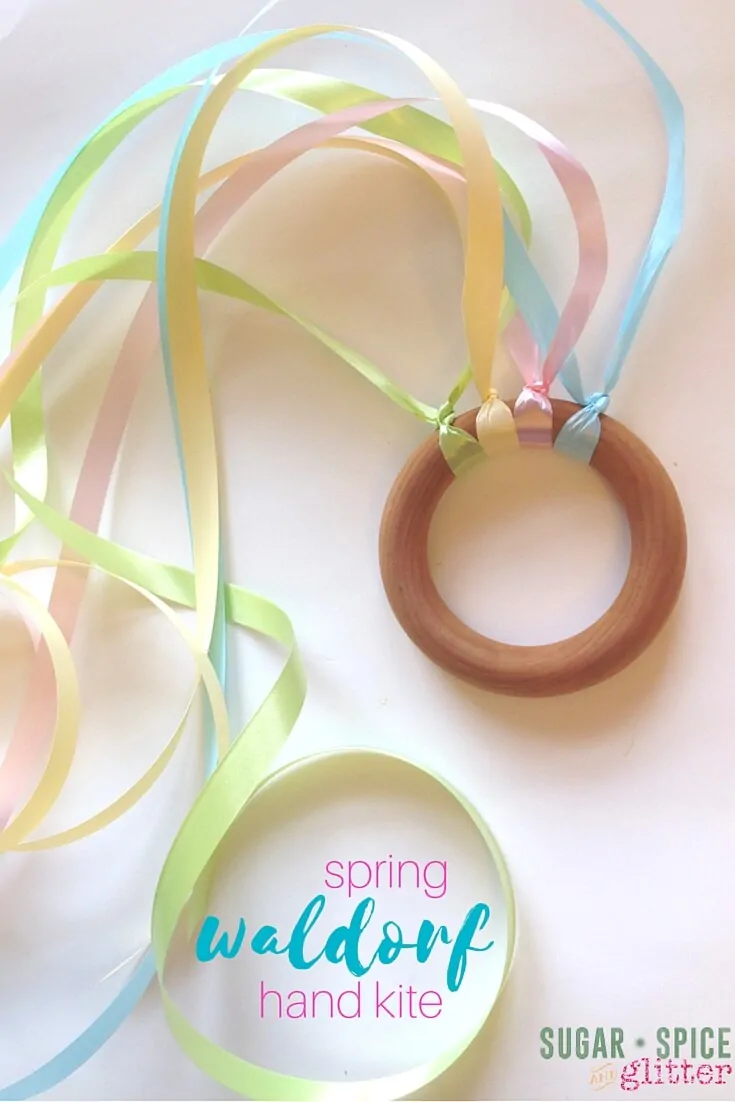
Spring Waldorf Hand Kite
Ella has loved her Waldorf hand kite since I first made it for her two years ago, and for a simple, homemade toy, it’s surprising how well it has held up and how much play it still gets! (I’ve only had to replace one ribbon!) For a special Spring treat, I thought we’d change out her fall-coloured ribbons to make a Spring Waldorf Hand Kite.
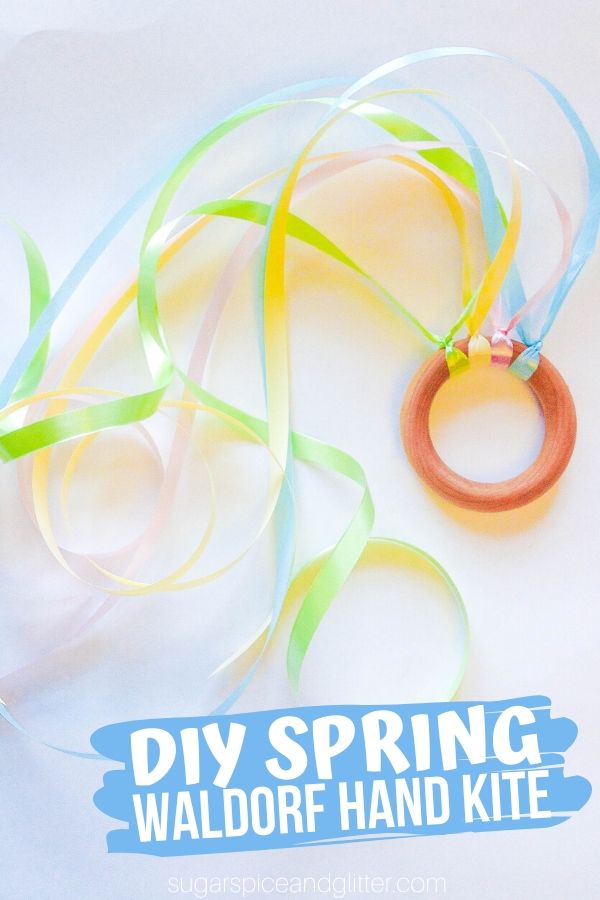
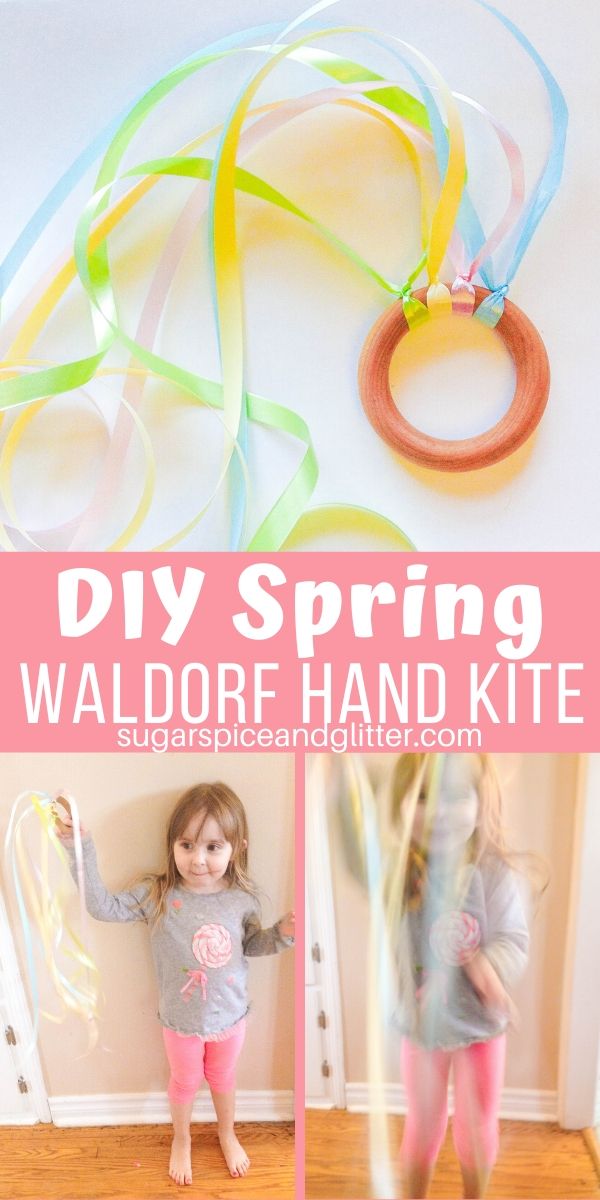
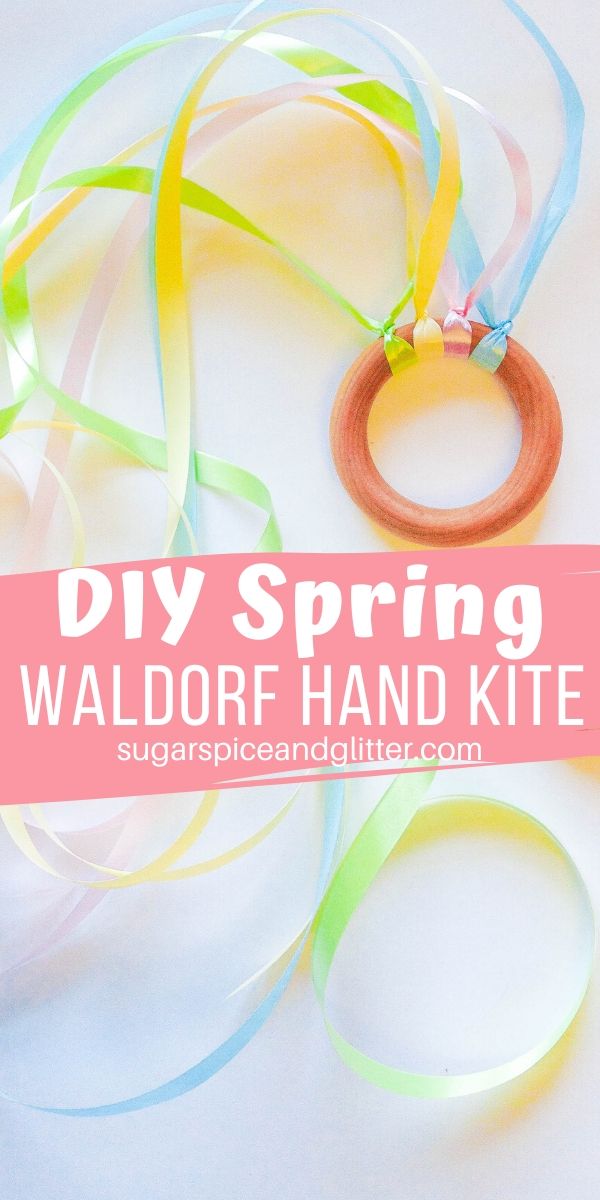
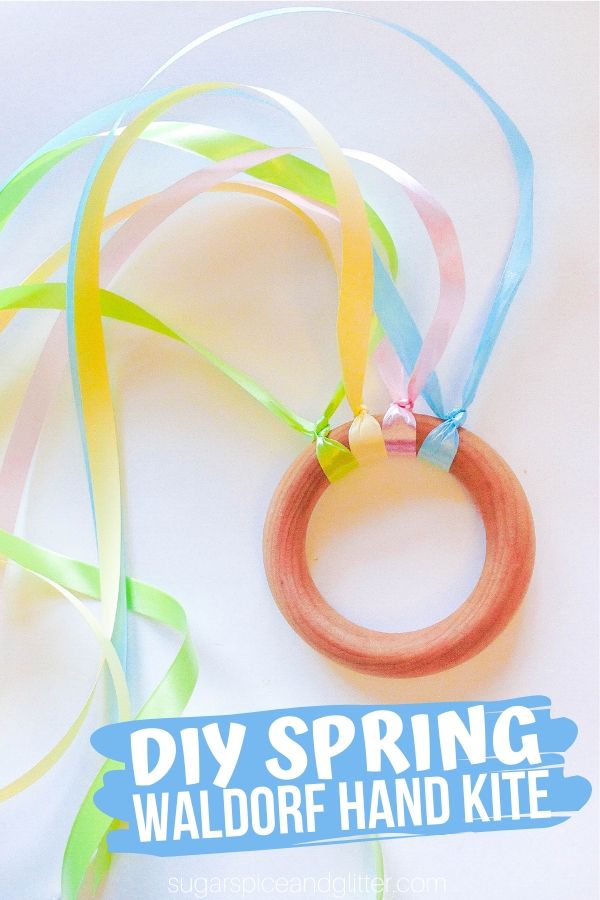
DIY Spring Waldorf Hand Kite
A Waldorf hand kite is a simple wooden ring with ribbons attached that children can dance or run around with and watch the ribbons floating around them and dancing in the wind. (They are also called wind rings, hand wands or ribbon rings.)
The Waldorf tradition prioritizes wooden, natural toys that are open-ended for creativity, allowing children to use their imaginations to repurpose their toys in a variety of ways. While we’ve opted for Montessori education for our daycare, I love the materials and stories that go along with Waldorf and still incorporate many Waldorf ideas into our lives.
(Some of our favorite Waldorf story books include the seasonal collection put out by Wynstones Press and anything by Elsa Beskow. Many Waldorf parenting books prioritize connection and attachment-style parenting and have been wonderful resources for me as well.)
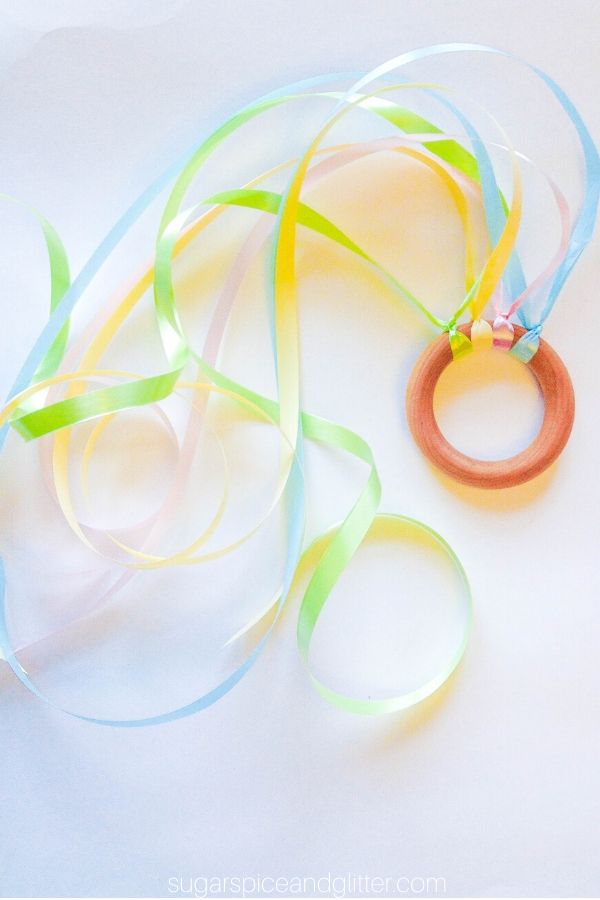
A Waldorf hand kite is incredibly easy to assemble and makes a great homemade gift.
This Spring version would be great for an Easter basket or to celebrate the first day of Spring!
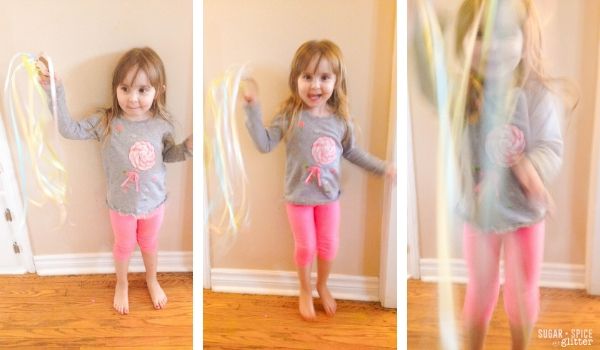
Ella grabs her hand kite almost anytime we go for a walk, especially if we go somewhere that she can run and dance around a bit. The ribbons from the Spring Waldorf Hand Kite float magically and loop and cascade as she dances about with them – even in the hallway, it was really hard to get a good picture of a (chocolate-fueled) Ella showing off her creation! She just can’t help but dance and jump around with it!
Because the wooden rings are so sturdy, you can do what we did and just swap out the ribbons whenever your child wants a bit of change (or the ribbons get ratty from wear and tear).
You can change out the ribbons for your Waldorf Hand Kite in so many different ways — different coloured ribbons, pom poms on the end, character ribbons, jingle bells securely sewn to the edges, etc.
We’ve since made ribbon streamers using painted sticks, a winter ribbon wand, and a Christmas version of our hand kite. There are so many ways to adapt this simple concept using materials you have on hand or to celebrate any occasion.
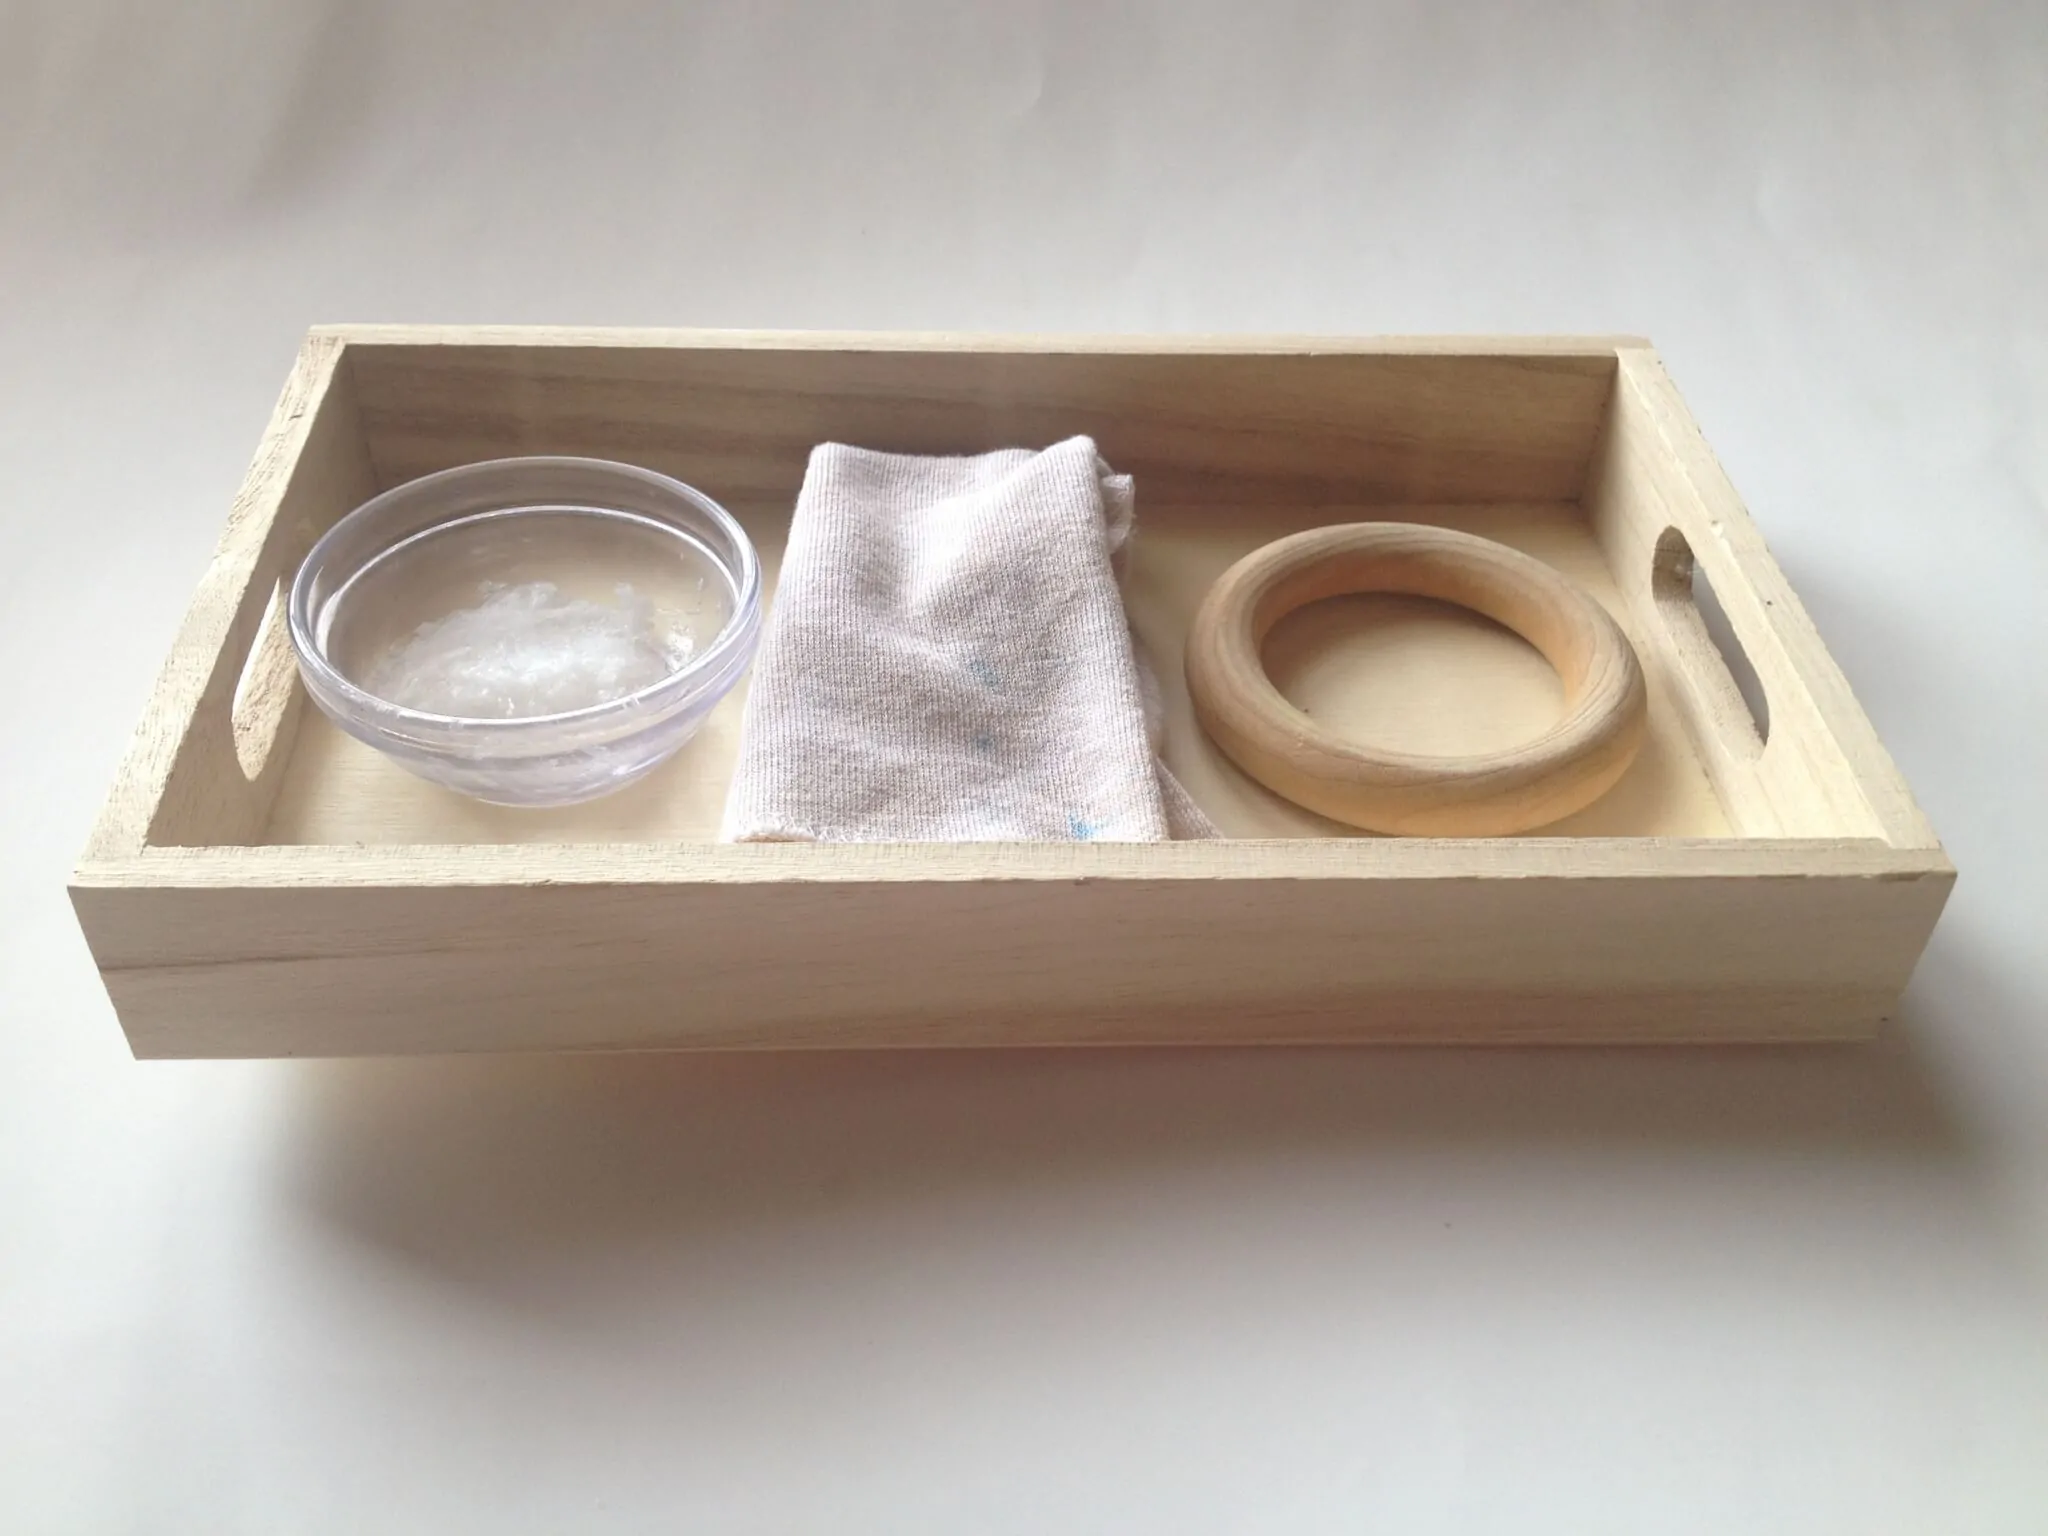
Even though Ella had taken good care of her Waldorf hand kite, it still needed a bit of a scrub.
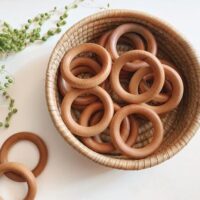
We first took off the ribbons, and then scrubbed the wooden ring (purchased from Etsy) with a bit of dish soap, water, and a vegetable scrub brush. (I’ll post the Practical Life Lesson for polishing wood soon!)
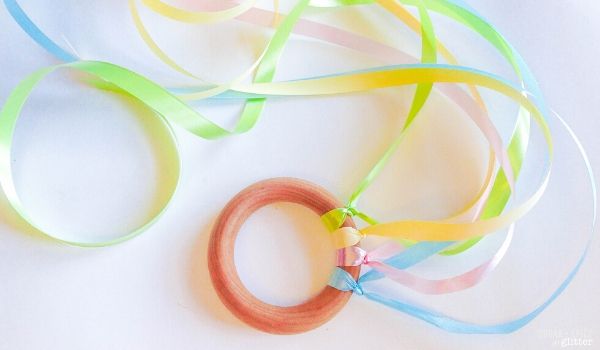
After letting the ring dry, I then had Ella polish it back to it’s previous glory with a bit of coconut oil. I usually mix my wood polish 1 part beeswax to 2 parts coconut oil, but this was a bit of a spur of the moment project. (The beeswax adds a bit of sealant and water protection, but I’m not too concerned as we’ll probably change the ribbons out again in the summer.)
We then picked out four Spring-coloured ribbons and securely tied them to the ring — another great practical life skill!
Materials Needed for DIY Spring Waldorf Hand Kite:
- Wooden ring (this is the one I bought from Etsy)
- Ribbons
- Your choice of wood polish (homemade: 2 parts coconut oil to 1 part beeswax)
How to Make a Waldorf Hand Kite:
Simply polish your wooden ring with coconut oil or a homemade wood polish.
Allow the ring to dry for a couple of hours, attach your chosen ribbons to it. Tie them securely so they don’t come off and create a safety hazard (or create frustration if they were to blow off from the wind).
Have your child hold the wand out at their shoulder level – the ribbons should be no longer than this, and can even be cut as short as arm-length.
Pin this Spring Craft for Kids:
Grab our free printable for this simple Waldorf Hand Kite craft:
Want to Save This Recipe?
Enter your email & I'll send it to your inbox. Plus, get great new recipes from me every week!
By submitting this form, you consent to receive emails from Sugar, Spice and Glitter.
Spring Waldorf Hand Kite
A simple homemade toy that kids can swirl and dance about with, watching the ribbons float around them.
Materials
- Wooden ring
- Ribbons
Tools
- Scissors
- Coconut oil or natural wood polish
Instructions
- Simply polish your wooden ring with coconut oil or a homemade wood polish.
- Allow the ring to dry for a couple of hours, attach your chosen ribbons to it. Tie them securely so they don't come off and create a safety hazard (or create frustration if they were to blow off from the wind).
- Have your child hold the wand out at their shoulder level - the ribbons should be no longer than this, and can even be cut as short as arm-length.
Recommended Products
As an Amazon Associate and member of other affiliate programs, I earn from qualifying purchases.

I hope you enjoyed this DIY Spring Waldorf Hand Kite tutorial — it’s a great Spring craft to do with kids and you can work in those Montessori Practical Life skills at the same time!
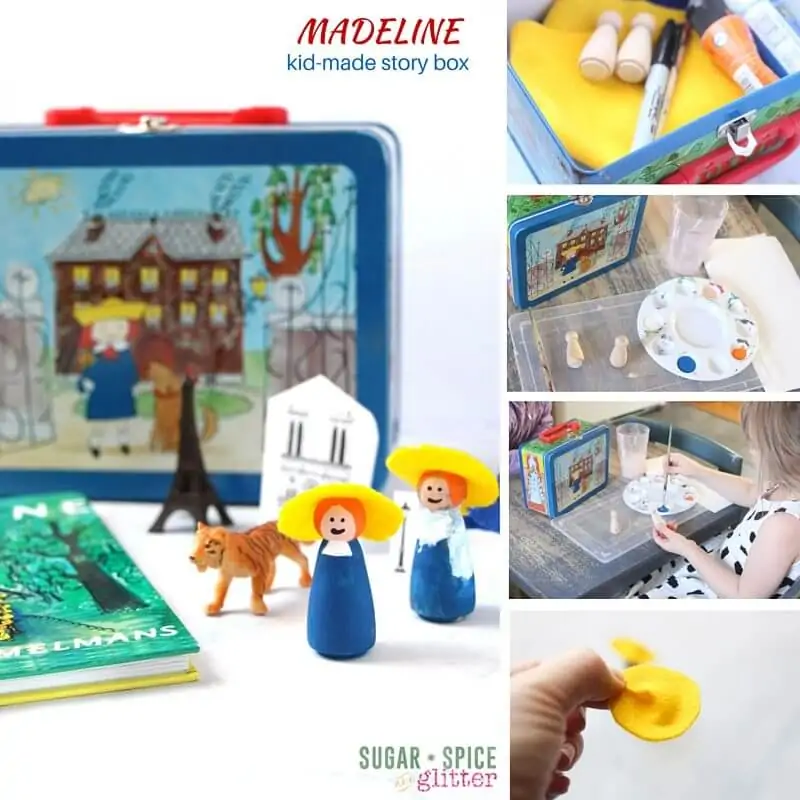
Check out some of our other handmade toys, such as our DIY Rapunzel Braid or our Madeline Story Box.


I absolutely love this simple DIY toy! I love that your daughter helped make it too, and she can now play with it.
Thank you, Menucha – she’s already asking to change out the ribbons!
Hand kites are the best! Adam always sells out of his right away when he makes them. I love the Spring colours you chose:)
You’re so lucky having a carpenter as a hubby!
Sweet post! I love how you tied in the practical life skills. 🙂
Thanks, Vanessa!
Love this! Will definitely be trying with Ellie!
Oh, I hope she loves it!
I love this! I’m a sucker for spring colors and that wooden ring is worthy of a gasp it is so cute and perfect for little hands!!!! xox
Aw, thanks, Dawn! It really is 🙂
I bet my 2-year old granddaughter woudl have hours of fun with this. Thanks for sharing at Thursday Favorite Things, hope to see you next week again! Happy Easter!
Happy Easter!
I bet my 2-year old granddaughter would have hours of fun with this. Thanks for sharing at Thursday Favorite Things, hope to see you next week again! Happy Easter!
Oh I hope she does! Let me know if you end up trying to make one 🙂
What a gorgeous home made toy! Thanks for linking up to the #frugalfamilylinky
Thanks for stopping by, Nicola!
So Lovely! This is an awesome idea!!!!
Thank you, Erin!