
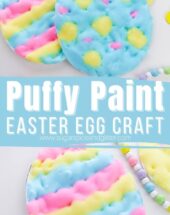
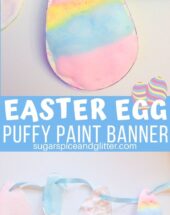
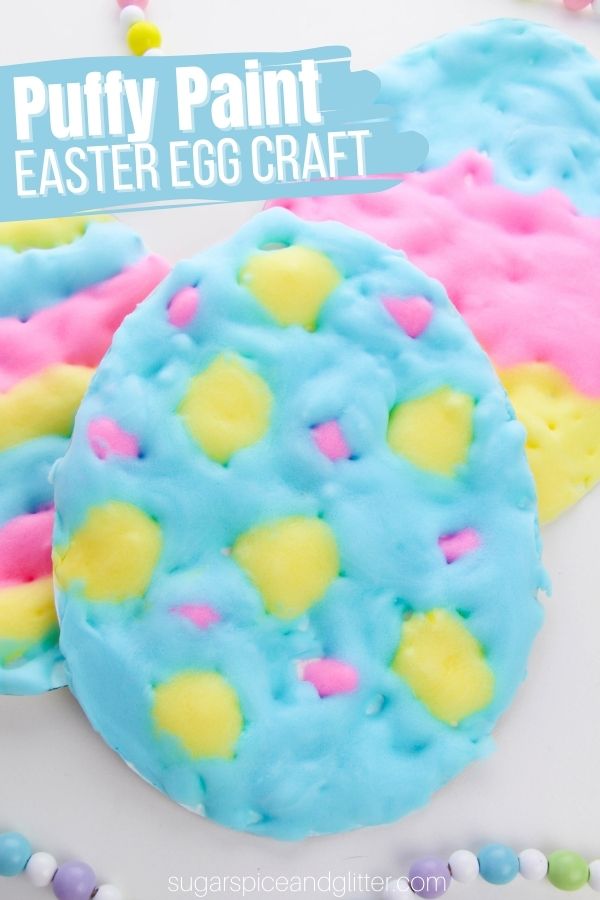
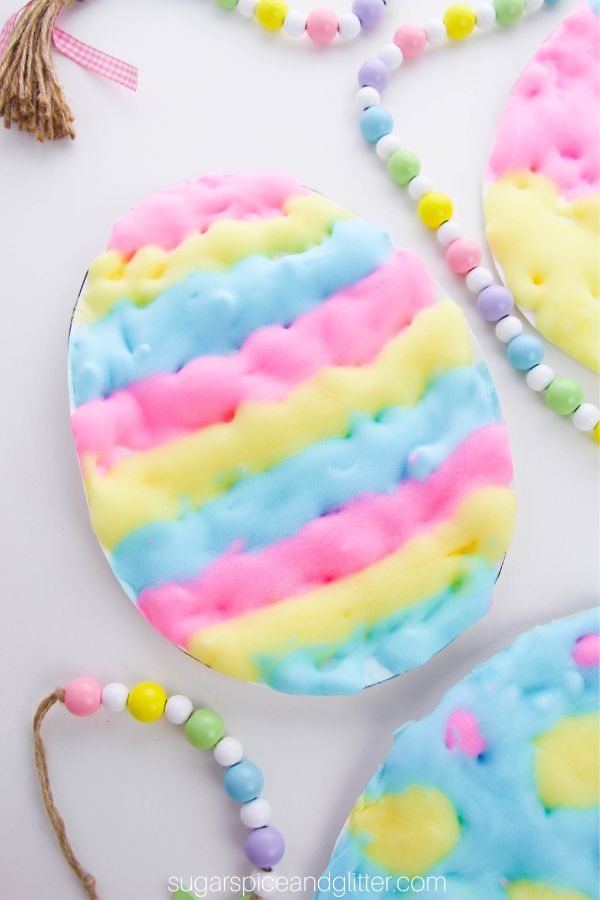
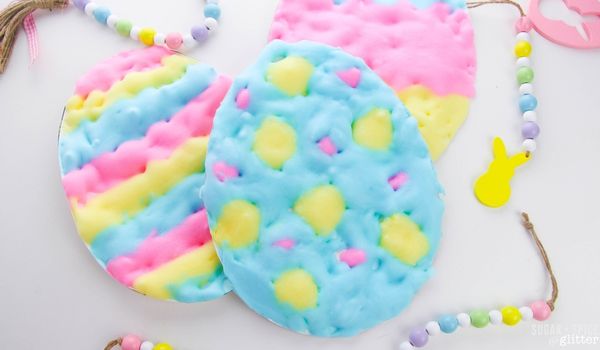
Easter Egg Puffy Paint Craft (with Video)

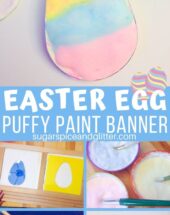
I love incorporating sensory play or educational activities into our crafts, and today’s Easter Egg Puffy Paint involves both! Plus, you can turn it into a unique Easter banner by stringing them onto a ribbon when you’re done.
DIY Puffy Paint Easter Craft
I’m not a fan of prescriptive kids’ crafts – the kind where they all end up looking the same, or even worse, when an adult ends up having to step in and do a lot of the “crafting.”
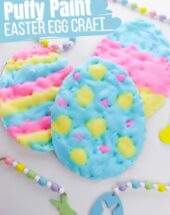
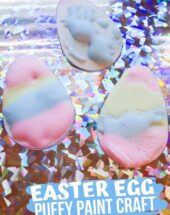
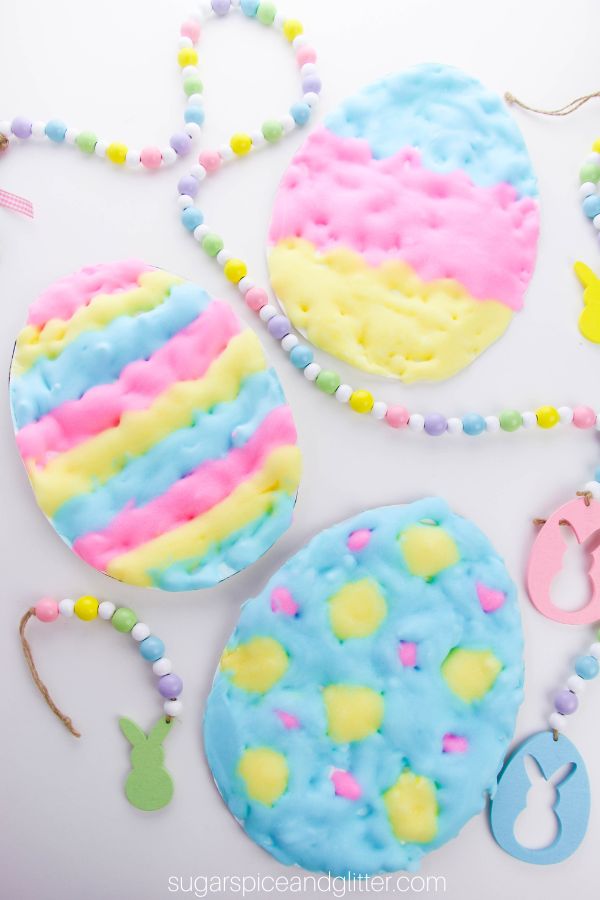
I love when kids get to really explore and create something unique, and today’s Puffy Paint Easter Egg craft allows them to do just that. We’ve been making this craft every year in my daycare and I can honestly say that no two eggs end up looking the same.
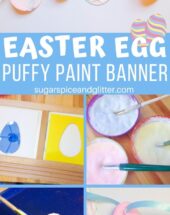
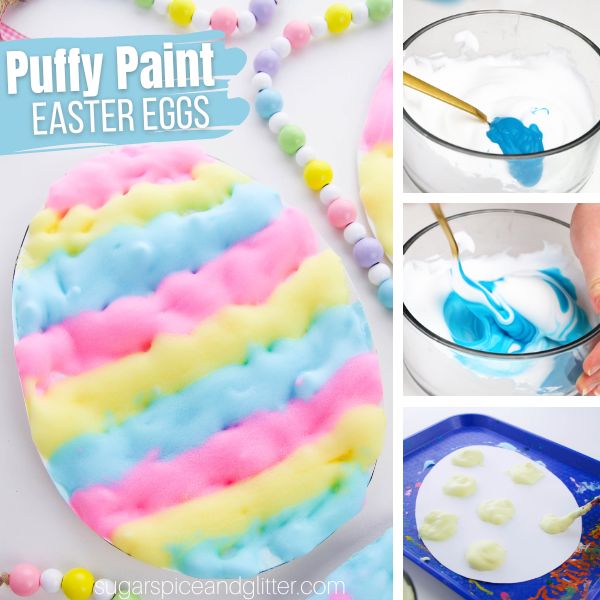
We start by whipping up our super simple homemade puffy paint. It’s just three ingredients and easy enough for the kids to help make.
What I really like about this recipe compared to other DIY puffy paints is that it doesn’t involve using the microwave; other DIY puffy paints that I’ve seen use flour and require you to put the finished product in the microwave for the “puffing” effect. Having the paint be puffy when the kids are painting allows them to have more control of their finished product and also adds that sensory element to the painting process.
Homemade puffy paint has a fun, squishy and sticky texture that the kids can’t help but want to explore, so I just let them and keep wet clothes or baby wipes on hand to prevent sticky homemade puffy paint from getting everywhere.
This puffy paint is a staple in our craft rotation – we change out the colors and sometimes add scents, depending on the craft (like adding Christmas-inspired spices to our gingerbread puffy paint crafts).
You could use it to make eggs like we did, or 3D pictures, Easter cards, or even make a 3D Easter wreath using a paper plate with the center cut out.
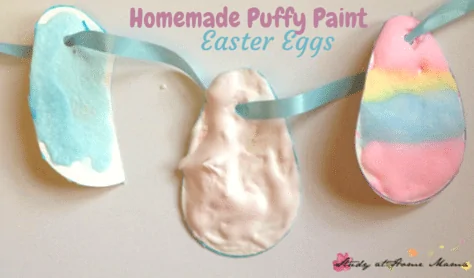
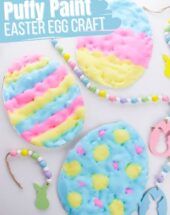
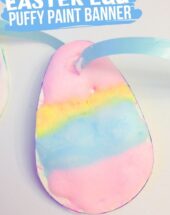
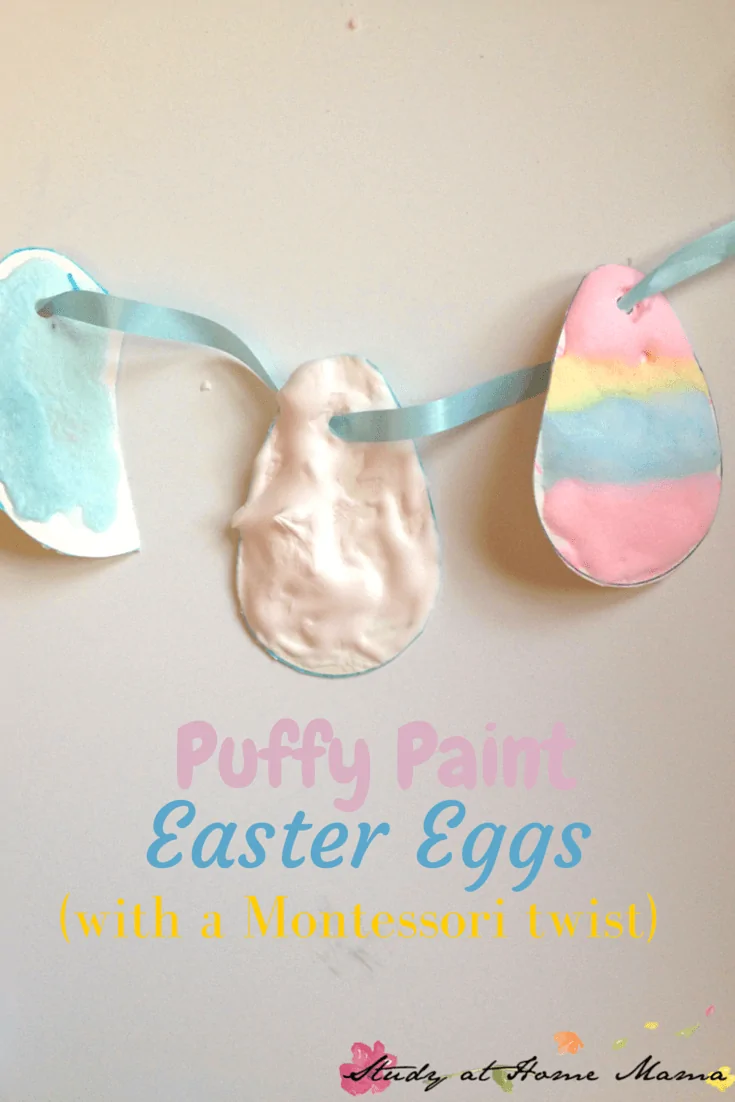
The first year that we made these Puffy Paint Easter Eggs we had some ribbon left over from our Spring Waldorf hand kites so we punched some holes in the tops of the eggs and turned them into a Easter banner.
The DIY puffy paint can smoosh or flake if not handled with care, but we haven’t had any issues with gentle handling.

Because I have a Montessori set-up, we used our metal insets to trace and draw the egg shapes. (If you’re interested, you can check out our sensorial materials here – we previously owned this plastic set of insets and they were great.) An oval stencil would also work great for having kids work on their fine motor skills (tracing and cutting) or you can grab our free printable here and just let the kids cut it out.
This Easter puffy paint craft is one of the 32 recipes, crafts and decor ideas included in our free Easter Planning Ebook available to our e-mail subscribers:
Check out our quick video to see how easy it is to make your own 3-ingredient puffy paint – and then don’t forget to scroll down to grab your free printable Easter Egg template and recipe card:
Materials to Make DIY Puffy Paint
- Shaving cream (just use the cheapest non-gel shaving cream you can find)
- White glue
- Paint or food dye
- Bowls (one per color)
- Kid-safe scissors <– these are the ones we use and they’ve lasted us for 6 years. I find kids have a hard time with some safety scissors but these we have no issues with
- Cardstock or cardboard
Tip: you can also add food extracts to make your puffy paint scented.
If you don’t want to make your own puffy paint for this recipe, you can use a store-bought puffy paint instead.
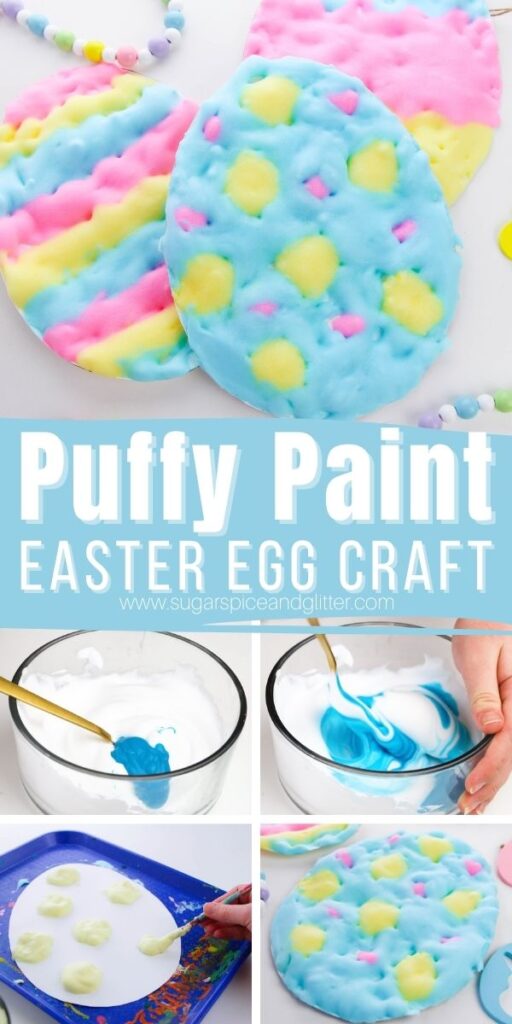
How to Make Homemade Puffy Paint
Mix together the shaving cream, glue and paint. Add scent, if desired.
You can really play around with this recipe — adding more shaving cream if you want a puffy (more delicate) result, or more glue if you want a firmer, less puffy result. Just be careful not to overmix, as that deflates the paint. It keeps well for a couple of days if covered, but is best used right away.
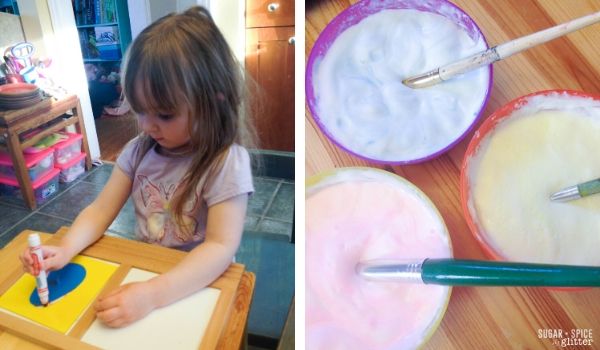
Have children trace out their oval shapes onto thick paper, cardstock or cardboard. (Or grab our printable Easter Egg template.)
Have the kids trace and cut out their eggs.
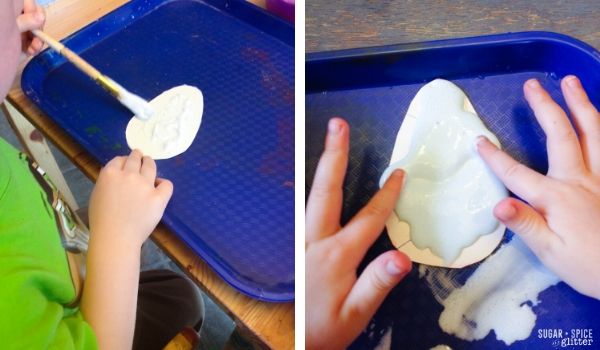
Then, let them paint!
Encourage kids to dab on the paint (or “paint lightly”) to keep that wonderful, puffy texture. At first, the kids may just want to explore the unique puffy paint, so have plenty of egg-shaped paper on hand so they can eventually get around to experimenting with different Easter egg designs.
Depending on how thickly they apply the paint, it takes about 4 hours to set and dry.
Once dry, I took this craft a step further and used a regular hole punch to place 1/2″ holes near the top of the Easter egg crafts, and then strung them all on a Spring-coloured ribbon to make a Easter Egg Banner.
Pin this DIY Puffy Paint Easter Craft:
Grab our free printable instructions for this DIY Puffy Paint Easter craft:
Want to Save This Recipe?
Enter your email & I'll send it to your inbox. Plus, get great new recipes from me every week!
By submitting this form, you consent to receive emails from Sugar, Spice and Glitter.
Easter Egg Puffy Paint Craft
A simple, three-ingredient recipe for making homemade puffy paint, plus a cute Easter craft for kids to use it on that doubles as Easter decor
Materials
- 1 cup shaving cream
- 1-2 Tablespoons white glue
- Paint or food dye, as desired
- Cardstock or cardboard
- Ribbon
Tools
- Kid-safe scissors
- Hole punch
- Paintbrushes
- Bowls
Instructions
- Mix together the shaving cream, glue and paint. Add scent, if desired.
- You can really play around with this recipe -- adding more shaving cream if you want a puffy (more delicate) result, or more glue if you want a firmer, less puffy result. Just be careful not to overmix, as that deflates the paint. It keeps well for a couple of days if covered, but is best used right away.
- Have children trace out their oval shapes onto thick paper, cardstock or cardboard or grab our printable Easter Egg template.
- Have the kids trace and cut out their eggs.
- Then, let them paint!
- Encourage kids to dab on the paint (or "paint lightly") to keep that wonderful, puffy texture. At first, the kids may just want to explore the unique puffy paint, so have plenty of egg-shaped paper on hand so they can eventually get around to experimenting with different Easter egg designs.Depending on how thickly they apply the paint, it takes about 4 hours to set and dry.
- Once dry, I took this craft a step further and used a regular hole punch to place 1/2" holes near the top of the Easter egg crafts, and then strung them all on a Spring-coloured ribbon to make a Easter Egg Banner.
Recommended Products
As an Amazon Associate and member of other affiliate programs, I earn from qualifying purchases.


The kids loved making their Easter Egg craft with homemade puffy paint, and the Easter Egg Banner is now decorating our living room for Spring!
For more fun Easter activities, check out our full collection here:
Or check out our full collection of kids’ craft ideas here:
Or for more fun sensory play ideas, check out that collection here:
Original image from 2015:
Ooh, the puffy paint recipe sounds really easy. We might have to try this sometime soon. Thanks for sharing!
Thanks, Betsy – you get up to such fun activities!
I LOVE how you made this work with the kids involvement using their sensory play and the final product is fabulous! It would be adorable hung across the window in any room of the house. I featured it on my fb page. Thank you for linking up at the Wonderful Wednesday Blog Hop and please come back again next week. Your crafts rock! Carrie, A Mother’s Shadow
Aw, thanks, Carrie!
Cute idea. My girls would love this!
Oh, I hope you got a chance to give it a try!
what a wonderful idea. My littlest loves paint and this would be a great easter activity.
Oh I hope you enjoy 🙂