
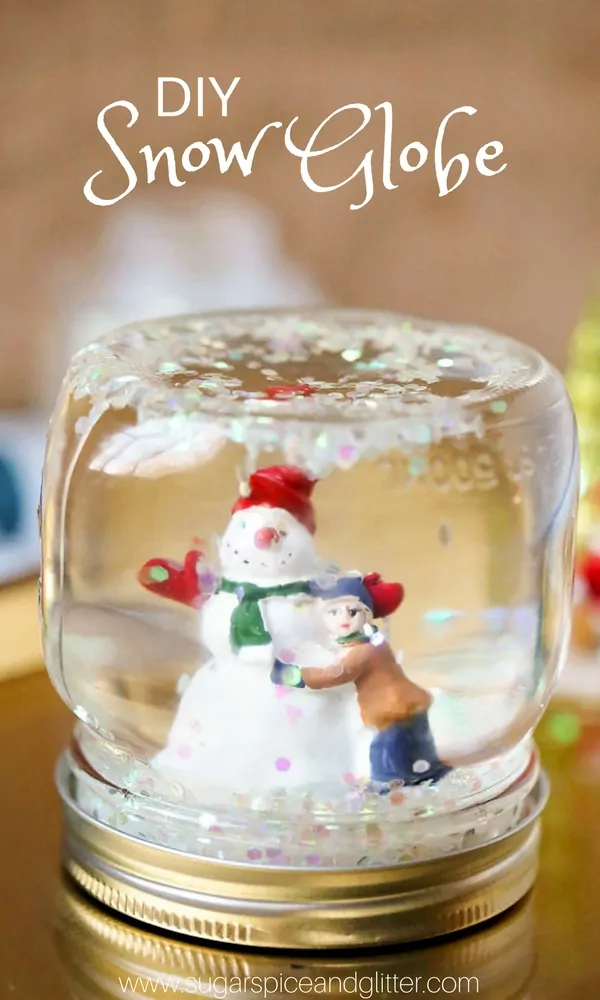
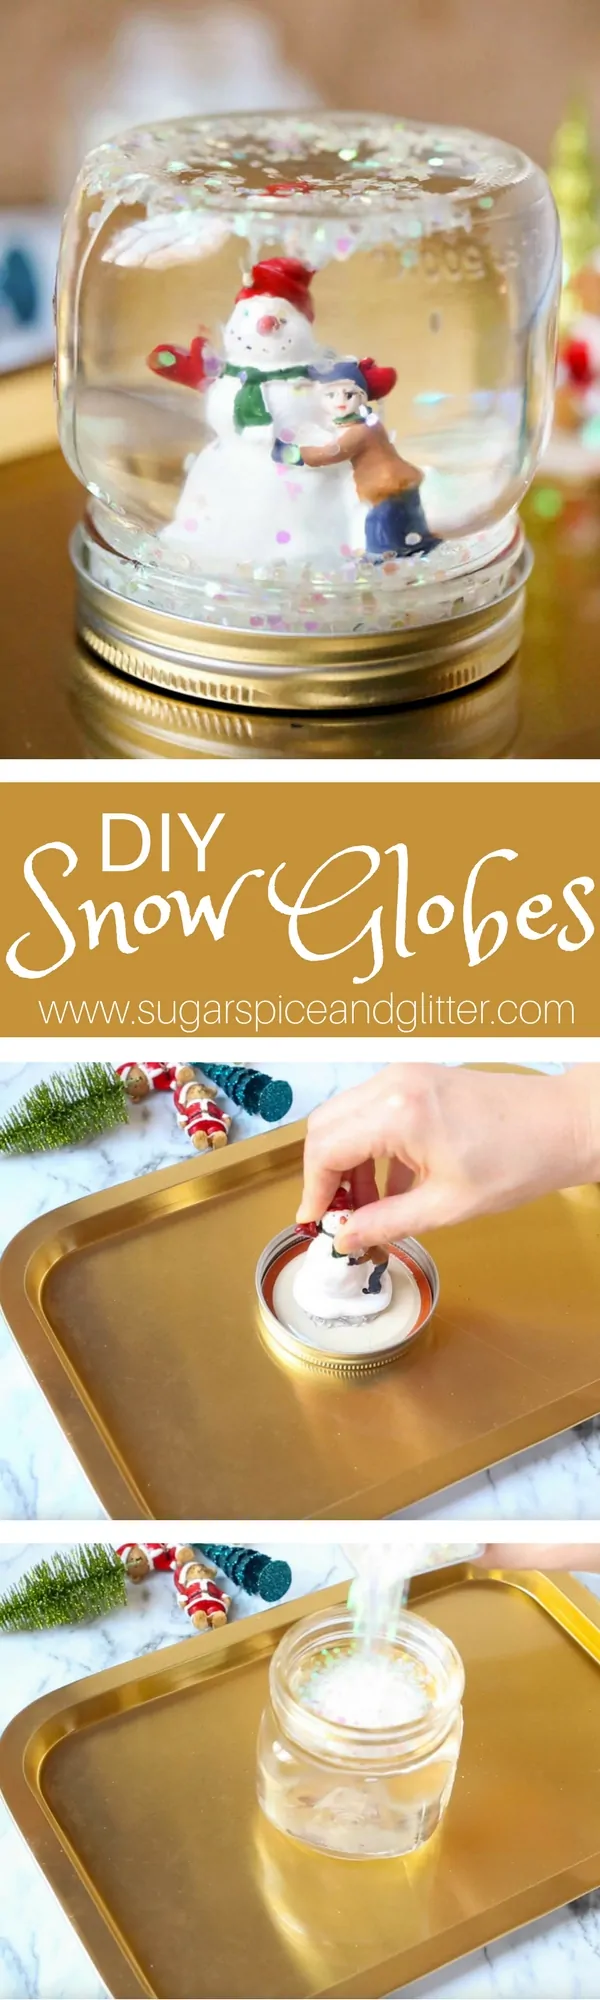
DIY Snow Globes (with Video)
Homemade Snow Globes are a surprisingly easy winter craft for kids!
Getting to hold a miniature world in your hands and watch snow swirl and swoop all around the scene, dancing and bringing life to something that just a moment ago was sitting still in anticipation.
There is so much magic in a snow globe.
Kids especially love shaking up the little globe and watching the snow swirl and bring the scene to life, it’s absolutely mesmerizing for them – and getting to make their own snow globe is even more exciting!
This craft is perfect for kids of any age and it doesn’t have to be a winter scene! You can make homemade snow globes with special trip souvenirs, favorite animal figurines – even superhero or character figurines. I’ve even seen where people laminate a picture and pop it in a snow globe! I’m not sure how long that would last but a good quality laminate should last quite a while.
While we are dealing with some grown-up craft materials to make this craft, there is plenty for kids to do and help with. Mason jars are sturdy – I’ve dropped them a bunch of times without breaking any, and while glycerin might remind you of “nitro glycerin” in the movies, it’s really just a sugar-based alcohol that helps preserve moisture levels in baked goods.
In this craft, glycerin provides two uses: it helps stop the water from evaporating and also helps slow the glitter from just falling from one end of the jar to the other, giving it that swirly effect that is so captivating.
Check out just how easy it is to make these DIY Snow Globes and then scroll down to grab your free printable to make them at home!
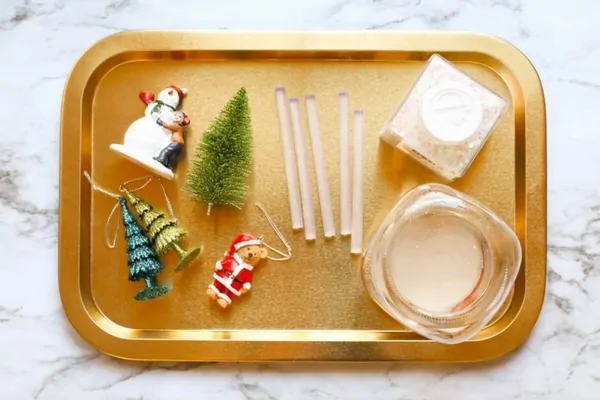
Materials to Make a Homemade Snow Globe
- Small figurines or ornaments
- Distilled water
- Glycerine
- Mason jar
- e600 or hot glue
- Glitter
- Bottle Cap, optional
Tip: you need approximately 1 teaspoon glycerin per 1/2 teaspoon of glitter, adjust as needed to get the glitter to slowly fall the way you want.
I highly recommend grabbing a couple of these sturdy plastic lunch trays (we have one in the pictures in this post). I use these for almost all of our craft or kitchen activities, as well as in our Montessori practical life activities. Ours have lasted for over 6 years and are still going strong, plus they are so great for containing messes and allowing the kids to set a project to the side while it dries (or if you have to clear off the table for supper).
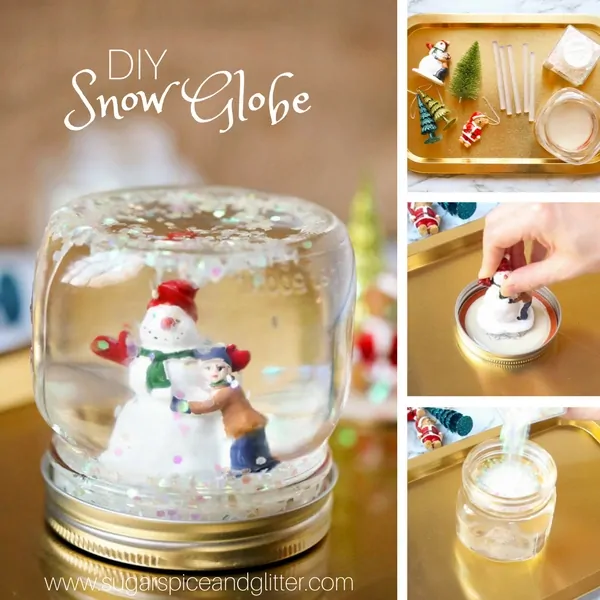
How to Make a DIY Snow Globe
Ensure that your mason jar and figurines are well-cleaned before starting this craft. To get a good shine on glass, trying holding it above a steaming mug of hot water and polishing with a clean cotton cloth.
If using ornaments, remove the string. (You can leave the eye hook in place or remove if desired.)
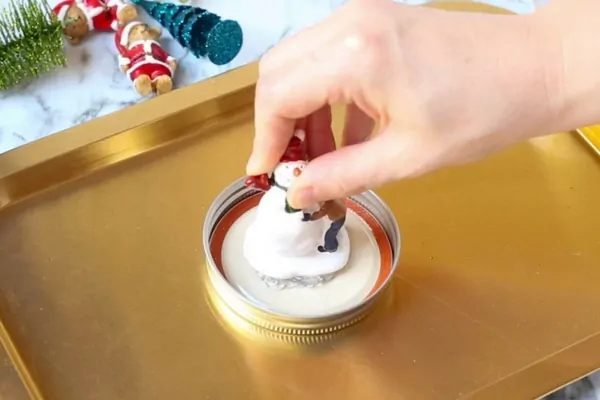
First check to see if your figurine needs a boost to have good visibility when the mason jar is closed by placing the figurine in the jar lid and closing the jar.
If you think the figurine needs some boosting, glue a bottle cap to the inside of the mason jar lid first before attaching the figurine.

Securely glue the figurine to the inside of the mason jar lid (or to the bottle cap, if using) and let dry. (Read the glue instructions to see if they suggest letting the glue cure for a longer period of time.)
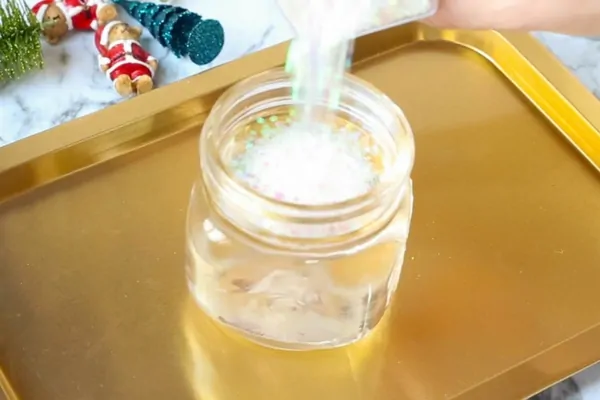
Add distilled water to your mason jar and stir in the glycerin and glitter.
You may want to experiment with your first snow globe to see what ratio of water to glycerin to glitter you prefer. Too much glitter will make it hard to see what’s in your snow globe, and too little glycerin will make it so the glitter just drops when the jar is shaken.
Personally, we used about 3/4 cup of water, 3 teaspoons glycerin and 2 teaspoons glitter.
Don’t fill your jar too much because the figurine will displace some water and you want a small air pocket for allow for the shaking.
Place the inverted mason jar lid on the jar and secure tightly. Glue the jar lid in place and embellish as desired with ribbon, etc.
Pin this Easy Homemade Snow Globe:
Grab your free printable instructions for our DIY Snow Globe craft:
Want to Save This Recipe?
Enter your email & I'll send it to your inbox. Plus, get great new recipes from me every week!
By submitting this form, you consent to receive emails from Sugar, Spice and Glitter.
DIY Snow Globes (with Video)
DIY Snow Globes, an easy Winter craft for kids - or a fun way to save travel memories or a custom DIY snow globe for a special character
Materials
- Small figurines
- Distilled water
- Glycerine
- Mason jar
- e600 or hot glue
- Glitter
Tools
- Hot Glue Gun
Instructions
- Ensure that your mason jar and figurines are well-cleaned before starting this craft. To get a good shine on glass, trying holding it above a steaming mug of hot water and polishing with a clean cotton cloth.
- If using ornaments, remove the string. (You can leave the eye hook in place or remove if desired.)
- First check to see if your figurine needs a boost to have good visibility when the mason jar is closed by placing the figurine in the jar lid and closing the jar.
- If you think the figurine needs some boosting, glue a bottle cap to the inside of the mason jar lid first before attaching the figurine.
- Securely glue the figurine to the inside of the mason jar lid (or to the bottle cap, if using) and let dry. (Read the glue instructions to see if they suggest letting the glue cure for a longer period of time.)
- Add distilled water to your mason jar and stir in the glycerin and glitter.
- You may want to experiment with your first snow globe to see what ratio of water to glycerin to glitter you prefer. Too much glitter will make it hard to see what's in your snow globe, and too little glycerin will make it so the glitter just drops when the jar is shaken.
- Personally, we used about 3/4 cup of water, 3 teaspoons glycerin and 2 teaspoons glitter.
- Don't fill your jar too much because the figurine will displace some water and you want a small air pocket for allow for the shaking.
- Place the inverted mason jar lid on the jar and secure tightly. Glue the jar lid in place and embellish as desired with ribbon, etc.
Recommended Products
As an Amazon Associate and member of other affiliate programs, I earn from qualifying purchases.
-
 KAMOTA Mason Jars 12 oz With Regular Lids and Bands, Ideal for Jam, Honey, Wedding Favors, Shower Favors, Baby Foods, DIY Magnetic Spice Jars, 12 PACK, 20 Whiteboard Labels Included
 -
E6000 230010 Craft Adhesive, 3.7 Fluid Ounces
-
Fine Slime Glitter, Set of 32 Colors, LEOBRO Multi Purpose Glitter Powder for Arts, Crafts, Epoxy Tumblers, Decoration Weddings Cards Flowers, Scrapbooking, Body, Face, Nail, Glitter Slime Making
-
NOW Solutions, Vegetable Glycerin, 100% Pure, Versatile Skin Care, Softening and Moisturizing, 16-Ounce
-
Arrowhead Brand Distilled Water, 127.99 oz


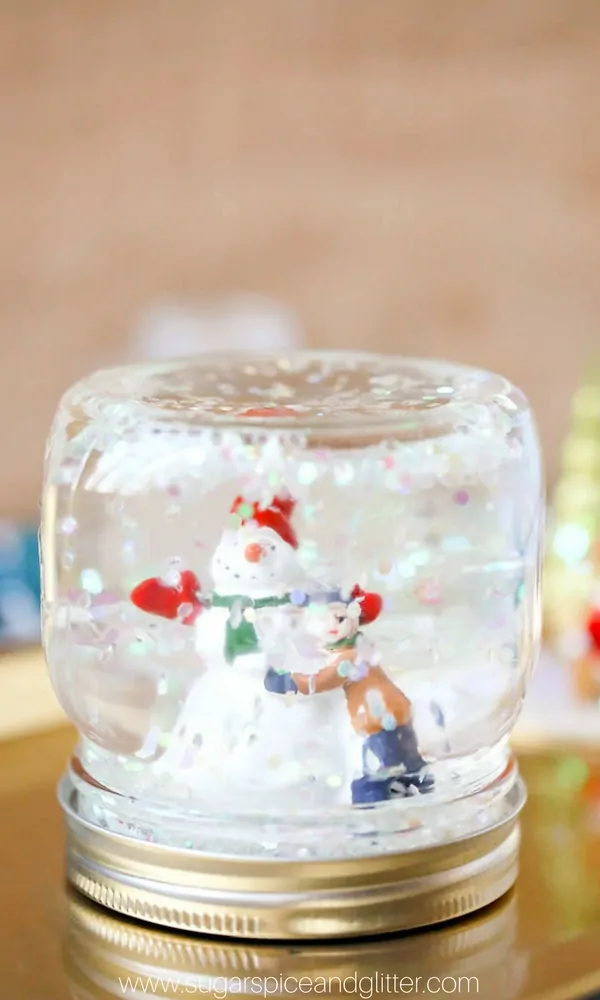
These homemade snow globes are an absolutely magical craft to make with your kids and make a beautiful homemade gift!
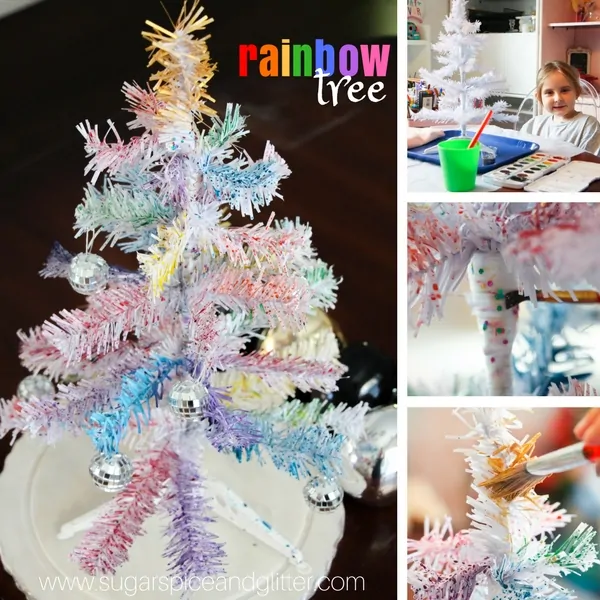
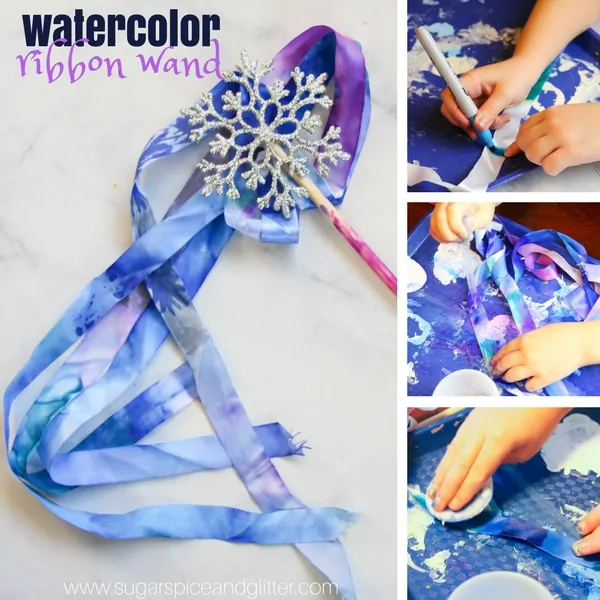
For more awesome winter craft ideas, check out our Rainbow Tree Process Art Project or our Watercolor Ribbon Wand.
<>
My glitter clusters and is now chunks
Any idea why this happened??
It could be the type of glitter, but I would assume it’s actually due to not enough glycerine?
Hi, I made my first snow globe and half of the glitter falls to the bottom, but half goes to the top! Any ideas as to why? I can turn in any direction and it does this. I don’t have an air pocket either.
It’s best to let your glitter soak a 1/2 hour before using in the globe, that way you can remove the glitter that doesn’t sink.
Thank you for the tip, Janice!
Hi Lynn,
I’m so sorry – I have not experienced that but one other commenter said that the best way to prevent it is to soak the glitter in advance and discard any that does not float. It may be that different glitter materials/brands are composed differently.
I made the snow globe quite well bur I have bubbles in it .Can you tell me why please
Hi Agnes,
Did you use the glycerin in your snow globe?
I’ve not heard of this happening, but if you’d like to send me a picture at jennifer@sugarspiceandglitter.com I’d be happy to help you troubleshoot.
Which side of the bottle top goes up or down?
I put the bottle top so that the top/flat edge of the bottle top is attached to the bottom of the ornament, but I think either way would work!
These turned out so goregeous! My kids and I had so much fun making these all afternoon. We used old ornaments for the filling and rainbow glitter.
I’m so glad they liked it, thank you for your comment!
How necessary is it to use distilled water, rather than tap water?
Hi Stephanie,
Depending on the quality of tap water, it could eventually turn yellow or have harsh minerals in it that affect the ornament inside the snow globe, however if you’re not planning on keeping the snow globe for too long you won’t run into any issues.
I made these with our grandkids and the glitter clumped up. I purchased everything you listed and followed the instructions to a tee, after doing some research I saw someone make one and added about a tablespoon of clear glue. IT WORKED. Needless to say, the grandkids were thrilled. Thank you for all of your awesome vidoe’s.