
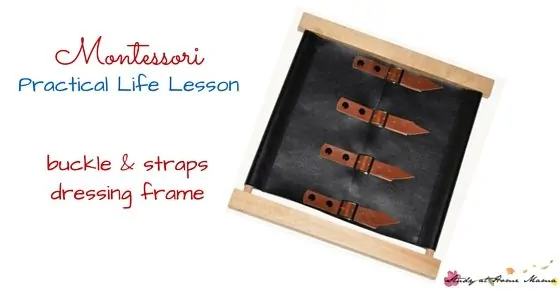
Montessori Practical Life Lesson: Buckles and Straps Dressing Frame
We are almost done our Montessori Practical Life Lessons on the Montessori dressing frames.
Today, Beth Holley shares with us how to present the buckles and straps dressing frame and some tips on effectively presenting any practical life skill.
Recently, a friend of mine, who happens to be a scout master, asked me if I could offer any instructional principles that might be helpful in teaching the youngsters to tie knots. As I shared some of the Montessori teaching methods, it occurred to me that we had covered all of them at one time or another in our practical life posts.
I thought it might be fun to sum them up here, as I did for my friend. As I told him, these principles really apply whether you’re introducing how to make a sandwich or how to divide fractions. We think of these principles as being mostly relevant to the young child, say, three to six years of age, but when I began to consider each of them, I realized they are good principles for guiding any age group, perhaps even adults.
So here they are as I outlined them for my friend:
1. One-on-one or small group instruction. Montessori teachers almost never give a whole-class lesson. Presentations are given to one or a few children at a time. After demonstrating the exercise, immediately offer it to the child and observe whether she has grasped the process. If not, consider whether it’s the child’s confusion, or a fault in your own presentation.
2. Limited talking. Weigh each word carefully. If words are necessary, be as succinct and as clear as possible. Words can help highlight the steps in a process, but avoid extraneous language or superfluous narrative while giving your demonstration. You want a clear impression.
3. Analysis of movement. In showing something like tying one’s shoes or a knot, mentally break the task into individual steps, and show the process with smooth and economical movements, with a slight pause between steps. Avoid introducing wasted or confusing movements. Make sure the child is looking at your movements! In the case of more abstract processes, you’re analyzing the steps and/or component skills involved in a similar fashion.
4. Observation. Observe the child’s efforts and look for the exact point at which she is having difficulty and re–present the lesson with an emphasis on that difficulty. We cleverly call this “isolation of difficulty” or highlighting a “point of interest.” A simple example might be teaching a child to pour her own juice. If it spills, what is the point of difficulty? Not centering the spout? Not controlling the flow of liquid? Not noticing the capacity of the glass? Observation implies not interrupting a child midstream, and patiently allowing her to struggle, so that you can learn what you might need to highlight later. Sometimes in struggling or cleaning up a spill, the child recognizes her own error and you’re not needed.
5. Repetition. Repetition. Repetition. (See what I did there?) Repetition is the only road to internalizing knowledge and skills. Consider whether the setup in your school or home is conducive to the child’s free and spontaneous repetition of the exercise. We can’t assume that once a child demonstrates knowledge or understanding that she will retain it without regular, in some cases daily, use.
Now on to our dressing frame. As you present the buckles and straps dressing frame, think about each of the principles above and see how well you can incorporate them into your lesson!
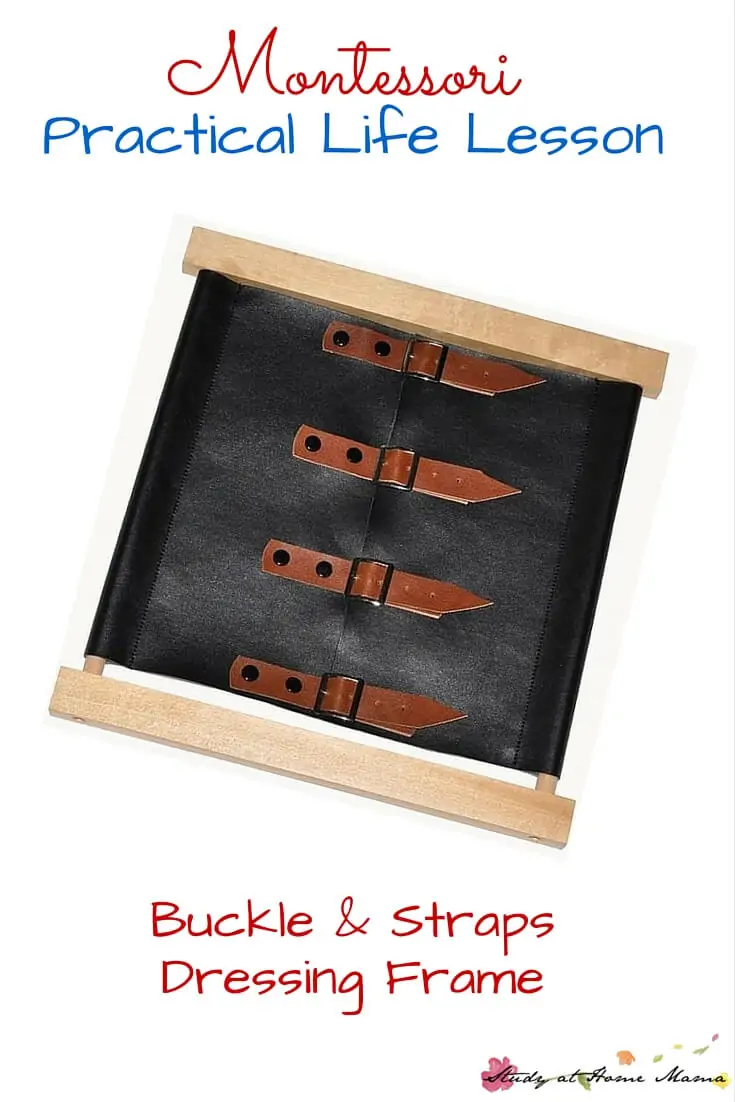
How to Present the Montessori Buckles and Straps Dressing Frame
Purpose:
- Direct: to develop the finger control and dexterity needed to manipulate buckles and straps.
- Indirect: independence and concentration.
Material: a Montessori buckles and straps frame (or you can make your own frames)
Age: 3 1/2 +
Presentation:
1. Starting at the top, unfasten the buckles (assuming the buckle is attached to the right fabric panel):
- grasp the metal buckle with your left hand (thumb and forefinger).
- use your other hand to lift the strap out of the buckle; let it flop.
- still holding the buckle, pull the strap firmly to the left to release the pin; push the pin flat.
- switching hands, pull the strap all the way out of the buckle.
- proceed with all buckles.
2. Fold back both panels of fabric to show that all the buckles are fully disengaged. Close fabric.
3. Starting at the top, proceed to close the buckles:
- grasp the metal buckle with your right hand (thumb and forefinger).
- use your other hand to guide the strap into the buckle; let it flop.
- still holding the buckle, pull the strap back to reveal the hole and pin.
- release the buckle, and feed the pin into the hole with your forefinger.
- grasp the buckle again, and use other hand to feed the strap all the way into the buckle; push the strap all the way flat with your forefinger.
- proceed with all buckles.
4. Invite the child to try.
Points of Interest:
- Does the child pull the strap back to release the pin?
- Does she successfully position the pin in the hole?
Note: The pincer grasp (thumb and forefinger) is used to grasp the buckles and to guide the straps.
To learn more about Montessori theory, please visit Beth’s blog A Montessori Lexicon, and you can also find her on Teachers Pay Teachers.