
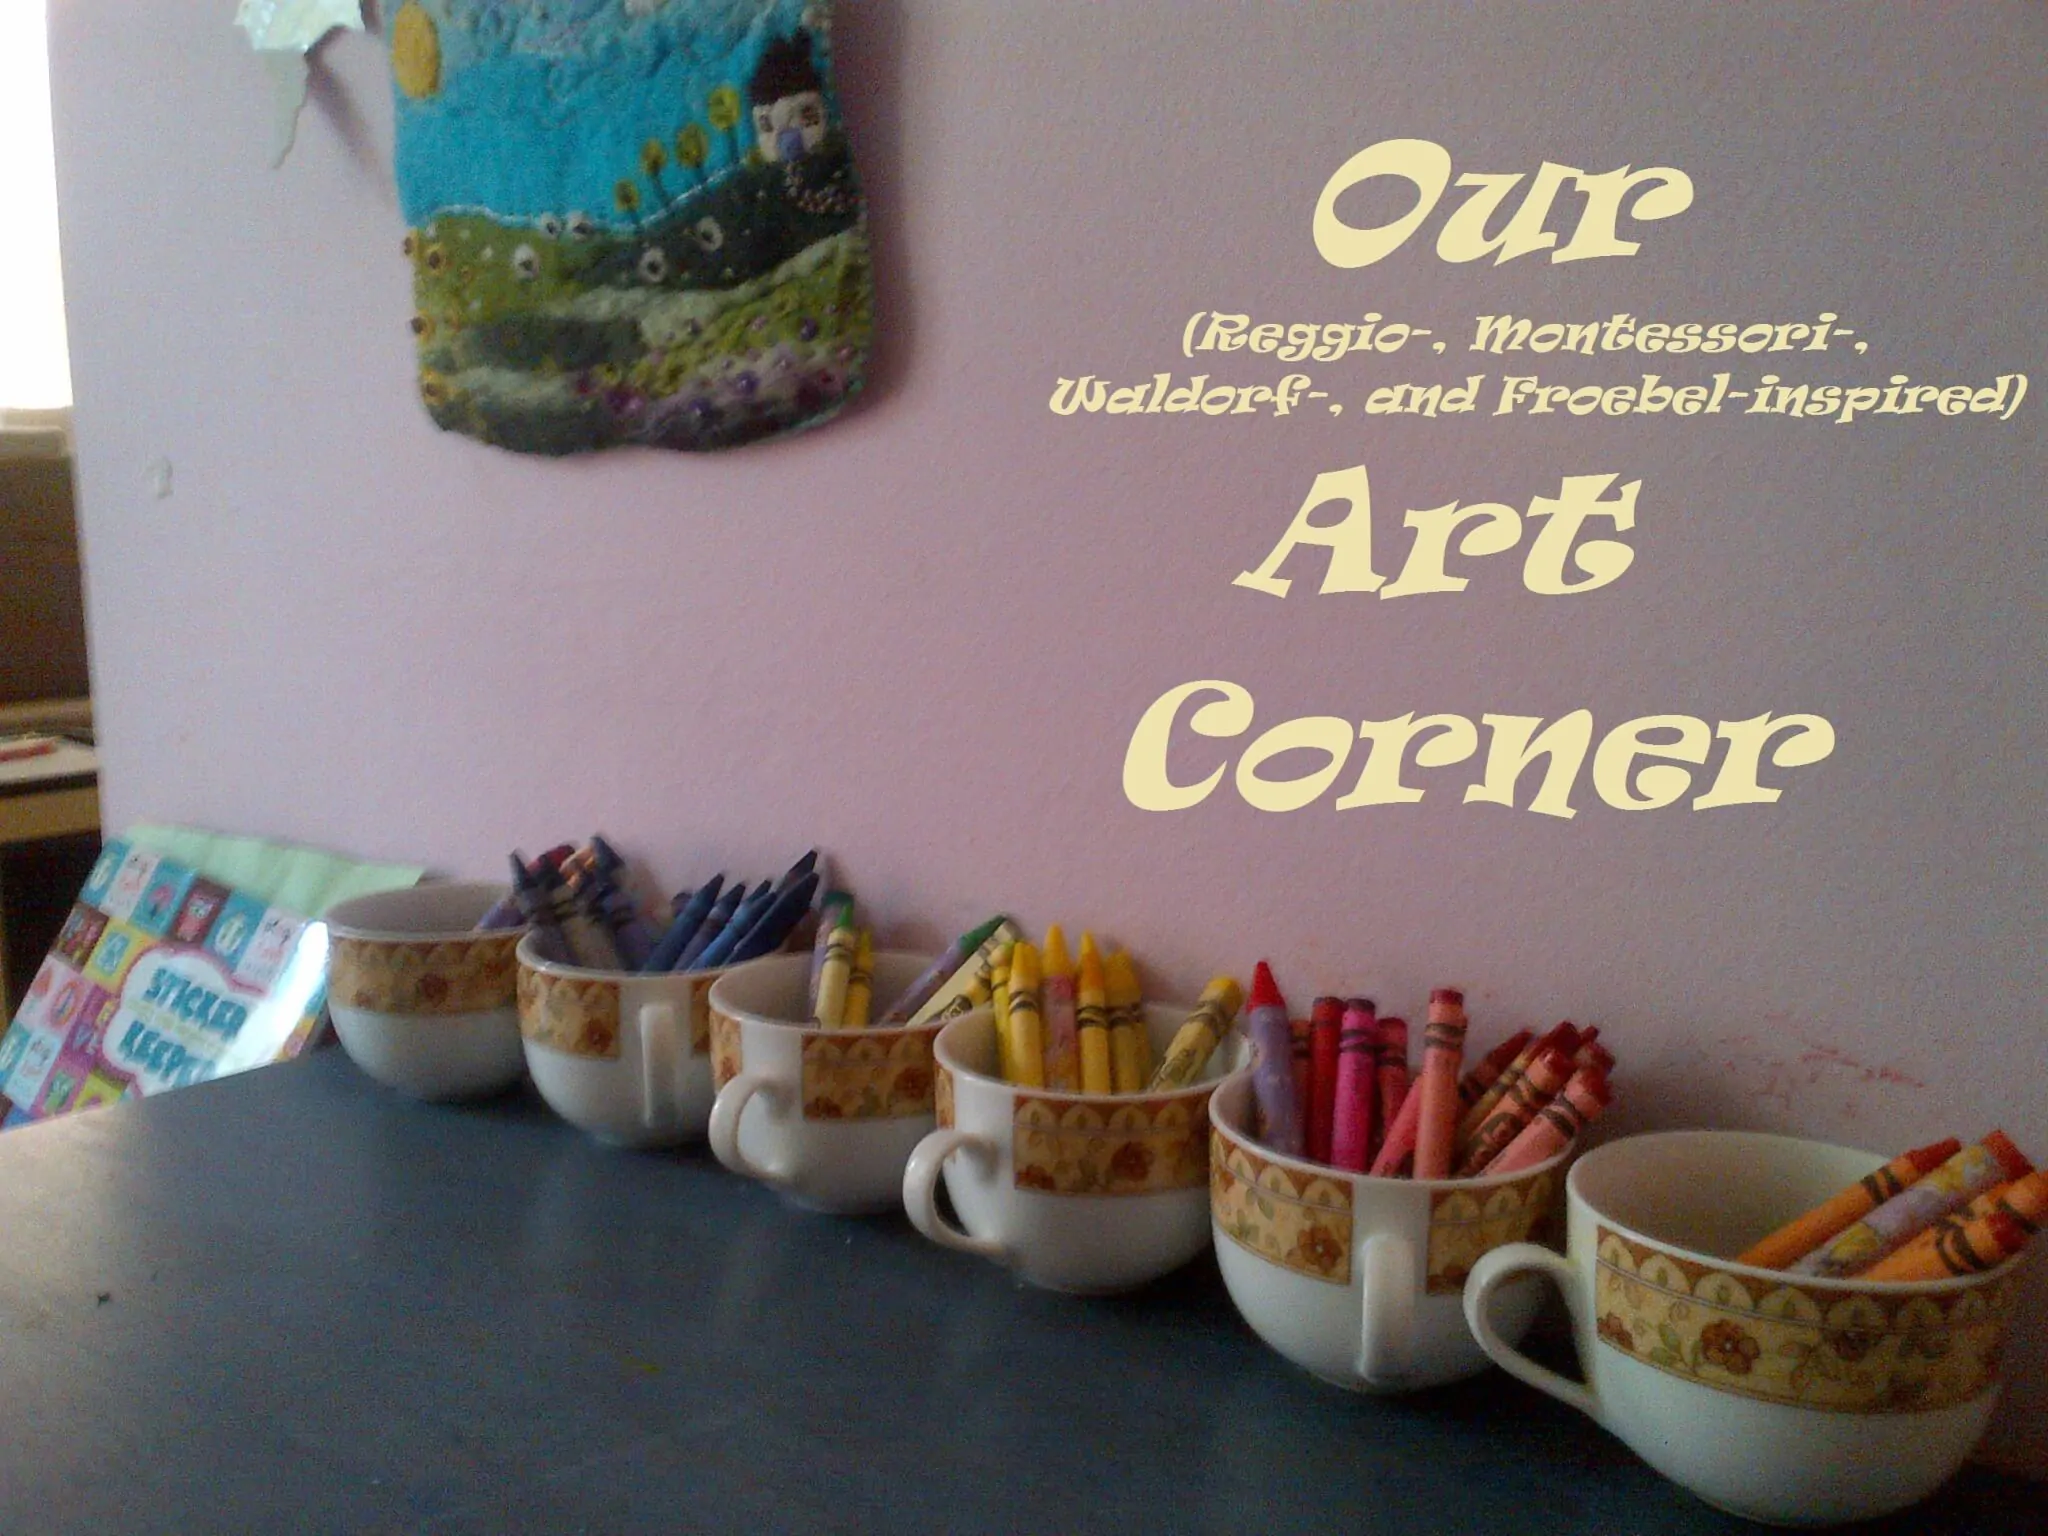
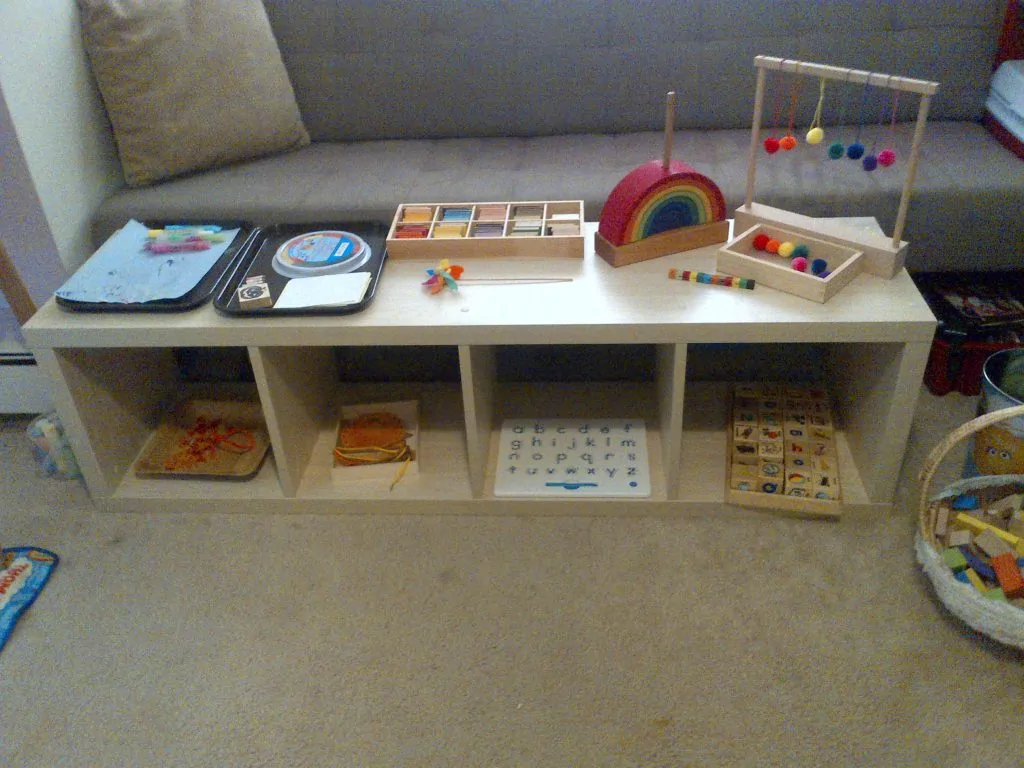
Our Art Corner
My intention with Ella’s toddler art space was to provide her with several different artistic mediums and materials, accessible to her at all times, and only a couple of “advanced” activities that would necessitate learning new techniques.
I wanted to ensure that certain materials were always available (and comforting), as well as to set up our colour study materials in an attractive way, and make the space self-correcting — making it easy for her to put things away when she was done with them.
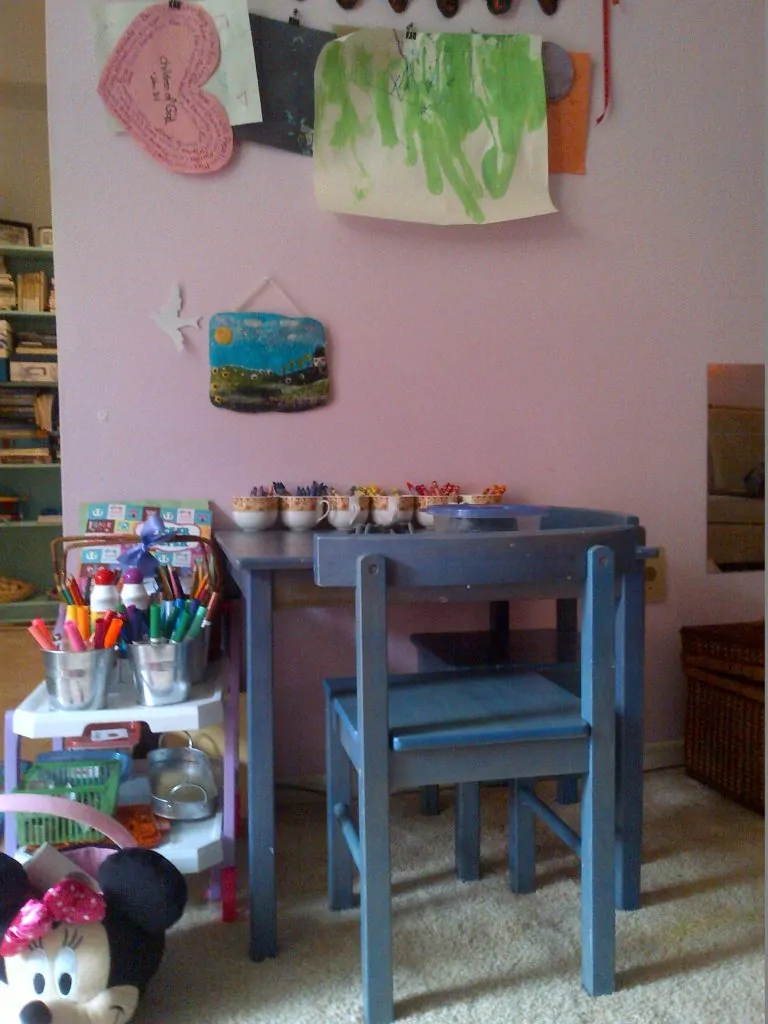
First, her art table. This is actually the table that we also have our meals and snacks at, unless its a “formal” occasion, or we have guests (and use the proper dining room table which is usually in use as my work desk), which means that it must always be cleaned up after use.
If an activity needs to dry or be returned to later, it can be placed on a tray and cleared. This is an important concept for me, as I struggle with (as an adult) putting away “ongoing” or “incomplete” projects, which quickly leads to cluttered work and living spaces. Learning this habit now will encourage Ella to remember to return to projects and keep order in her environment.
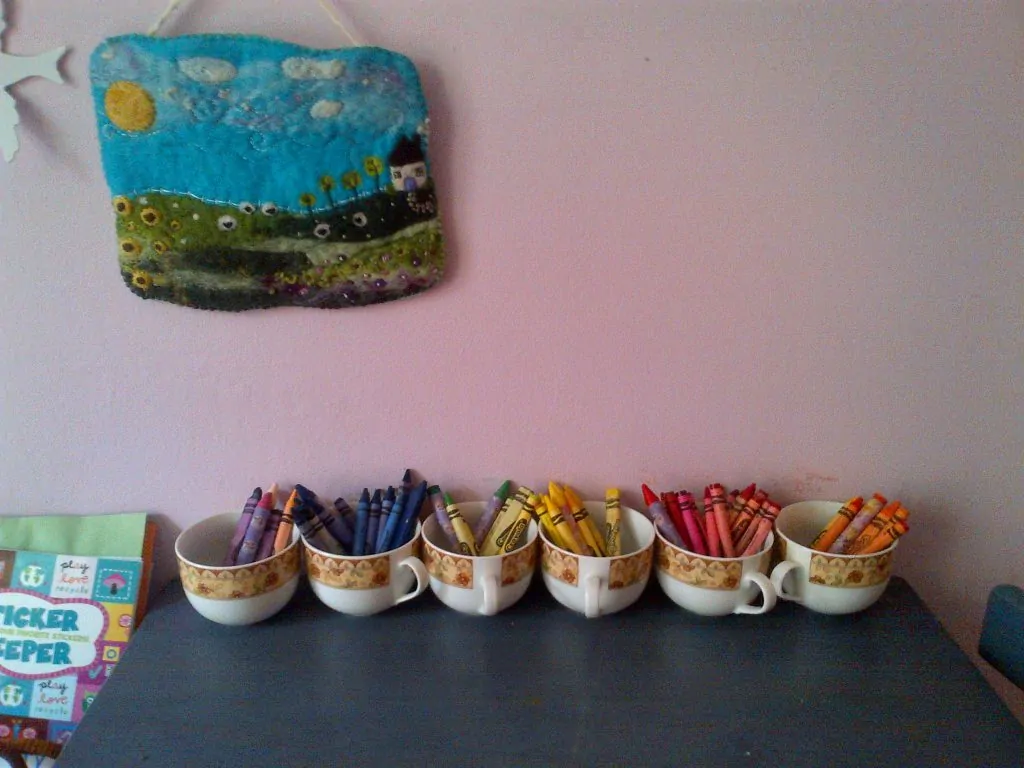
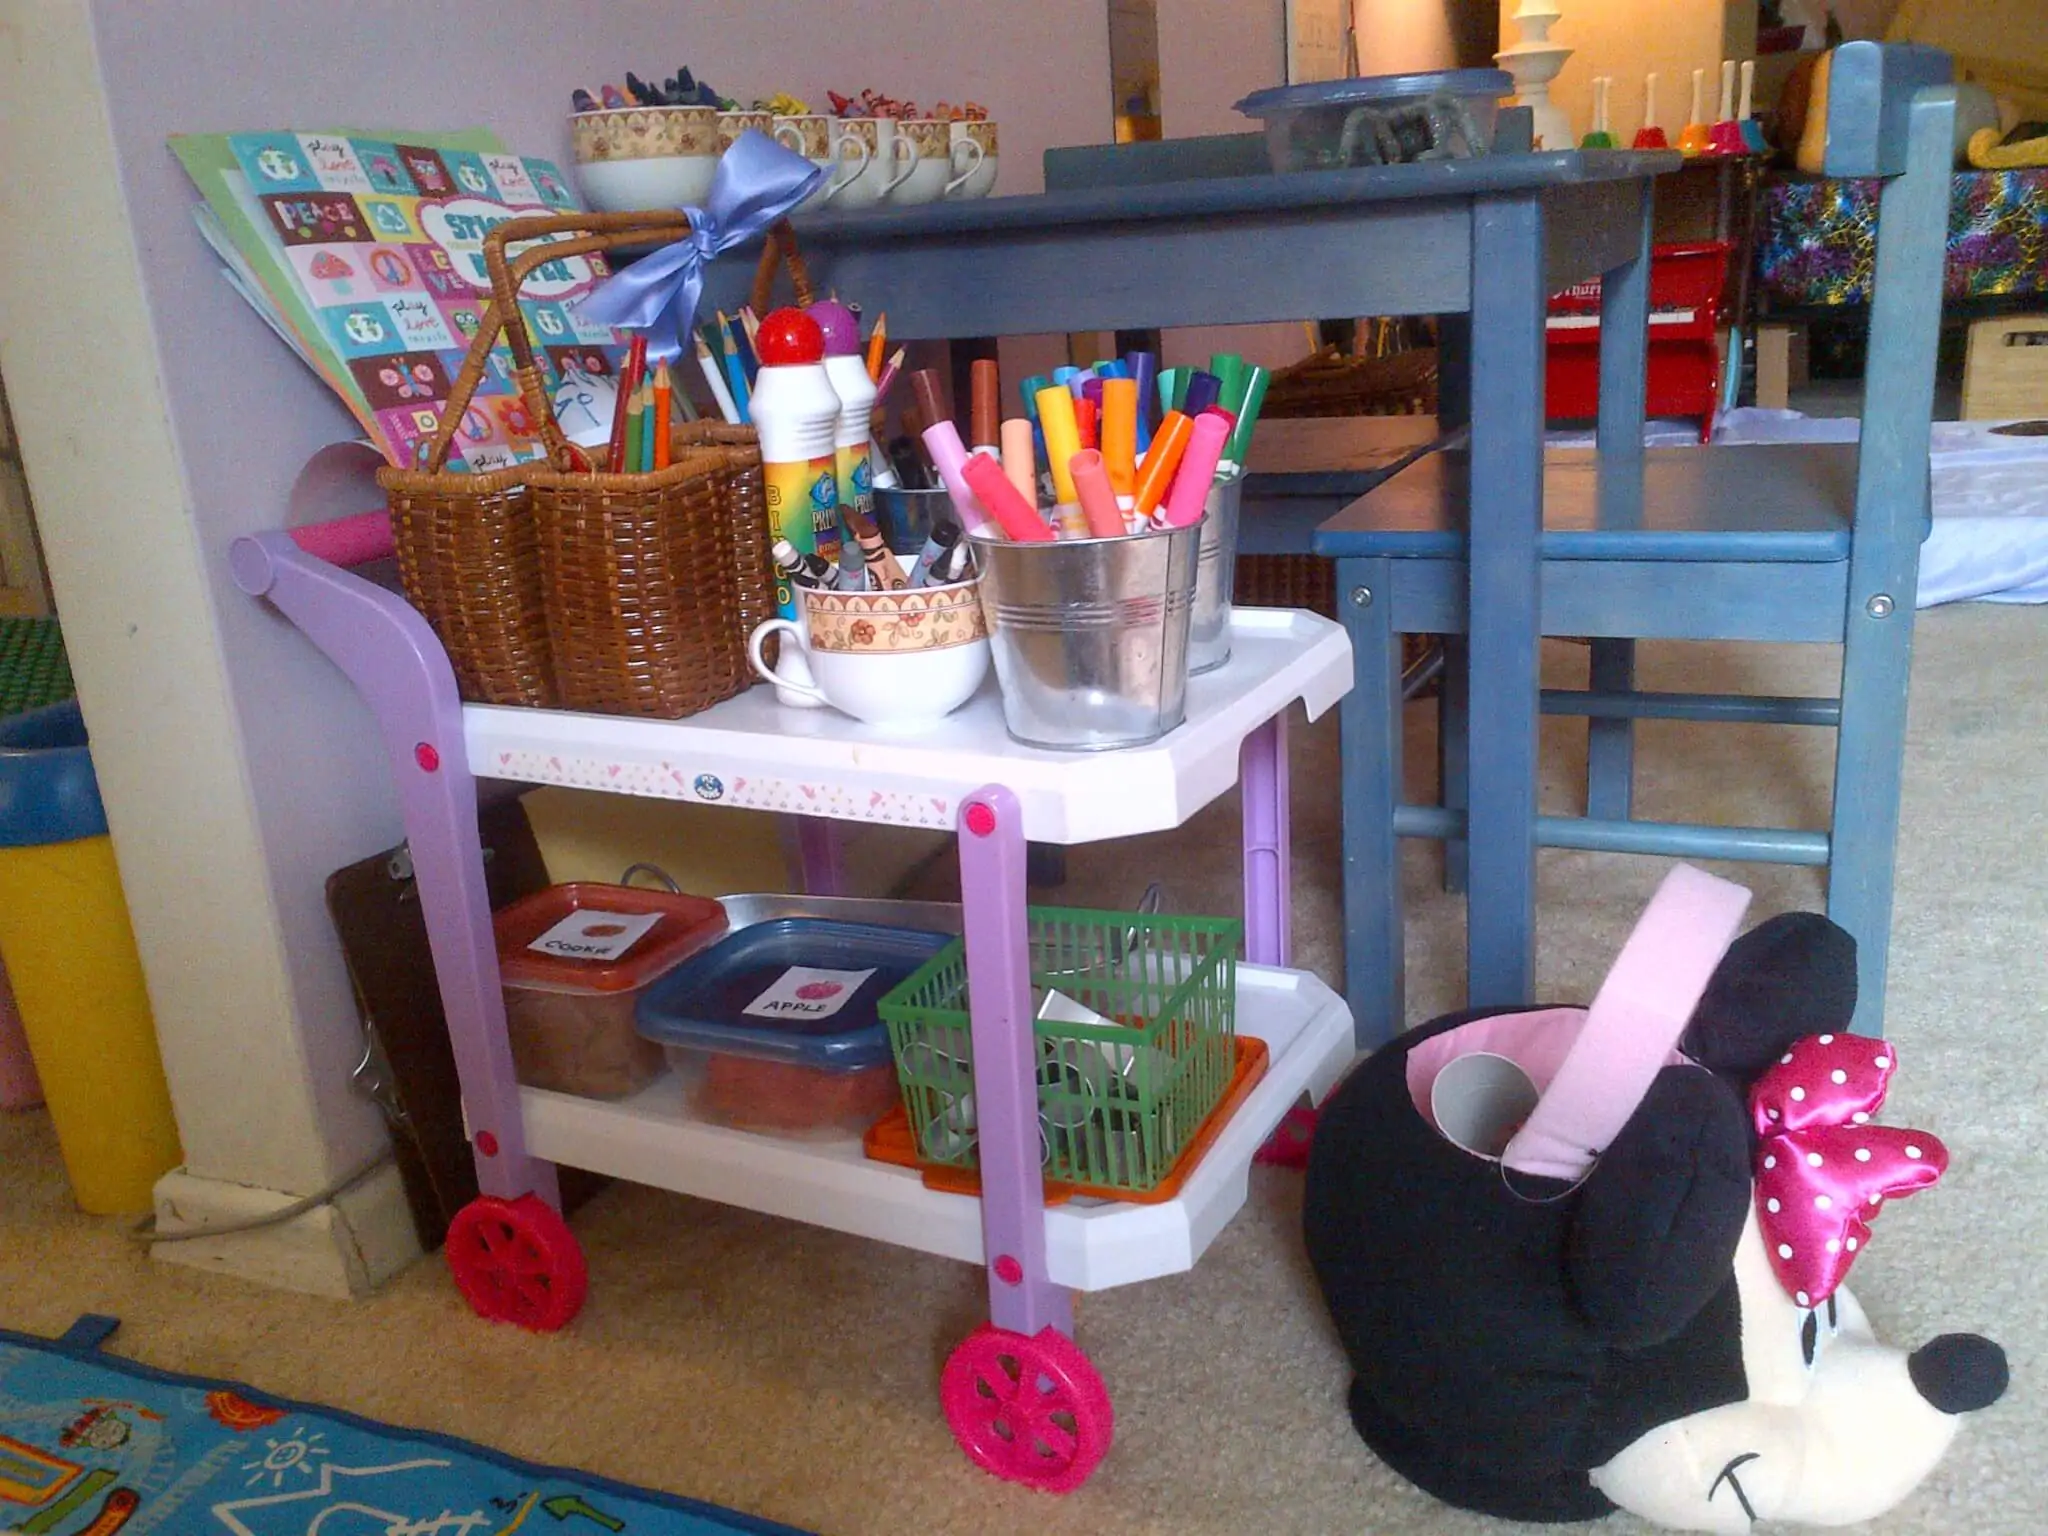
Ella’s crayons are organized by colour in separate white teacups, to celebrate her love of tea, and also put to use some cups that were collecting dust! This is great for categorization, as Ella must return crayons back to their “like” counterparts. (And her art table at her Grandpa’s house is now set up in similar way, which provides consistency.)
Many Montessori and Reggio Emilia environments utilize coloured pencil holders, and this is just an alternative set-up that fulfills on the same principles. We also have a felt painting that I bought for Ella’s birthday above the art table, which could also work at her nature table, but we’ve kept it here for now. (And a keen observer will notice that there is a white circle above the art cart where a certain two year old ripped a decorative bird off of the wall, and a certain mama has yet to fix it.)
The art display above her table is going to change within the next week or two, hopefully! A friend has a couple of picture frames without their glass that she’s giving to us, and we’ll be using those to display her art in an interchangeable but also really gorgeous and “important” way, similar to the Artful Parent’s child art display.
(The current binder clips have worked really well though, and are a great quick set-up.)
To the side of her art table is a small plastic art cart that Ella insisted upon at a second-hand store. I personally would have never bought it on my own but it has proven to be extremely useful. The only downside with an art cart on wheels is that Ella’s visitors tend to want to push it around the apartment, and sometimes lift it because the wheels don’t like to work easily on carpet.
For Ella, though, the art cart only gets moved within the art area, and has been convenient for moving materials to beside her easel, or moving the cart so that she can stand at the table.

The cart’s items are “permanent” and I do not substitute or remove any of the items, which I believe is comforting for Ella: she always knows that she can return to the art cart for something and it will be there if she put it away properly the last time she used it. The only thing I do is replenish as needed.
On offer (clockwise from the top left corner basket):
- Several sheets of construction paper
- Sticker book
- One sheet of stickers, usually themed to our unit study
- Pencil crayons, organized into three section of the divided basket: “neutral,” “cool,” and “warm”
- Bingo dappers
- A few packs of markers, organized into “neutral,” “cool,” and “warm” pails.
- Neutral crayons (didn’t fit on table)
- Minnie Mouse basket full of “bits and bobs”: pompoms, foam shapes, paper shapes, only a couple of recycled items (toilet paper rolls mostly), etc.
- Tray of “office supplies” (hard to see in this picture), including gluesticks, and tape. It used to hold block crayons but they weren’t getting much use since Ella has developed her pincer grasp, so they are a “by request” item
- Two types of homemade playdough, in labeled (picture and word) plastic containers, a basket of cookie cutters, and a special autumn-themed impression tray
- Large and miniature clipboards, for “portable art exploration”

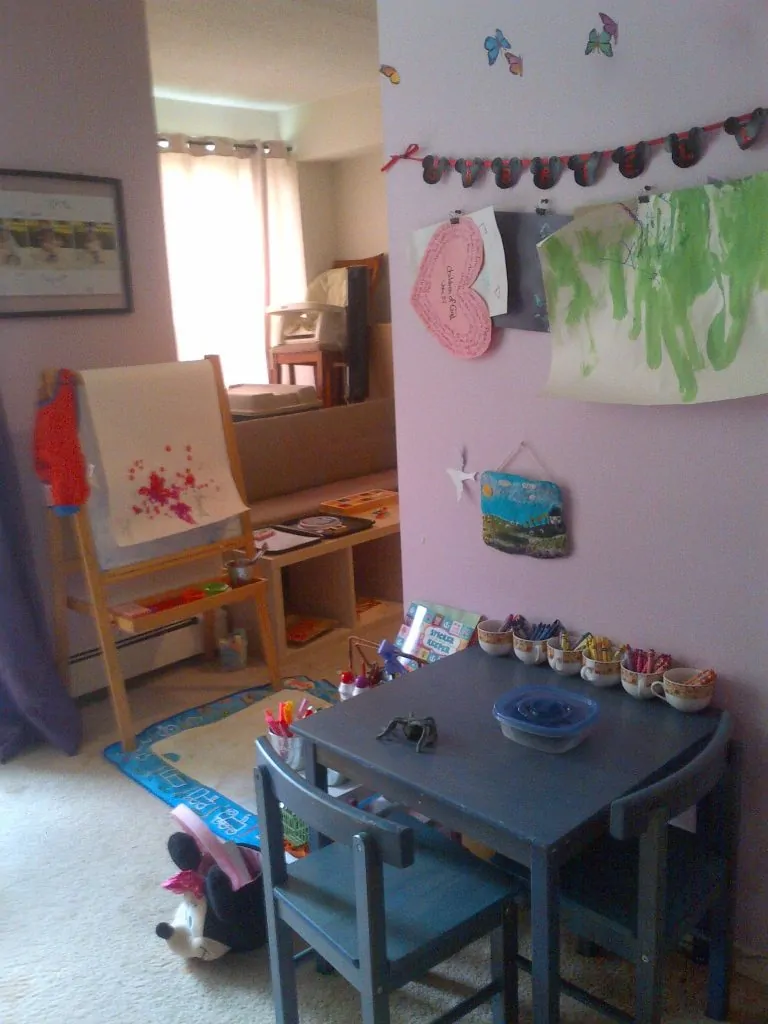
Between the art caddy and the easel, I have placed a washable “art rug” which was purchased used and can be drawn on with water to make patterns. Instead, we used it to designate the art work space and also because it quickly shows any dripping water or paint, and allows for self-correction… and is easier to clean up than if Ella were to spill or drop paint onto my white carpet.
Ella knows that her art supplies stay on the table or “on the mat” and has been really good for not taking art materials out of this area during everyday explorations, and I really credit that to the presence of the mat.
The easel always holds a dedicated sponge for clean-up, a bucket with a couple of brush options (which is also used to hold water to clean the brushes), two paint holders (repurposed measuring cups), and her painting smock. This week I also provided a couple of different “paint applicators”: a soft plastic star-burst and a pompom.
This easel is double-sided, but I choose to face the chalkboard-side against the wall to keep the space a bit more fluid and open. There is a bucket of chalk underneath the easel and Ella can (with effort) move the easel to access the chalkboard side, or request help with that.
To the left of the easel is our patio window, which is often brought into our art explorations through nature observation or using “green” contact paper on the windows, attaching wet foam shapes to the windows, etc.
To the right of the easel is this small shelving unit. This set-up works for now, as the unit kind of helps “frame” Ella’s work area in my office, but its not ideal in its blocking off this room’s seating. We’re still transitioning from this room being a dining room and figuring out where everything will go long-term, but this is where we are now.
This shelving unit serves as a transition area between our art area and the block/sensory materials. The top always has two art trays set up with explorations or materials that we are still working on. At this time, it was glitter glue pens (reinforcing the pincer grasp, control of movement, and providing great feedback on grip pressure) and a stamp pad with a jack o’latern stamp and letter stamps for Ella’s name, along with squares of paper. These trays need to be brought to the art table to be worked on, and also these tend to be activities that require supervision, so I tend to notice if she removes one of these trays and it gives me a moment to join her. (I tend to just let her do her own thing with the cart materials since she is well-versed in them.)
Underneath those trays are two more “practical life” invitations that I think many children would associate with arts and crafts, so that is why they are here. The leftmost tray has autumn-coloured beads and an orange pipecleaner to make a bracelet, and the next tray/box holds three autumn-coloured lacing cards and shoelaces.
Some letter study materials, her Magnatab, and Melissa and Doug letter blocks, are here — again — because they have mental associations with the other materials, but they may eventually get moved into a more defined language area, when we set one up. (Currently, its more of a story nook with only enough room for a couple of extra activities/trays.)
Above those are several colour study materials: the Colour Box 3, a rainbow pinwheel (also used for self-calming), a Waldorf-style stacking rainbow, a perpetual colour block, and the Froebel Colour Balls/Gift One.
I’m always looking for ways to improve the space, please let me know if you have any suggestions!


Hello, I just found your blog today as I was searching for Montessori inspired activities for young toddlers. I really enjoyed seeing your art space that you set up for your daughter and would love some advice. My son is currently 19 months and we are lacking in the art activities. He still wants to mouth most objects so using crayons/markers/paint turns very messy very quickly. I see that you keep your art supplies out and available. How did you teach your daughter to not remove them and play elsewhere in the house the supplies? You mentioned that the floor mat has helped set the limit around the easel, but how is she not removing the tea cups and breaking them on the floor?? I would love to set something like this up for my son, but even with play dough I tend to hover close by so he doesn’t eat it or smash it into the carpet or feed it to the dogs. Any advice would be much appreciated!
-Kimberly
Hi Kimberly!
I think my biggest thing is only putting out what I’m comfortable with; as you said, its no fun for either of us if I feel the need to hover! I did often sit with my own “project” at first so I could offer gentle corrections, as needed. There was a lot of reminding at first with the mat, and if she moved the supplies I would quickly place them back (being positive but firm) — by making the boundary really clear but giving her freedom within that boundary, she stopped testing and starting exploring how much freedom she truly had.
I felt comfortable with nontoxic crayons, washable markers, and homemade finger paint when she was that young. We make homemade play dough so its safe to taste, but even that can get into carpet at first. You could also tape down some contact sticky paper and have him attach pompoms, feathers, etc?
The teacups are somewhat sturdy, but I’m a big fan of the Montessori principle of giving children delicate objects to encourage them to be confident and gentle. (But even her few plastic toys, I’m really insistent that only balls get thrown, etc.) I notice how gentle my daughter is now as a toddler with her toys and materials, and I think its because she feels that her materials are special and hasn’t had the experience of throwing a plastic cup and watching it stay intact — there’s an intrinsic motivation to be gentle and keep the teacups. If she ever did break one, esp if it was due to misuse, I would wait a week before giving a new one… I might also put the crayons for that cup away for the week. I try to only put out what I hope she can handle, but nothing that I’d be devastated if she broke.
I hope I answered all of your questions, but please let me know if you have any more!